I actually had trouble figuring out how to start playing Might and Magic I – that’s how old the game is. Eventually, I managed to make a party and enter Sorpigal, the first town. It was time to die, a lot.
All of this happened on May 22nd and May 23rd of 2013.
Yay for Graph Paper!
I had a sheet of graph paper in my desk for some reason, so it was the perfect time to use it. I’ll say this again, Might and Magic is an old game. Movement isn’t animated, sprites are constantly reused and everything looks the same. Pressing a random arrow key a few times without spell points on your sorceror and without an already drawn map is the perfect recipe for getting lost.
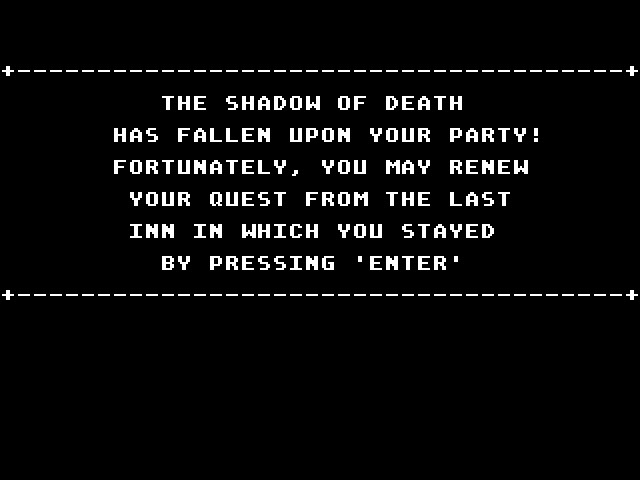
I see this screen quite often in Might and Magic I.
You are supposed to draw a map while playing Might and Magic I. The game is designed that way and that’s half the fun of it, so that’s what I did. I decided to use graph paper as an immediate drawing tool and then draw the final version in Excel, with a graph paper template.
I ended up making a lot of mistakes during all of this, but as I got to know Sorpigal, I made corrections and eventually, I ended up with a pretty perfect map. Here’s a few notes:
- The map seems to be 16×16. It doesn’t seem like much, but there are things that complicate this.
- There are hidden doors.
- There are one-way hidden doors.
- There are locked doors and traps. The doors can be bashed or the lock can be picked, but the trap can trigger either way.
- There are areas of constant darkness. Well, there’s one area like that in Sorpigal, but there’s bound to be more in future areas.
- There are fixed encounters. This is key to getting stronger.
- The map doesn’t save, only the party saves. Reloading from the Inn resets doors and encounters.
- There’s a trap door that’s a one way trip to the dungeon. These could be dangerous in future. At this point, they are a straight out death sentence.
Use fixed Encounters!
There are tiles on the map where you always end up in a battle encounter. The monsters you fight are usually random, but the fight itself is always there, and it will be there after every reload. This ended up being key for me getting stronger. I picked one of these areas, went for it and after I won, I went back to the inn to save. After a few of these, I had enough cash to buy some gear, so things got much easier.
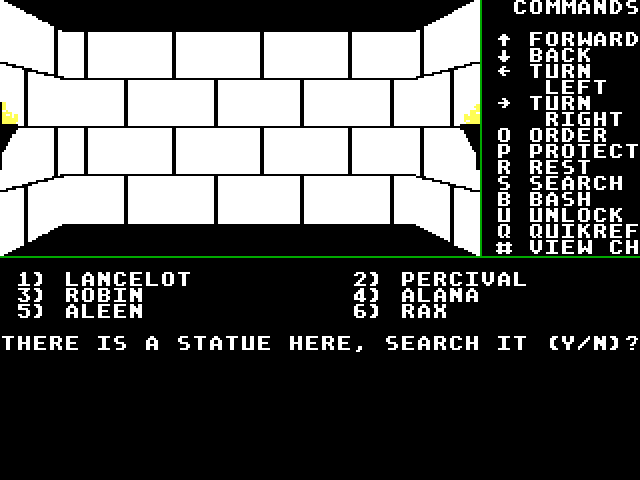
Searching the statue is optional, and you get asked a lot. It can be a bit annoying.
After a few of these, I also realized I made a huge mistake.
Equip your starting Gear!
I didn’t. Each of my characters started with a club. A quick glimpse of the inventory made me mistake the backpack for the character sheet and vice versa, so I didn’t realize the clubs were in my characters’ backpacks instead of in their hands. The first bunch of encounters I had ended up being fought bare handed. Once I equiped those clubs, things became far easier.
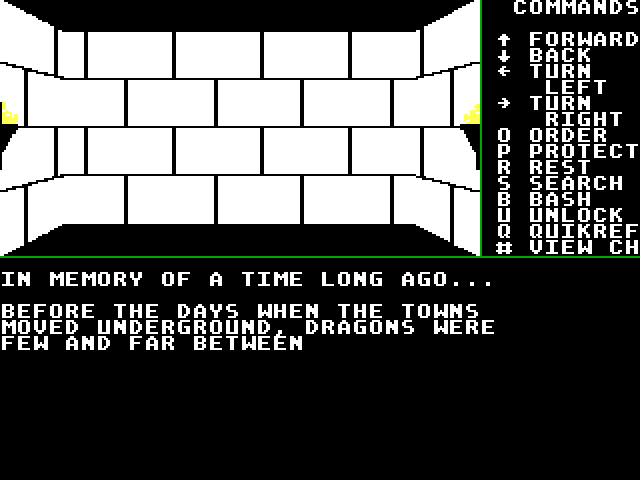
This statue seems to be just lore related.
Lots of Statues and more
I found a total of 8 statues spread out through Sorpigal. Some of them seemed more important than others, but I wrote down what all of them said. They hint at quests, tell a bit about the world, etc. Here’s what they said:
- In memory of a time long ago… Before the days when the towns moved underground, dragons were few and far between.
- In honor of Gaia… For her brave attempt to work with the savages of The Volcanic Isles
- In honor of Corak… For his mapping expedition of the land of Varn and rediscovery of the lost town of Dusk.
- Services rendered, secrets unfold, the Brothers together lead to treasures untold. Five towns you must travel for this quest to unravel.
- This beast once roamed The Enchanted Forest and now rules a great fortress there.
- Seek the wizard Ranalou in his lair at the Korin Bluffs. Six castles he will send you to, but Doom will be quite tough! Cruelty and kindness measured throughout, judgment day is then sought out.
- One by water, one by land, one bay air and one by sand. The Wheel of Luck will favorably pay, the more of these menacing beasts you slay! Although wishes may come true, all the beasts will become anew.
- There are many dungeons like me. Find the right pair and you’ll discover the key. The ancient seer Og has lost his sight, the idols will help to end this plight.
A few of those also stood next to or behind hidden doors, so I ended up hitting solid walls a lot trying to find those. Overall, I found a bunch of points of interest and mapped out what I’m hoping is the whole of Sorpigal. I even found the hidden dark area behind the jail, as well as the hidden lit area behind the hidden dark area. I fought a bunch of clerics there and got myself killed, very slowly. I see the game over screen quite often in this game, but each death moves me an inch further, at least with mapping. Here’s what the town of Sorpigal contains:
- An inn, a tavern, a food shop, a smithy and a temple
- A trainer (you need to train to get to the next level in this game)
- A jail with an encounter, two rooms and a secret passage to a dark area
- Bunch of random empty rooms (some with encounters)
- A secret room with a leprechaun that teleports you to any town for a gem
- A series of secret rooms connected with a maze of passages
- A room with a trap door to the dungeon below
- Stairs to the dungeon below (preferable to the trap door)
Level 2! Mostly.
I explored pretty much the whole place and, even though I kept going back to the inn to rest and save, it wasn’t enough to get to level 2. I got some gear, and I got some experience, but not enough.
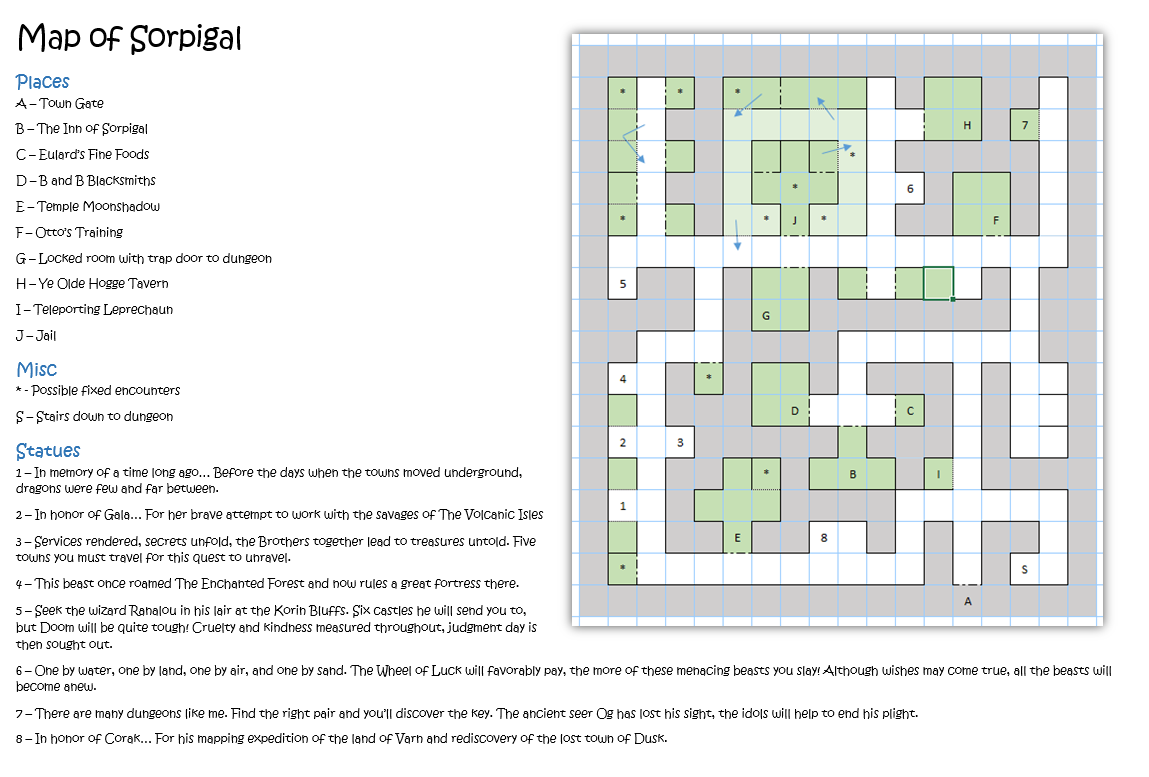
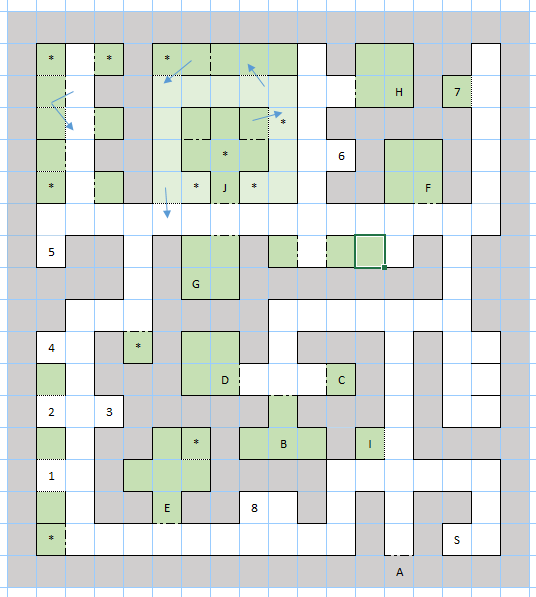
The full map with all the notes I took, for the cheaters.
Once everything was explored, I started with the tactic of “exploiting” fixed encounters. After a few repeats of this, I managed to get three of my characters to level 2. These are my characters, by the way:
- Lancelot, Level 2 Dwarf Knight
- Percival, Level 1 Human Paladin
- Robin, Level 1 Elf Archer
- Alana, Level 2 Gnome Cleric
- Aleen, Level 1 Elf Sorceror
- Rax, Level 2 Half-Orc Robber
I decided to roll with the standard archetypes, for the most part, except all of these guys have a good alignment, including the orc. It looks like some of the classes advance faster than others, because the cleric, knight and robber needed 500 experience less to get to level 2 than the paladin, archer and sorceror. I’m guessing the trend continues later.
I love Might and Magic I
I completely agree with CRPG Addict on this one. The game has aged and it has issues, but it has that certain something that keeps me itching to play it. It woke up those memories of me stumbling through the World of Xeen, or even playing some random free RPG I got as freeware off of a random site in the 90s. It’s an awesome feeling.
Goodies!
Since I made the effort to draw the map and write down hints, I also made the effort to make it presentable, so there are some goodies to be gotten. First of all, the full, big map is available as an image higher up in this posting. Here’s the image only, hint free, as well as some other stuff. I also made a quick spell book reference, containing just the list of all spells on a single page, for easier printing.
This is just the map, in case you want to discover things for yourself.
- Might and Magic I – Sorpigal Map + Hints, A4 DOCX
- Might and Magic I – Sorpigal Map + Hints, A4 PDF
- Might and Magic I – Sorpigal Map + Hints, A5 DOCX
- Might and Magic I – Spell Reference, DOCX
- Might and Magic I – Spell Reference, PDF


