Castlevania: Harmony of Dissonance is the second GBA Castlevania game. I’ve played it for a bit back in the day, but never gotten far in it, for the same reason I didn’t get far in any of the games I played back then – lack of focus and dedication. As with Circle of the Moon, in this first posting, I’ll give a brief overview of what I did in the game up to this point as well as a slightly lengthier overview of the game itself.
How it runs on Archos Gamepad
This is quickly turning into an obsolete topic with GameBoy Advance games. GBA.Emu is an amazing piece of software and it runs every game I’ve tried playing on it flawlessly.
One thing is better than with Circle of the Moon, though. The controls in the game itself are less old-school stiff and precise and more newer school floaty but still precise. This translates well to the set of buttons the Archos Gamepad has, so I find myself making less mistakes as I play.
Pictured: The title screen.
It should be noted, though, that in areas where there’s lots of dynamic events on the screen, such as parts of the level shifting, there is a noticeable slowdown in both Harmony of Dissonance and Circle of the Moon. However, I wouldn’t be surprised if that slowdown was present on the original hardware as well.
The plot
Before I write about the plot of Harmony of Dissonance, let’s remind ourselves about Circle of the Moon.
In 1830, at an old Austrian castle, a cult resurrects Dracula. A vampire hunter named Morris Baldwin, together with his son Hugo and his apprentice, an orphan named Nathan Graves, arrive at the castle at pretty much the moment of resurrection. One of Dracula’s followers sets of a trap, separating Nathan and Hugo from Morris.
Pictured: The intro starts out with the castle and scrolling text introducing us to the story.
Morris is captured by Dracula and his followers, leaving Nathan and Hugo to fight and navigate their way through the castle, free Morris and defeat Dracula. During this, Hugo suffers a moment of temporary insanity, caused by the influence of Dracula, but also enabled in part by his jealousy of Nathan, what with him being Morris’ favored student and getting the Vampire Hunter whip. He attempts to kill Nathan, but Nathan defeats him and frees him from the mind control.
Dracula is defeated and all is well.
So here’s the intro to Harmony of Dissonance:
Fifty years have passed since Simon Belmont vanquished the curse of Dracula
Fate has dictated that Juste Belmont, blood descendant of the Belmont Family, hunt for the relics of Dracula.
One day, Juste’s best friend, Maxim, who had set out on a training expedition two years earlier, returned unexpectedly… his body covered in wounds.
He informs Juste that Lydie, a childhood friend whom they both deeply care about, has been kidnapped.
Maxim has completely lost his memory of his time training away from home, and only has vague images of the kidnapping.
Ignoring his bodily injuries, Maxim leads Juste to the place he believes Lydie is being held captive.
Passing through thick fog, the two men happen upon a castle undocumented on any map. Could this be the fabled Dracula’s castle?
Standing solemnly in the night, this forbidding castle welcomes its unexpected quests as the moonlight shines upon it.
This time, the main character is a Belmont, so he’s way more bad-ass. His appearance echoes this idea and he even starts with several abilities Nathan would have to acquire first.
He can forward- and back-dash as well as slide, seems to have better jumping capabilities and controls far less stiff than Nathan, though just as precise. He also wields the Vampire Hunter.

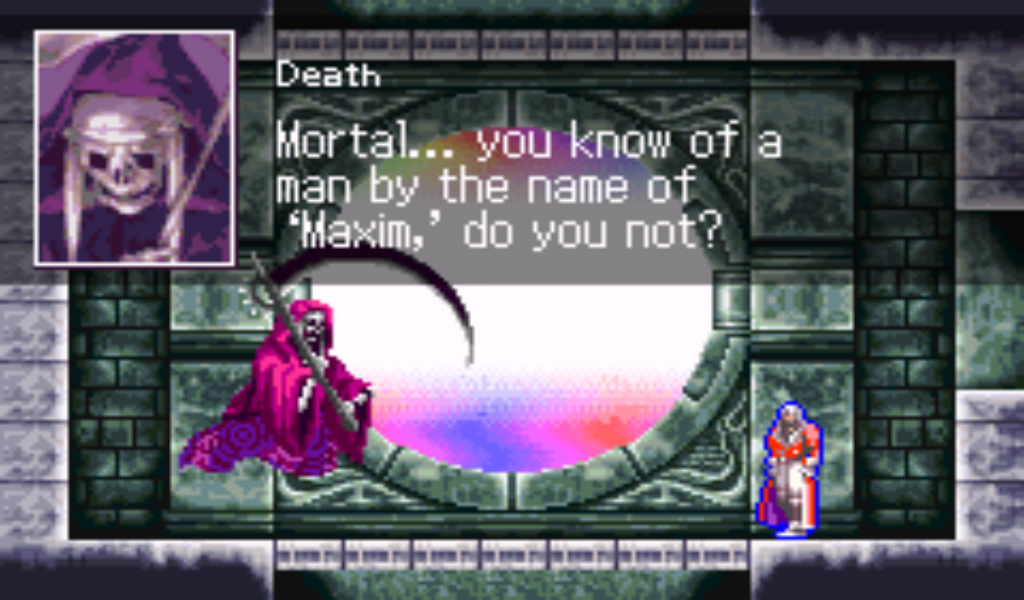
Pictured: Death is a returning character of the series.
As always, that’s the initial plot, but it will go further than that.
Just to give it a time frame, I went to Wikipedia to see when Simon Belmont does his defeating of Dracula.
He dies it twice – once in 1691 and once in 1698. I assume (as does Wikipedia) the plot of Harmony of Dissonance happens 50 years after the second defeat, which places it in 1748, or 82 years before Circle of the Moon and Nathan Graves.
The mechanics
Since I have Circle of the Moon as the frame of reference now, I’ll explain the mechanics of Harmony of Dissonance in relation to its predecessor.
Again, there’s the core of exploring the world and acquiring relics in order to gain abilities which open up new areas. The difference here is that it isn’t always just the relics that open up passages. There are more one-way passages in Harmony of Dissonance, that are eventually turned into two-way shortcuts by getting to the other side through some other means and performing some equivalent of pulling a switch. There is also at least one item that isn’t a relic, but equipping it modifies your abilities in a way that allows you do open up some passages.
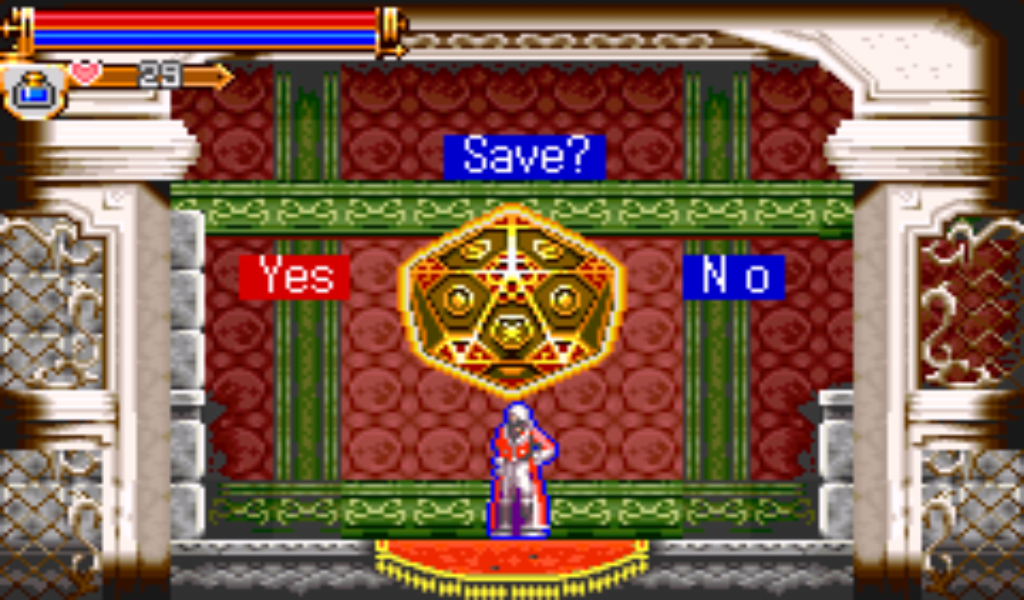
Pictured: The Save Room has a noticeably shorter animation this time.
Unlike Circle of the Moon, in Castlevania: Harmony of Dissonance, you are allowed to turn individual relics on or off. I’ve yet to encounter a reason to do so, so I’m not sure if there is one in the game, or if the option is there purely for the player to challenge themselves.
Again, there’s leveling up. Compared to Circle of the Moon, stat growth upon leveling seems slower and more gradual and stats in general are less inflated. Overall, though, the effect is about the same. Naturally, there are also health and heart upgrades within the castle. As far as I can tell, there are no MP upgrades.
Equipment is more subtle as well, but there’s more variety and more special pieces of gear that give you special abilities when equipped. In a way, they are like minor relics. Equipment can be found in difficult rooms with challenging enemies, at the end of puzzle rooms, or as random drops from enemies.
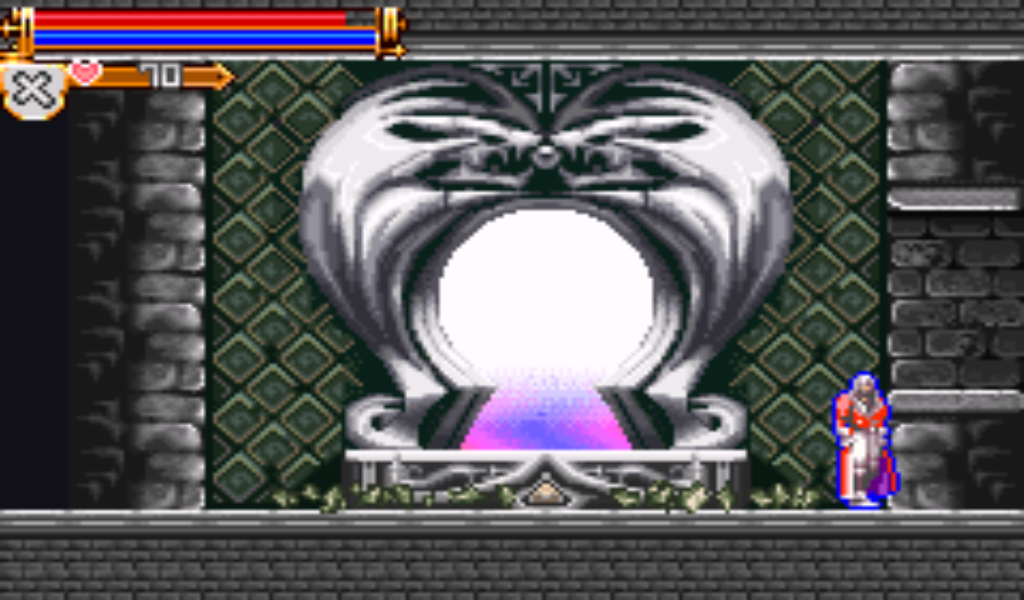
Pictured: The teleport rooms have a unique twist to them this time.
There’s a whip slot, which I’ll say something about further down, an armor slot as well as three other slots. These last three slots can hold any three items with one logical and very obvious rule – Juste can carry a helmet, something on his hands, something on his feet and a cloak. Since there are three slots, items need to be picked from these four (or more) groups, but there’s obviously no way for Juste to wear two helmets, for instance.
Sub-weapons are still around and in their normal form, they behave similarly to Circle of the Moon. The biggest difference I’ve found is the Holy Water. In Circle of the Moon, it would create a stationary blue flame, burning any enemy on top of it for as long as it was there. In Harmony of Dissonance, it’s a moving flame wave, so it’s easier to use and target, but less effective overall. Sub-weapons also still use hearts.
A new addition are spell books. Equipping a spell book transforms whichever sub-weapon Juste has equipped. The sub-weapon now grants a different, more powerful ability and uses up mana instead of hearts. The usual effect of this is that I use spells in boss battles until I run out of mana and then switch to hearts. Outside of boss fights, I usually use spells, since mana regenerates and this gives me a chance to collect just enough hearts for the next boss. Spell books are relatively rare. There is only a few of them and hours into the game, I only got one.
Another addition are special stones which the player can equip to their whip, modifying the way the whip behaves. The effects can range from simple elemental damage modifications, to things like a charge attack or the ability to spin the whip instead of dangling with the arrow buttons while the attack is held. These stones are found in fixed locations around the castle. Some are in plain sight, but for some, you need to solve a specific series of tasks or puzzles.
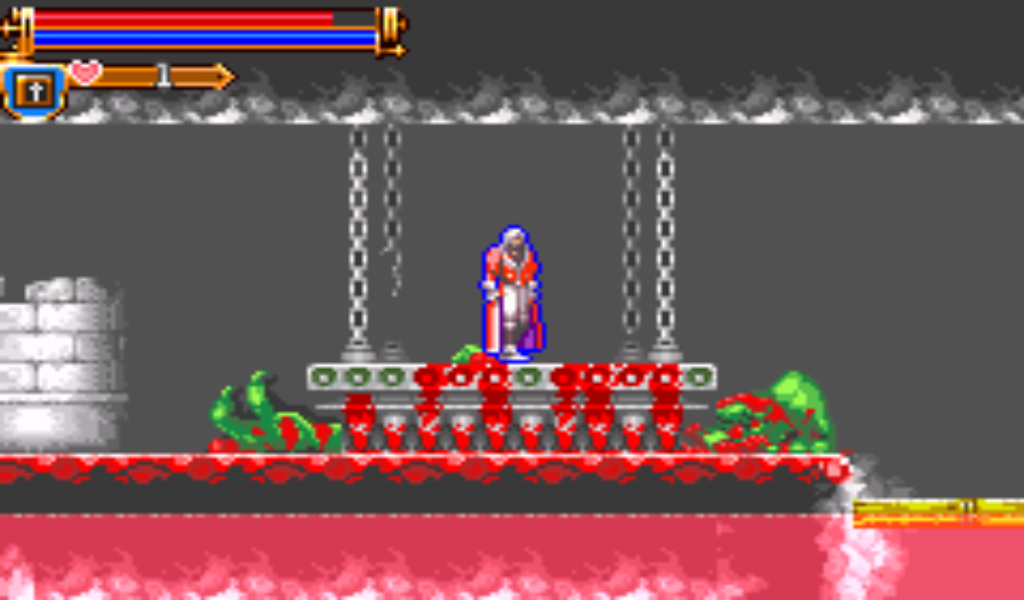
Pictured: There are dynamic elements to some rooms. In this one, the killed monster’s blood was filling up the chasm below, raising the bridge.
You can find castle map parts which provide an overlay on some of the castle rooms, so you can see how they are placed before going there, but you can also still discern between previously visited and unvisited rooms.
You can also find hint pages, which give outright hints on secrets within the game. They do this without trying to make it in-game too much, but I’m not bothered by this. Immersion is cool, but I don’t mind knowing I’m playing the game when it’s a good game.
Another major thing, which might be a spoiler to some, is that there are actually two versions of the castle. Some parts overlap and some do not. You switch between them with special portals.
And finally, I almost forgot mentioning the merchant. A merchant has setup shop within the castle. Since monsters and candlesticks can now drop gold, this is where Juste can spend it. The merchant sells equipment as well as consumable items.

Pictured: The merchant is a welcome addition, as is money.
For competitions and explorers, there’s a couple of extra features.
The monster encyclopedia holds information about all the monsters in the game. There’s their name, number, level and HP for basic info. There’s also information about which elements the monster is resistant or weak to, as well as how much experience they’re worth.
Finally, the most important information is if the monsters drop any items and what those items are. If the monster drops an item, the encyclopedia indicates this by having a ??????? for the item name. Once the item does drop, the actual name will be written in that slot. Basically, the encyclopedia tells you if the monster drops an item, but doesn’t tell you what item it is until it actually happens.
The other feature are collectibles. Throughout the castle, there’s furniture and various other knick-knacks to collect. Once collected, these are listed in a collectibles screen and placed as decorations in a special room within the castle. Apart from being something to look for, this doesn’t serve any other function as far as I can tell.
So, to recap, the features of Castlevania: Harmony of Dissonance:
- Semi-open world made more open by killing bosses, finding relics and other items which grant abilities and allow the player to open up more areas of the world.
- Leveling up mechanics as well as stat upgrade items.
- Equipment consisting of a weapon modification and armor slot, as well as three additional slots. Items grant stat upgrades or special abilities and effects.
- Permanent HP and heart upgrades scattered throughout the castle. There are no MP upgrades this time.
- Consumables, naturally.
- Special stones that modify the Vampire Hunter whip when equipped, giving it special abilities.
- Spell books that modify the equipped sub-weapon attack and cause it to cost MP instead of hearts.
- Collectible furniture and knick-knacks, used to decorate a special room in the castle.
- A monster encyclopedia giving information about monster stats and item drops.
Flow of the game – how it plays
What with there being two versions of the castle, there seems to be a lot more branching paths in Harmony of Dissonance.
It was common for me to miss a save room or wander around aimlessly, not being sure if I’m going in the right direction. The thing is, though, if you can get there, it is the right direction. For the most part, you just might end up making it a bit harder for yourself by doing two bosses in less then optimal order.
The world definitely feels bigger and more open, though.
As far as Juste controls, I already said it’s a bit floatier and a lot less stiff. It’s still precise, though, and I never felt like the controls were at fault for me messing up. Simply put, you feel a bit less constrained with the controls this time, but still completely in control.
You start out with a left and right dash move (using the shoulder buttons), as well as a slide. The dash moves can be spammed in quick succession, so overall, you can move a lot faster through the castle. Long vertical rooms are made a lot less tedious this way, for one.
I’m not sure how far in the game I actually am. I’ve been playing for close to three hours and beaten a whole bunch of bosses, but I have less than half of the relics, only one of the spell books and overall, I haven’t seen many of the common higher level enemies.
Pictured: This special room reveals the teleportation twist – there are two castles.
The fact that there are two castles also makes is difficult to assess how far I’ve gotten. What I can say is that I’ve died plenty of times, so the actual game time might be closer to four hours.
In Circle of the Moon, character progression was relatively rare and in big steps. In Harmony of Dissonance, it was made far more gradual, but there’s still a very noticeable difference between a couple of character levels and an item or two.
The world and the feel
There’s a lot of stuff on the screen, much more than in Circle of the Moon. Effects are used liberally, but the art itself seems a bit less detailed. Overall, though, the atmosphere of Castlevania is there in full effect.
As always, it’s difficult, but rewarding.
In my specific case, playing Harmony feels better than playing Circle of the Moon, because the way Juste controls is better suited for the Archos Gamepad.
The future
As with Circle of the Moon, my next report will be once the game is completed and no sooner than that.
If I discover any new mechanics or features, I’ll make a recap of that and then maybe compare it to Circle of the Moon with a bit more structure to the comparison.


