Castlevania: Harmony of Dissonance is a shorter game compared to Circle of the Moon, that’s for sure. Compared to 10 and a half hours on record and probably about 12 hours in total with Circle of the Moon, it took me 7 hours and 15 minutes on record to win Harmony of Dissonance. I also died less often, I think, so the total time was probably slightly over 8 hours. Is it better or worse, though?
It’s difficult to say, so I just wont say it. Instead, I’ll try to follow a format similar to how I talked about Circle of the Moon.
Game Report
In the early game, I died relatively often, because the enemies were taking big chunks of Juste’s health with each hit. Luckily, I was also dying close to save points, so I never wasted a lot of time and it didn’t get annoying.
Once the levels started pouring in, surviving the short term wasn’t as big of an issue anymore.
Instead, my trouble was with navigating through the castle. As I said in my previous posting, the castle in Harmony of Dissonance is actually two castles. Back then, I thought they just overlapped, with unique parts for each one, but they are in fact two separate castles with the same layout.
The map is the same for both, but the enemy and item placement is different and you need to fully explore both of them to get to the end of the game. There are also more bosses and things to collect, of course, but the biggest effect this has is that you get lost. Very often, you aren’t sure if you’re going in the correct direction and you end up wandering around, desperately searching for a Save Point just so you’ll know you didn’t waste the last 20 minutes or so.
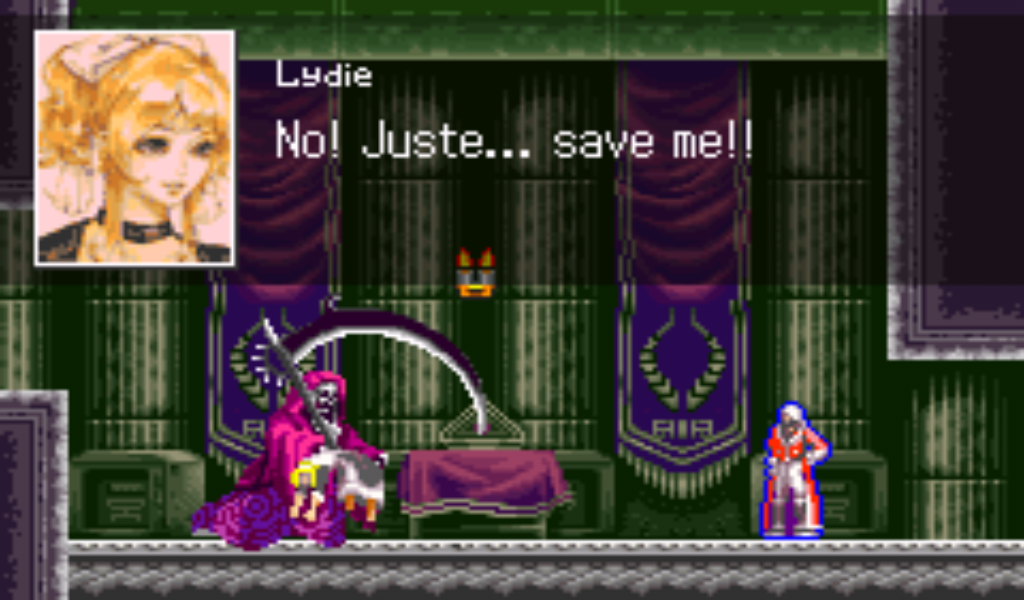
Pictured: Lydie is more of a non-character in Harmony of Dissonance. You find her, she gets taken again and then you save her at the end.
Several times, I even managed to approach a boss room from the opposite direction, defeating them and only then getting to a save point past their room.
With that said, the middle part of the game was about me being lost. I got a few bosses and earned a few navigating abilities, but I wasn’t sure where to go next, so I ended up exploring almost every dead end before finally figuring it out.
To be specific, I couldn’t find the room where Maxim and the Shadow boss were.
Once I did find and defeat the Shadow, everything fell into place and I ended up clearing the rest of the game in what felt like record speed.
Past the early game, once I got the Bolt spell book and figuring out how overpowered it was when combined with the Bible (i.e. Holy Book), I didn’t really feel like I was in danger anymore. Sure, skill was still required to get past the later bosses, but the fights didn’t take long at all. Even Dracula was relatively easy, especially compared to the one in Circle of the Moon.
The game had two endings as far as I know. I resorted to a guide in order to figure out the more advanced ending, but in hindsight, I could have done it by myself.
For one ending, you just need to unlock the final boss room and beat the boss in one of the castles (the other one was locked).
For the second and the better one, you need to keep exploring and collect all the relics or, more specifically every relic from the Vlad subgroup (rib, eye, heart of Vlad, etc.). Once you get those, the door to the final boss room in the other castle opens. That’s not enough, though. You also need to then defeat the final boss while wearing the two bracelets (Juste’s and Maxim’s). This starts a fight against the actual boss – Dracula and eventually leads to the better ending.
Beating Harmony of Dissonance unlocks the Boss Rush mode and beating it properly (the second ending) unlocks a Sound Test menu.
Additionally, there’s a special mode where you play as Maxim, if you enter MAXIM as the name of your save file, but I don’t think you need to beat the game to unlock that one.
Playing as MAXIM feels more like playing a classical Castlevania game. There are no items or levels. The stats you begin with are those you end up with. You can use special moves which deplete MP and that’s about it. It’s a unique and interesting mode, just not something I’ll end up messing around too much with.
Castlevania: Harmony of Dissonance – Features
Exploration abilities
Relics are not the only source of exploration abilities this time.
Juste starts out being able to dash forward and backward. I abused these two abilities throughout the game, because they speed up exploration and backtracking.
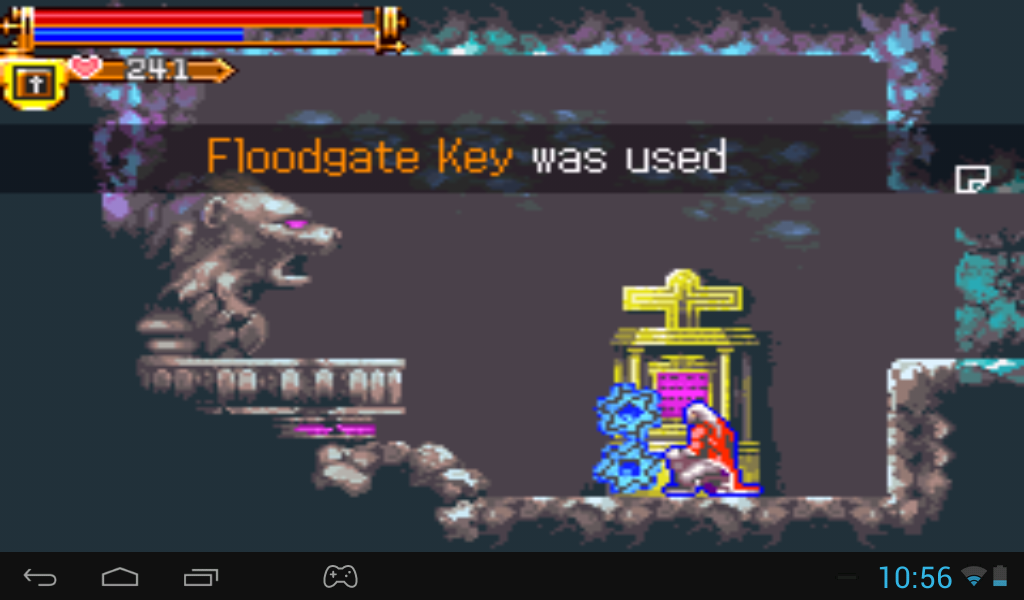
Pictured: Using the Floodgate Key drains water from an area and allows exploration. This approach is fresh to me.
Outside of these two, other exploration abilities are earned through several different means. Some you get with relics and some through different types of equipment.
Relics
Relics can be turned on or off in Harmony of Dissonance, which is different from Circle of the Moon, where once you had them, you just had them. It makes sense, though, since you probably would consider turning off some of them in some cases.
| Lizard Tail | Slide by pressing DOWN and JUMP. |
| Sylph Feather | Double jump. |
| Griffin’s Wing | Pressing DOWN followed by a quick UP and JUMP makes Juste do a HIGH JUMP. |
| Soul Orb | Shows damage numbers. |
| Fairy Journal | Shows monster names. |
| Monster Tome | Collects monster information, viewable in the start menu. |
| Eye of Vlad | Negates curses. |
| Heart of Vlad | Negates petrification. |
| Rib of Vlad | Negates poison. |
| Nail of Vlad | Increases STRENGTH. |
| Fang of Vlad | Increases DEFENSE. |
| Vlad’s Ring | Increases LUCK. |
As you can see, relics have additional flavors now and not all of them are just about giving you new moves to explore the castle.
Items
| Floodgate Key | Activates a mechanicsm which drains water away from an area of the castle, allowing exploration. |
| Skull Key | Opens doors with a skull design. |
| Lure Key | Opens glowing doors. |
These three are not relics, like the one key in Circle of the Moon was. Instead, they are just plain items, accessible from the item menu and used automatically. Still, they are guarded just like a relic would be.
Equipment
| Night Goggles | Allow Juste to see in the dark, making exploration of a certain section in the castle much easier. |
| Crush Boots | HIGH JUMP will break certain ceilings if Juste wears these boots. |
| JB’s Bracelet | First of the two bracelets needed for the proper ending. Juste starts with this one. |
| MK’s Bracelet | Second of the two bracelets needed for the proper ending. This one needs to be earned from Maxim. |
| Crushing Stone | Allows Juste to charge up his attack, which can break certain walls. |
I added the two bracelet’ here, even though they don’t really apply to exploration and only have an effect on how the game will end. The crushing stone wasn’t completely obvious to me as soon as I got it, but it didn’t take long to figure out. Night Goggles are not really a must have, since the area in question can be navigated without them, but they really do make things easier.
Leveling System
Leveling isn’t as big a deal as it was in Circle of the Moon – you don’t gain as much in stats, but it’s still quite important. A few levels will make a difference in a boss fight or a long exploration trek, but a single one probably wont.
As usual, there are permanent stat boost items throughout the castle. Heart and MP are less scarce this time and you can increase MP with items as well. Overall, you end up using your sub-weapons and spells much more often.
Equipment system
This time, the items don’t make as big a difference in stats, but they are far more varied and interesting in other areas. Items in Harmony of Dissonance have special effects more commonly than they did in Circle of the Moon.
Some heal while you stand still, some heal when walking.
A few actually give you new exploration options as listed above.
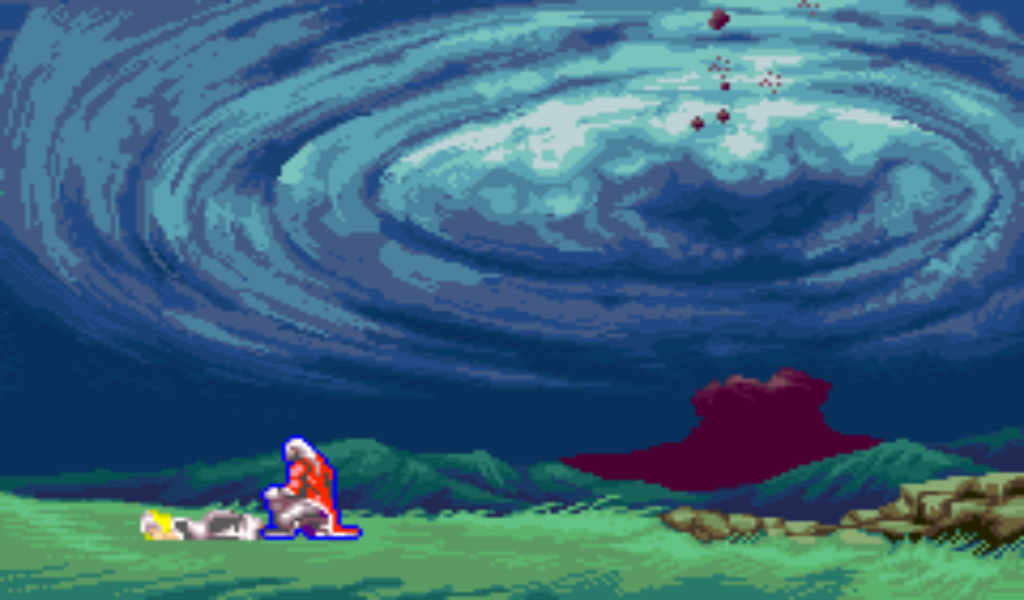
Pictured: The final scene for one of the endings. It’s very similar to Circle of the Moon.
Several provide different boosts based on special factor and a whole bunch of them provide resistances to certain attacks or boost your sub-weapon attacks in some way or another.
This time, there is no outright ultimate gear guarded by special monsters or in special areas, or at least, there is no such thing that’s placed there in an obvious way, such as the armor at the end of the arena in Circle of the Moon.
Special System
I have to say, the special system of Harmony of Dissonance doesn’t feel extremely special or signature.
You can find a total of 5 spell books in the game. Equipping a spellbook causes your current sub-weapon to use MP instead of hearts and radically changes what it actually does. Basically, for each spell book and sub-weapon combination, there’s an extra spell you can cast.
A big part of why I don’t think it’s that special is because I figured out how overpowered the combination of Bolt and Holy Book is. This combo creates two floating circles in front of Juste. If a monster touches these, they do a lot of damage and they keep dealing the damage as long as you’re in contact with the monster. With each hit they do, they grow smaller and they eventually disappear, but they deal full damage the whole time they’re there.
With this one attack, I was able to clear probably about 60% of the game with ease. I thought the Cross was overpowered in Circle of the Moon, but it was nothing compared to this.
Just for the sake of listing them, the five books are Bolt, Fire, Ice, Wind and Summoning Tome. The last one, I got right before the final boss, from a hidden room above a save point. Because of that, I didn’t really use it that much, though it could have been fun to at least try out. The two I did try out are powerful, but I still think the Bolt/Holy Book combination is more useful.
The other part of the special system are special stones you get to attach to your whip. They add different things to your attack, ranging from the basic “your attacks now do elemental damage” to the more advanced “you can now spin your whip like Nathan was able to” or “you can now charge up your attack“.
World, enemies, bosses
The world is bigger, more open and interesting to explore.
There are more enemies, more variation at first, but with repeats in the form of Enemy, Level 2 in later game. Still, new enemies are introduced throughout, so it never gets boring.
Bosses are far more numerous. They feel easier and quicker to kill, mostly due to the above combo. Some of them are repeated a bit too much. There’s one type that fights in a specific way that was repeated at least three times with only a slight variation.
This time, the story is about the Belmonts. There are no unexpected twists and it’s all pretty straightforward. You go and save the girl and optionally, save everyone else to.
Economy
A whole extra subtitle for Harmony of Dissonance.
Shops are introduced to the game here and this is something Circle of the Moon never had. The same merchant opens a different shop in various rooms scattered throughout the castles, each offering different items.
The items range from basic consumables or useless equipment which Juste outgrew by the time the player is able to buy them, to seriously overpowered end-game equipment. There’s even an item that gives you unlimited jumping abilities.
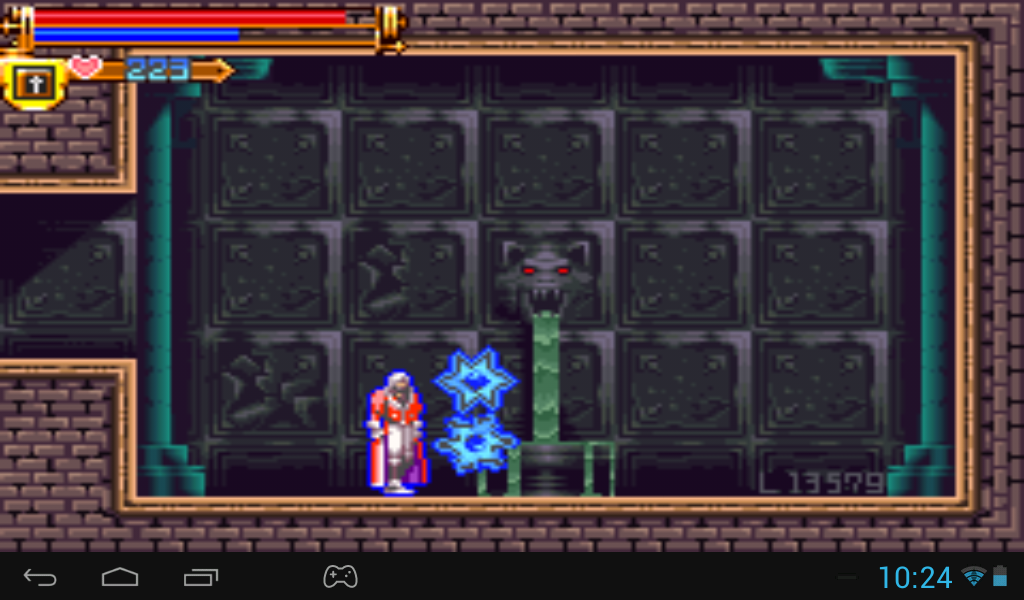
Pictured: I haven’t figured out these numbered rooms while playing. Apparently, shops appear in them if you fulfill the requirements. The code in the corner identifies the requirement.
Extra game modes and content
There are 3 endings in total, apparently, but the differences are subtle and I’m counting two majorly different outcomes.
There’s Boss Rush and there’s Maxim mode. One is unlocked by beating the game with any ending and the other is there from the start, I think. Overall, there’s less to unlock than with Circle of the Moon, but the content is at least more varied than “you start out with different stats”.
As for extra content, there are three things.
The Sound Test really isn’t noteworthy. You can listen to in-game music through this menu.
The Monster Encyclopedia shows if a monster has a drop you haven’t gotten yet and there’s even a rare monster or two for you to collect. That’s quite similar to what Circle of the Moon had to offer, really.
The Collectibles menu shows all the furniture you collected.
What!?
There’s a special room in the castle and there’s furniture scattered throughout the game. Juste collects it and then places it into the room once you visit it. There really isn’t any point to it, other than collecting something.
To my knowledge, there isn’t much else. I believe there’s a rare monster or two with a rare item or two to collect, but unless you’re really into that sort of stuff, there’s no reason to do that once you beat the game.
Last words
Harmony of Dissonance is easier than Circle of the Moon, much easier.
The game didn’t linger for too long and I’ve cleared the last 20 or 30% in one breath, so it’s definitely just as fun as Circle of the Moon.
The controls feel better, and the mechanics are interesting, though noticeably more generic than the Dual Card System. Some uniqueness is lost with that, but it doesn’t really say anything about how good the game is.
Overall, I enjoyed it.
Off to the next one!


