Key Cavern, the third dungeon of Link’s Awakening, was definitely a big jump in difficulty compared to the first two. I started dying on a regular basis here, mostly because some of the enemies started doing larger amounts of damage, compared to the half hearts I was losing up to now.
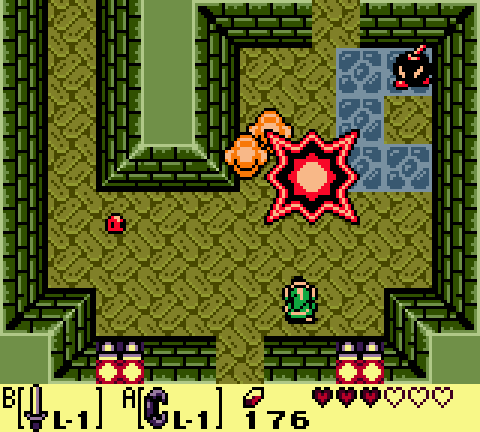
These Bomb Enemies are annoying. Once hit, they bounce around the room and explode.
Even so, I somehow managed to get both the map and the compass, though I only got the compass when I already explored most of the dungeon. The focus of the dungeon was getting four keys in order to gain access to the boss area. The boss area was a separate area of the dungeon, connected with the main area by a side scrolling part, hidden behind a total of four lock blocks. Basically, it was all about getting keys. I needed to get one key to enter a room with another key, etc., until I got into a series of rooms where I could get more than key at a time.
Mini-Boss: Dodongo Snakes
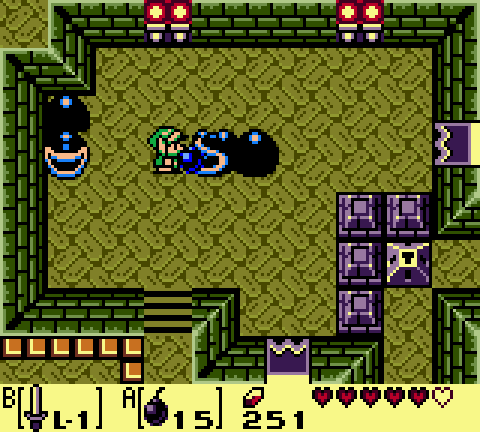
It’s easy to waste bombs in the Dodongo Snakes battle, but if you waste more than two, you lose.
The mini-boss was a pair of worms that swallow bombs, so that was the only way to kill them. The difficulty there was that I could only carry ten bombs at a time, and I needed 8 in total to kill both of them. They love to change movement directions, so it was easy to waste a bomb. After several attempts, I managed to do it with one bomb left. This got me one more key and I was finally able to enter the room with the item of the dungeon – the Pegasus Boots.
Item: Pegasus Boots
The Pegasus Boots allow link to dash, which allows him to kill some enemies more easily, break through some objects, such as those green crystal pillars, and when combined with the Rock Feather, jump greater distances. The last ability was the crucial to get the Nightmare Key and eventually, get to the boss room.
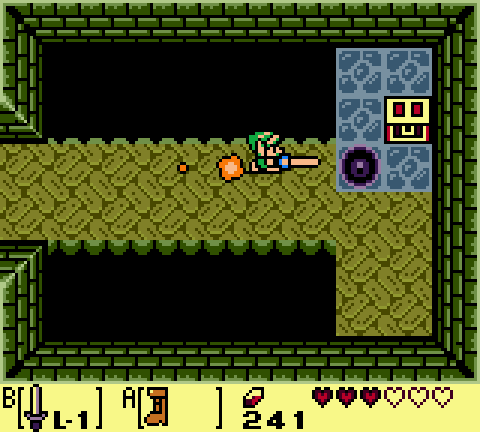
Pegasus Boots were key in getting the last key!
Boss: Slime Eyes
The Key Cavern boss was a giant blob with an eye in the middle. It was actually easy, compared to the rest of the dungeon and the Bottle Grotto’s boss. In the first phase, I had to dash into it until I managed to split it in two. On each hit, Link gets knocked back, so the difficult part was staying on top of the boss and dashing into him before he recovered.
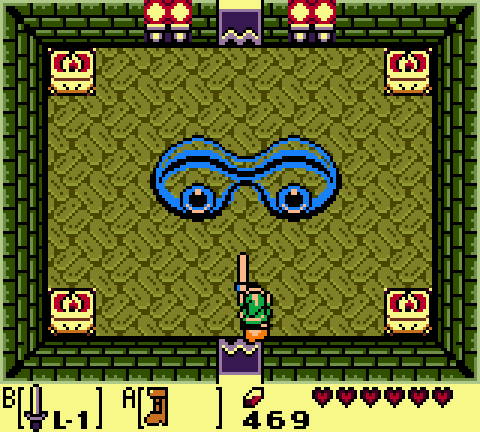
The Slime Eyes were actually easy, considering how hard the dungeon was.
Once the first phase was over, I just had to kill each of the two halves. The key here was not to spam-attack both of them, because then both would jump into the air, jump back down, stun Link and then damage him. Focusing on one at a time on my second attempt made the second phase extremely easy and the fight was one.
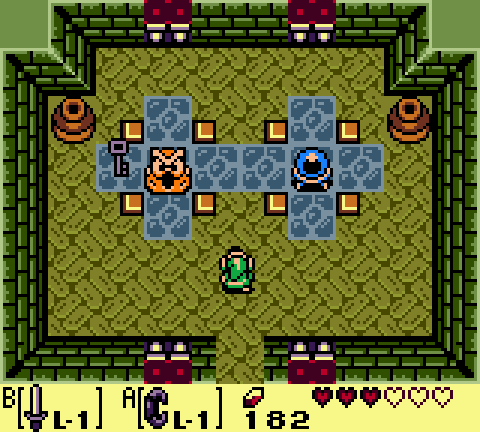
This room is easy to clear, it’s close to some stairs, and it contains a heart or two. Great for healing!
I got another heart container and another instrument – a Bell. Now, it was time to explore the world with my new dashing ability. I already have a couple of locations in mind. The Key Cavern is done for.


