Isles of Terra is taking longer than I thought, in part due to distraction, but mostly due to my unwillingness to commit to it for some reason. Most of my sessions are large chunks of time, so I keep delaying and eventually end up procrastinating on Reddit instead of playing. It’s a ridiculous thing to say, because I’m avoiding playing a game instead of avoiding some actual work, but there it is. Anyways, here’s me playing through a dungeon – the Slithercult Stronghold.
Some info
I’ve discovered this dungeon in sector B1, quite early in the game, but I was turned back by the amount of traps and then-unwillingness to heal/rest through them.
Now, the party was stronger, with Lorelei at level 17 and the other characters at levels 12 or 13. I also had Teleport and Etherealize if I needed them, so I expected it to be easier.
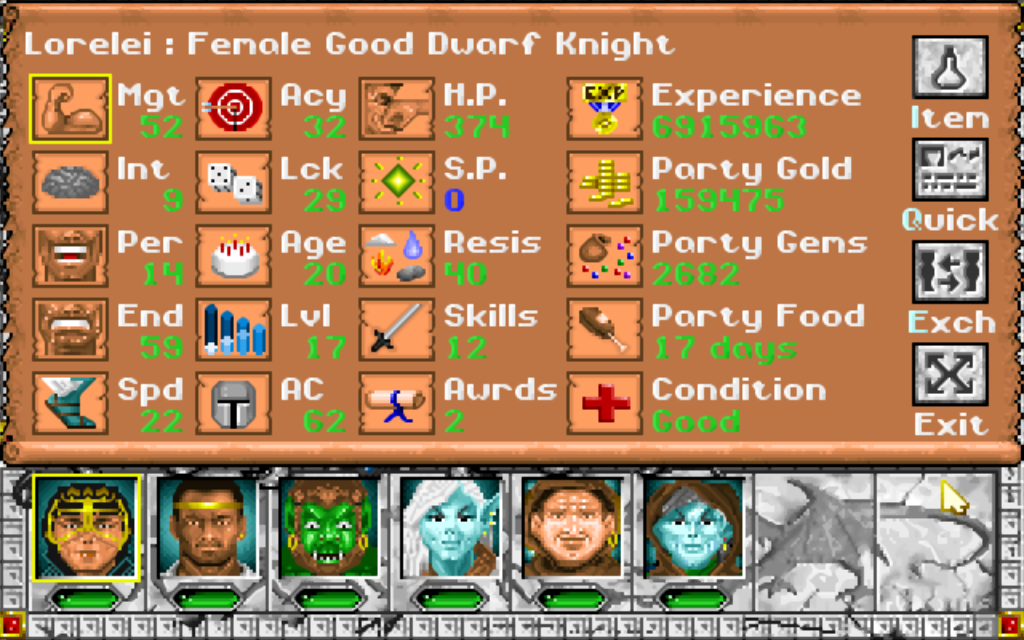
Pictured: Lorelei has a lever advantage due to an experience reward from one of the castle dungeons.
I’ve already mentioned in one of my earlier postings that I didn’t create a robber or a ninja, somehow thinking neither of them are needed. While they aren’t truly needed, this sadly does mean that I’m unable to open any treasure chest I find. I can bash through locked doors with enough strength, but there’s no such option for chests.
The reason I’m saying this is because I’ve recently freed a ninja mercenary. Since ninjas also have the Thievery skill, I planned on taking him for the ride, until I realized he costs about 2500 gold per day, which is something I can’t afford.
I opted out of that decision and made my way towards the dungeon.
Getting to Slithercult Stronghold
Based on the world map, I could either start in the starting town of Fountain Head, or the second town, Baywatch. I opted for the second, so you can now see the party standing outside of that town.

Pictured: The party standing in front of Baywatch. I’m above water because everyone has the Swimming skill, so I can “walk” over water tiles next to the shore without magic.
I make my way to the north and slightly to the east, where the dungeon is. I’ve already cast Wizard’s Eye, so I can navigate with the auto-map in the corner, not needing to open the map window constantly. The graphical advancements don’t make Isles of Terra as clunky as the two earlier games, but it can still be a bit tedious.
Before entering the dungeon, I go a few tiles further, to a magical fountain which gives everyone in the party 20 bonus levels for a day. Since this bonus is gone on resting, the increase in max health won’t really help, but the extra melee attacks and spell damage sure will.
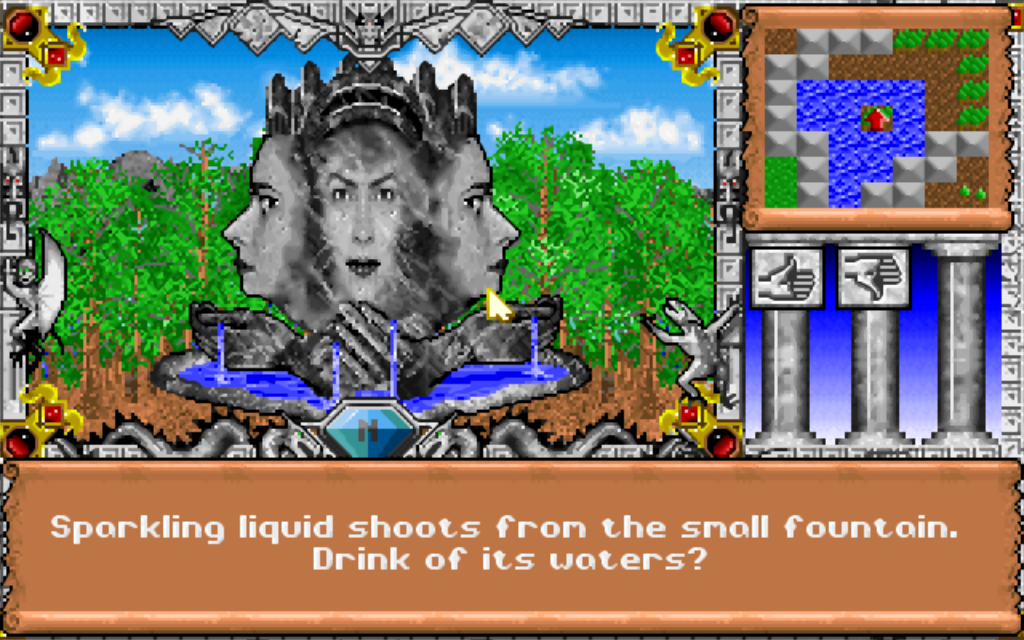
Pictured: This is a common graphic, so you don’t know what the fountain will do until you try, but the effect is always the same for every one fountain.
Finally, I go to the dungeon entrance.

Pictured: This is another shared graphic, but the description usually hints on what you might find inside.
Exploring Slithercult Stronghold
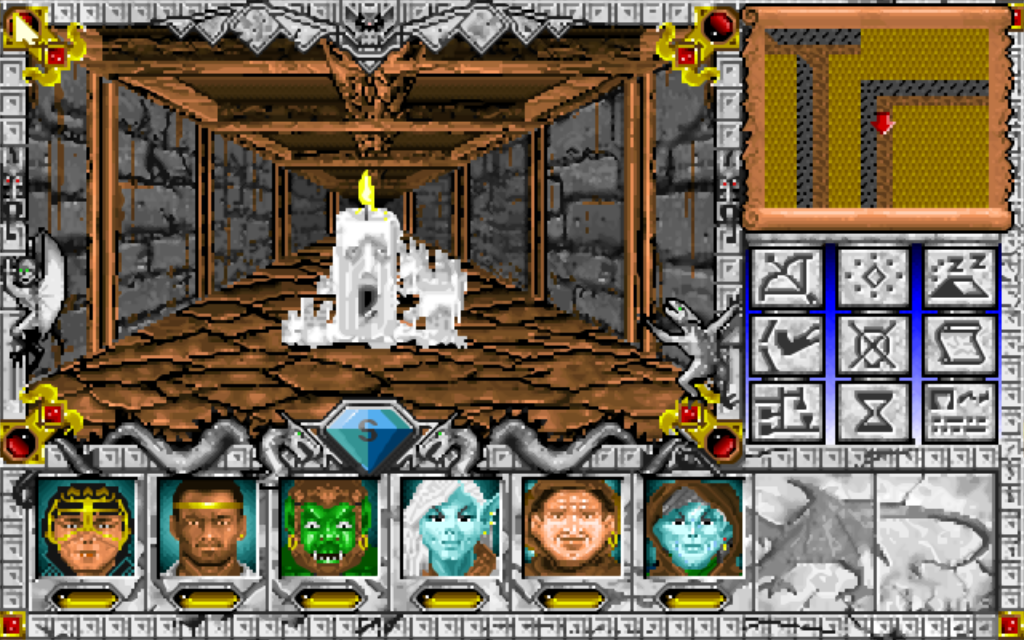
The music immediately changes to something sinister, and the main part of the screen is dark. We either need a torch, which is a waste of inventory space if you ask me, or we can cast the Light spell.
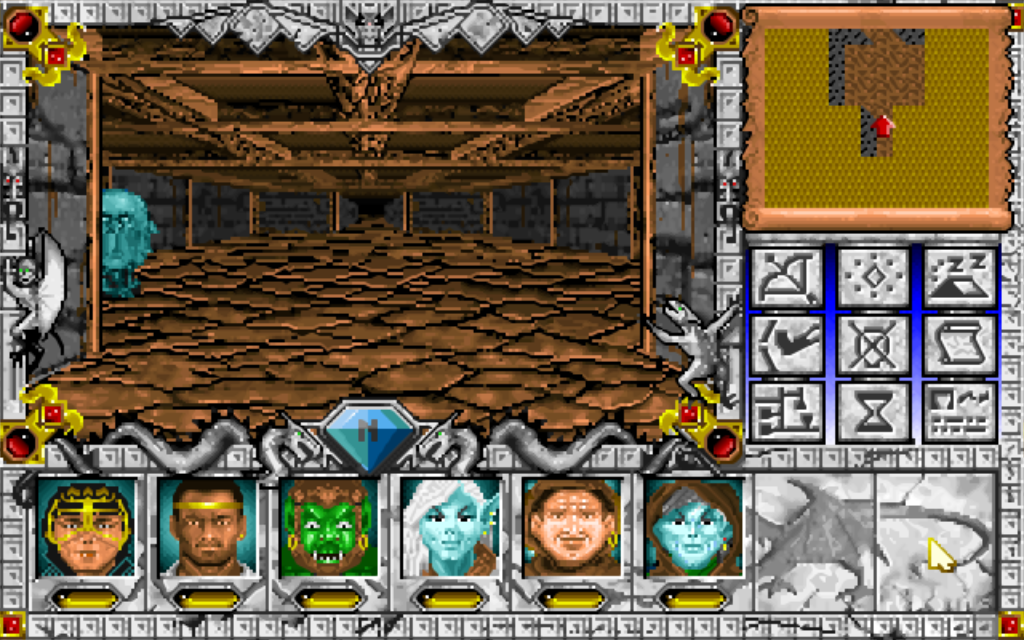
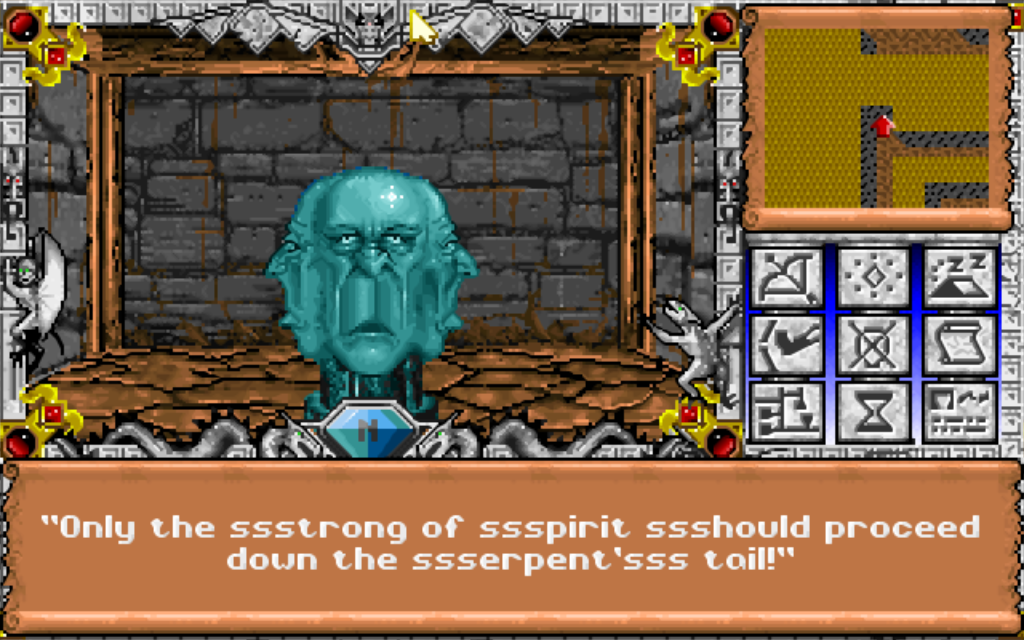
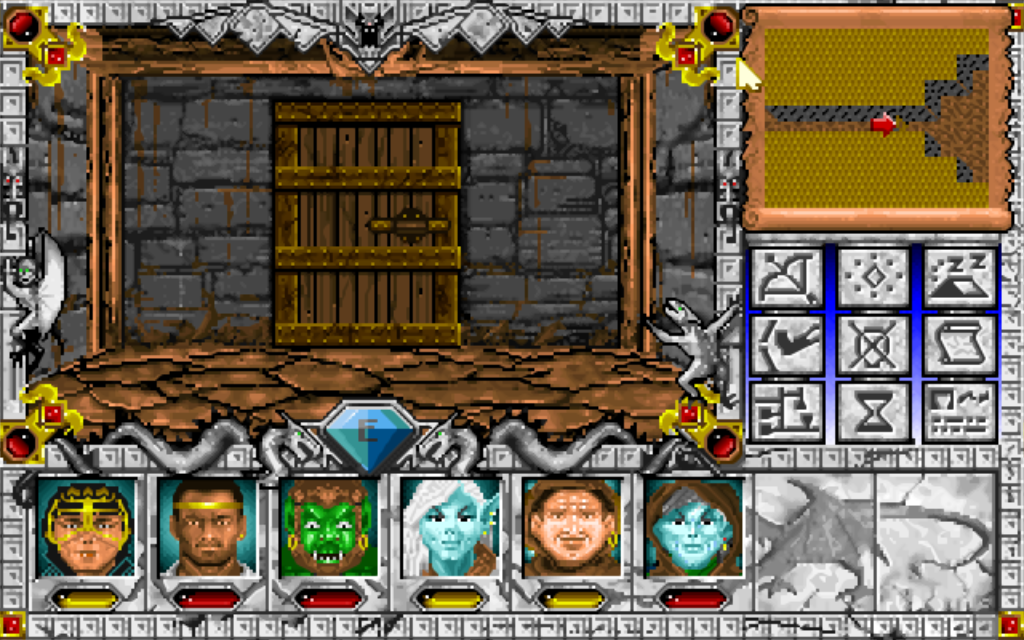
Pictured: This is the first room. I’ve already encountered the head “statues” like the one to the left in previous dungeons. Their effect can be good or bad.
Dungeons are pretty straightforward in Might and Magic. They have objects, which can give you positive effects such as stat gains, or negative effects such as disease or poison if you use them. You can’t really tell which is which until you try and use it, but all of them have fixed locations, so it’s basically the method of trial and error we need to use.
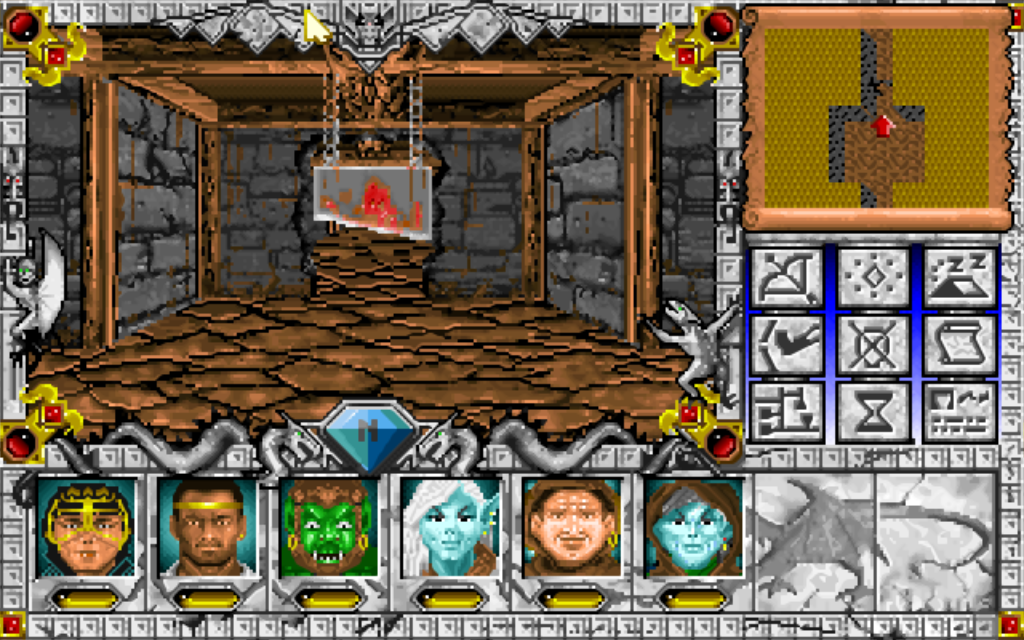
One of these objects is visible to the left, so we go and use it. Before that, we save our game, because you never know.

Pictured: The first talking head of the dungeon.
The effect of this one is neutral and I wasn’t even prompted to use it. I just got a hint about the dungeon – I should watch for traps.
Of course, I also have a personal objective – map out every tile of the dungeon. Once I do that and solve any potential puzzle or quest in the dungeon is when I consider the place officially cleared.
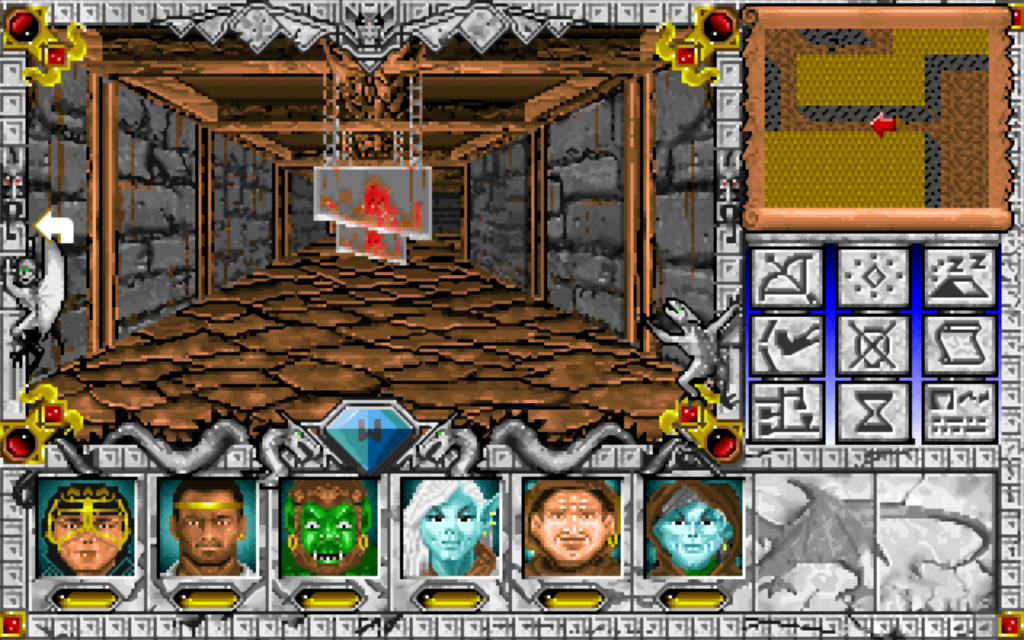
The talking head hinted I should watch for traps, but it’s really hard to miss them. There was one visible in the hallway ahead as I was walking towards the head.
Pictured: One of the many guillotine traps. They do damage to the entire party.
What you don’t see in the picture (if you see the picture at all), is that there used to be a breakable wall just behind the trap. The first time I was here, I scouted through some of the hallways and even killed an enemy or two. Among other things, I broke that wall, meaning I had to step on the guillotine tile and then use the bash option, causing the party to get hit twice.
This time, I can just use the Jump spell to skip over the trapped tile and avoid the damage altogether.
Since the dungeon is a maze full of right angles, I use the tried and true method of always turning to the same direction (in this case, to the left) while exploring the place. Once I’m done with that, I fill in any leftover gaps and that’s it.
I’m getting ahead of myself, though. I still have no idea what the dungeon will be about.
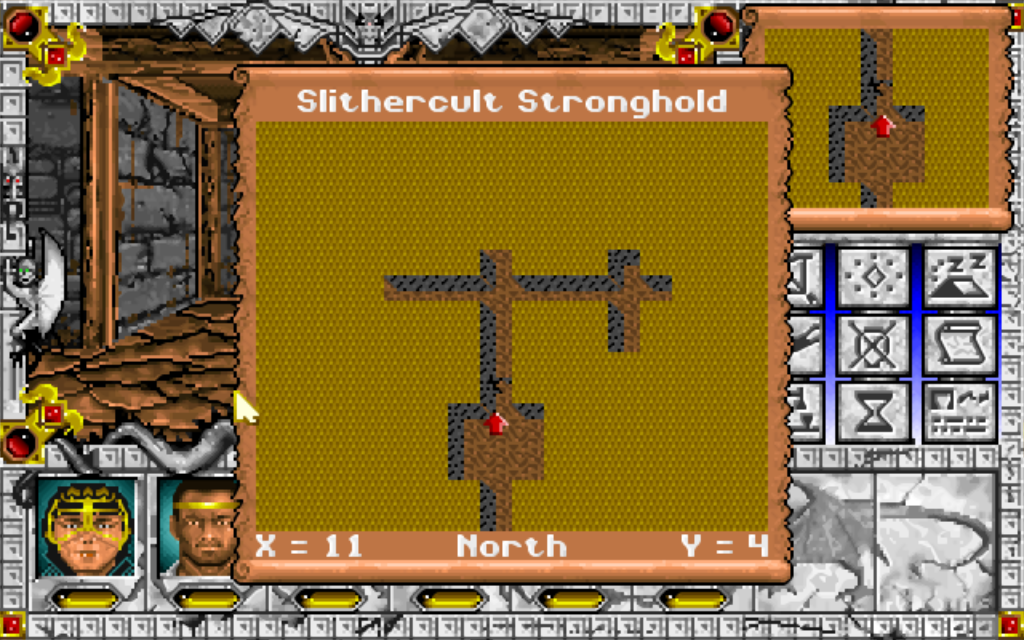
Pictured: The amount I’ve explored on my first visit. I didn’t get far before giving up.
Now, there are several things that help with exploration. The Cartographer skill is what I need on at least one character to get the auto-mapping feature on the map window. To get the same feature in the mini-map area to the top right of the main window, I need to cast the Wizard’s Eye spell. Without Direction Sense, the compass of the main game area would not be visible at all and the arrow on the map screens would be replaced with an X, so that helps to.
The spiral southwest
In any case, I set off to explore, and skip the first guillotine with the Jump spell. I can’t do the same with the next one, though. It’s on a corner tile, which is just mean.

Pictured: I can’t jump through corners, nor can I etherealize or teleport, so I have to take damage once.
I do want to avoid hitting it twice, though, so I can either walk forward once and side step to the left before turning, or turn first, then side step to the right and go forward. Turning on the tile would cause damage.
Technically, I could also use the Etherealize spell to avoid getting it at all. Etherialize does the same as Jump, except it doesn’t care about obstacles or even walls. An additional effect of this spell is that whichever square you land on doesn’t have any effect at the moment of landing, so I could etherealize into the guillotine and then side step to the left and avoid all damage. I do not consider the SP cost worth it in this case, though.
I go with the first option and as soon as I turn, I see one of the enemies on a tile ahead of me.
Pictured: One of the enemies in Slithercult Stronghold.
It turns out there’s more, but I couldn’t see them due to positioning.
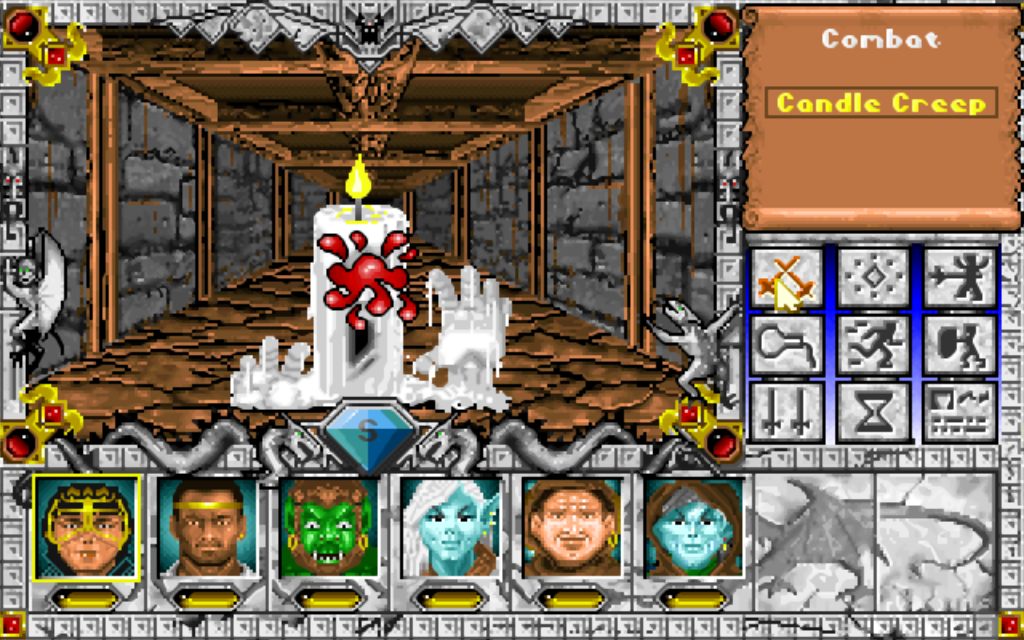
Pictured: A group of Candle Creeps in combat. This one is animated, for the coolness factor.
The fights are turn based, and mostly not very interesting. In the previous two games, a character could either be in the front or back row, which affected who was able to hit who.
There’s none of that in Might and Magic 3. A character’s position on the bar bellow affects the chances of the enemy targeting them, but that’s about it.
As for the enemies, there can at most be two or three in a fight against you, or at least, I have yet to see more than that. The rest are patiently waiting behind to join in as you drop one of those in front. You can’t target those in the back in any way.
If you do see enemies in the distance, you can throw a a few ranged attacks before they reach you. These can be missile attacks, or magic. Once they get near, missile attacks are out of the picture, but spells are still available. This makes archers not as cool as in previous games.
There’s one thing I strongly dislike about Might and Magic 3. There are no damage values. The only indicator of how much damage you do is the size of the damage effect. Because of that, I’m never really sure how effective my attacks are. The best I can do is look at the values in the manual, do some calculation and hope there aren’t any hidden modifiers.
In any case, I’m fighting a total of 3 candle creeps here. It’s a quick fight, since I am a few levels above of what I’m supposed to be for this location.
Pictured: Lorelei killing the last candle creep. The blood effect is the only indicator of the damage I did. Luckily, I at least get to see how close the enemy is to dying, as indicated by the currently yellow name.
This southwestern area of the dungeon ends up having a spiral design and is infested with candle creeps. Every now and then, I also encounter another talking head statue, giving me another hint. I’m writing them down as I’m mapping the place.
Pictured: Another talking head, with another hint.
The spiral ends with a locked room, so I bash the door and discover something I haven’t seen before.
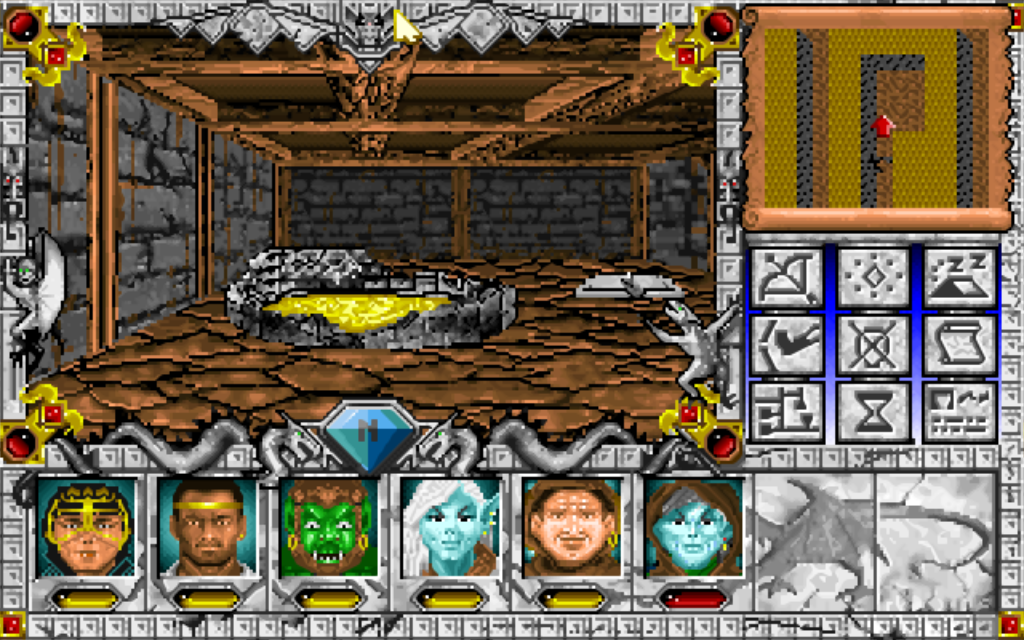
Pictured: A magical pool and a metal lock box.
The pool gives a permanent boost of two levels to any one character, and also does some damage at the same time. I use it on Lorelei. I know she’s already ahead of everyone else, but I haven’t seen a hint of level scaling in the game, and I’m thinking there’s more experience points between levels 17 and 19 than between 12 and 14.
As for the metal lock box, I can’t open it, since I don’t have anyone with Thievery. I’m taking a note of this, so I can return at a later time.
The puzzling northwest
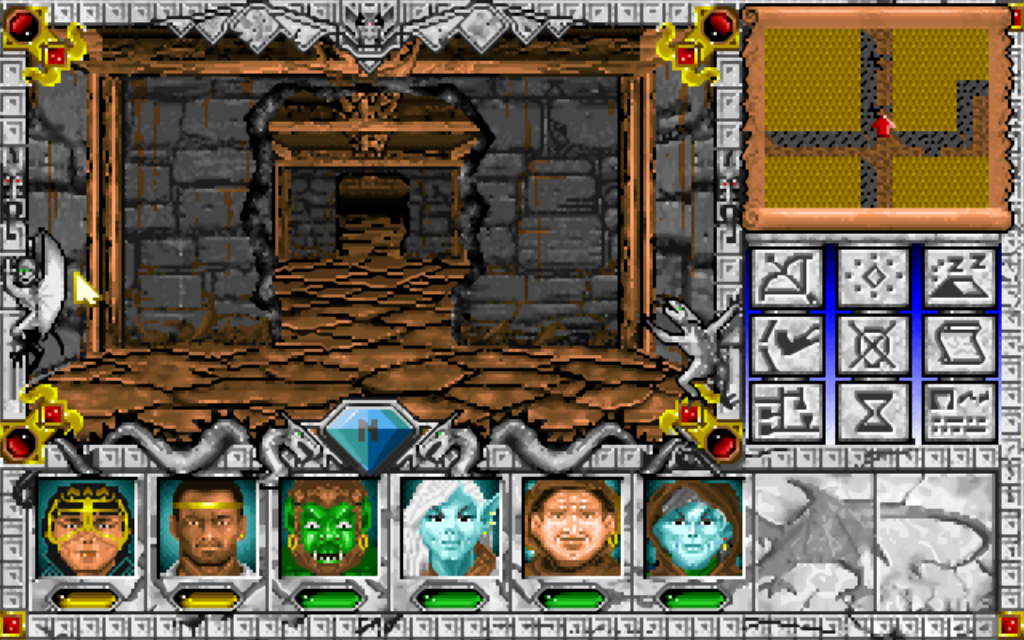
With the spiral area explored, I go back to the first intersection and move to the northern passage. Soon, I find another common type of messages Might and Magic 3 throws at the player – writings on the wall.

Pictured: Writing on the wall. Sometimes it’s about the current dungeon, sometimes about some other place.
Following the rule of going to the left on every intersection, I get to a fake wall, which I bash trough. This opens up a secret room filled with candle creeps and cobra fiends.

Pictured: The few monsters I see are not the only ones in the room, but overall it’s easy to clear.
The cobra fiends are thematically closer to the dungeon name, but surprisingly not at all tougher than candle creeps.
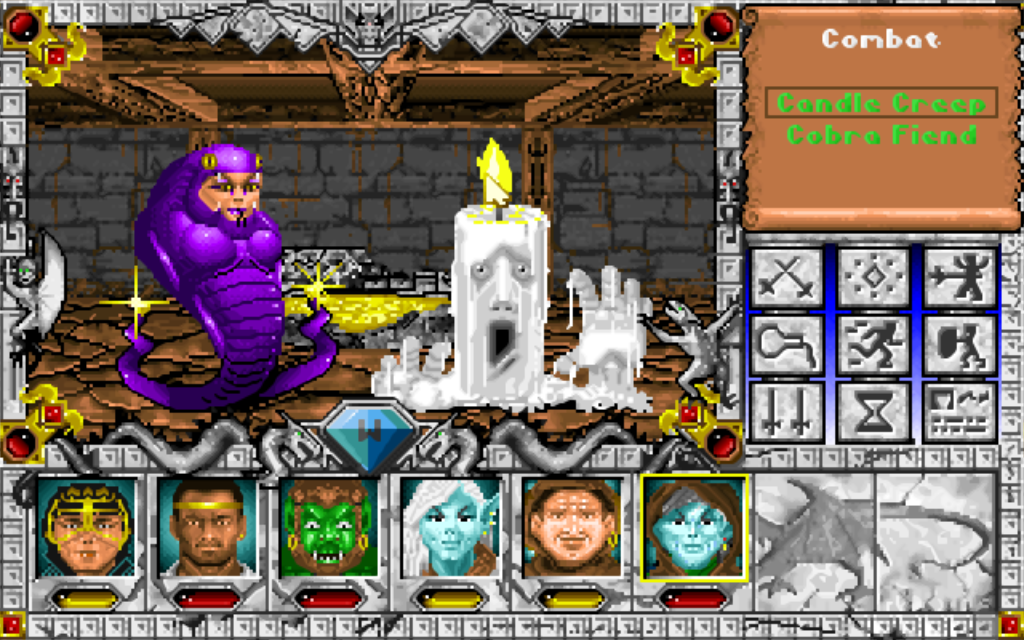
Pictured: A cobra fiend, next to a candle creep.
The room contains another pool, as well as another lock box. I, again, cannot open the box, but the pool contains a Sacred Silver Skull this time.
This is an item I’ve been collecting since the game began. There’s an NPC in Fountain Head that rewards me for each Silver Skull I bring. I honestly did not expect to keep finding them this far in the game. I guess it really is an early dungeon I skipped.
Back an intersection, I continue to the northwest and find a different type of talking head. This one has a question for me.
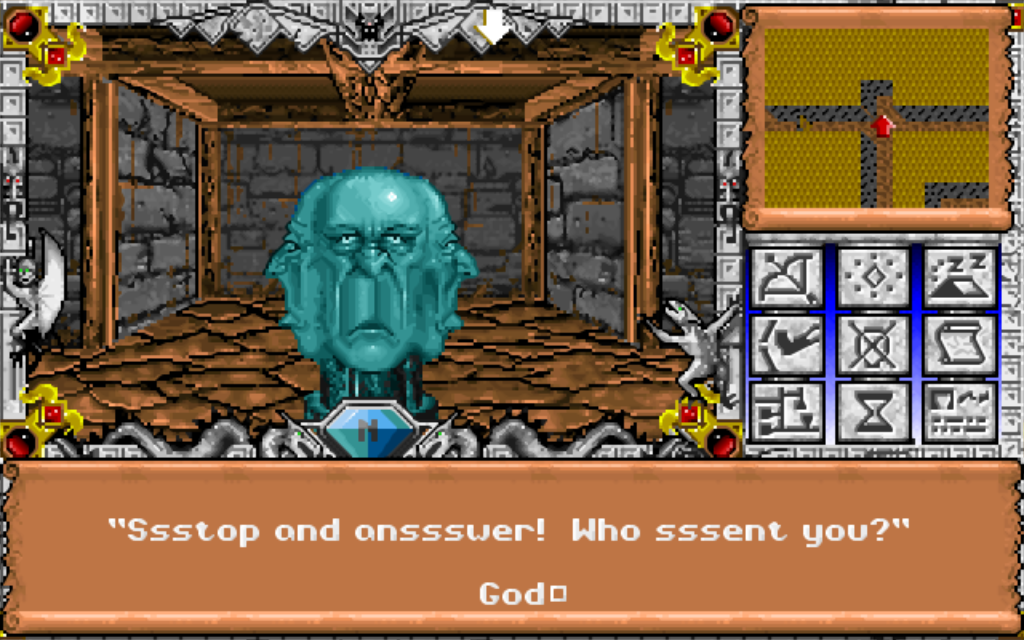
Pictured: Attempting to give an answer to the talking head. At least this one doesn’t do anything bad if I answer wrong.
One of the hints mentioning being strong of spirit in order to proceed, so I gave it my best, but still extremely poor shot and answered “God”. I was wrong and the statue pushed me back a tile.
I guess this is this dungeon’s puzzle.
The unfortunate northeast
I go back to the second intersection and go east this time. This leads me to the northeastern area.
After killing a bunch of cobra fiends, I get to another locked door.
Pictured: I actually remembered taking a picture before bashing the door open.
This one also blocks me from entering a monster-filled room. There’s a new type of enemy here to – the evil ranger. I’ve actually met them in one of the castle dungeons, so they aren’t exactly new to me, but they are certainly new to this report.
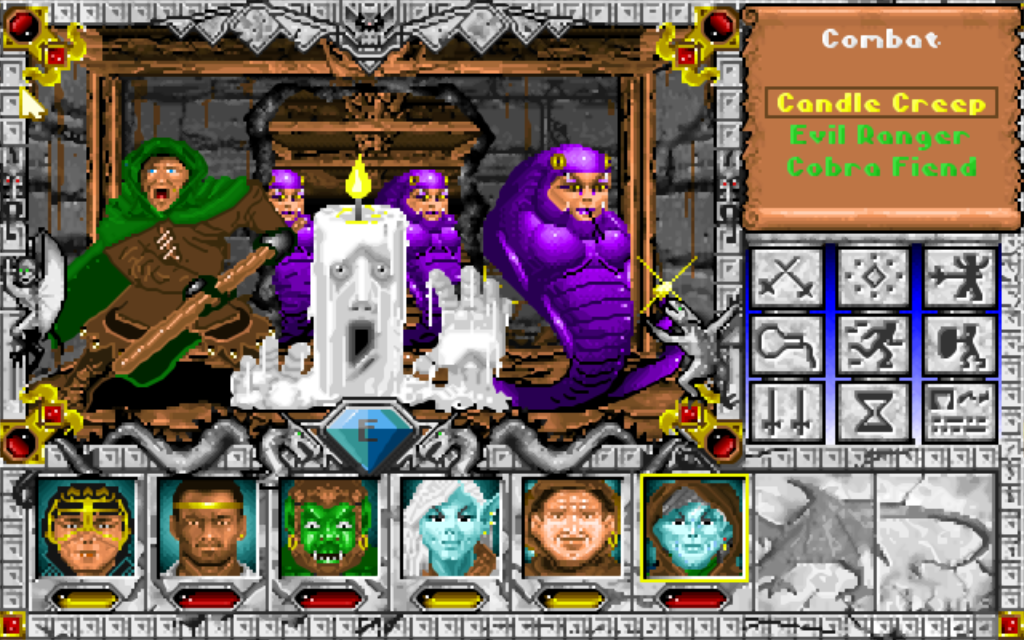
Pictured: The evil ranger is small enough to fit next to a candle creep and a cobra fiend.
You quickly learn that the early Might and Magic games are formulaic in level design. As the two previous rooms, this one also contains a pool and a lock box. In the pool, Percival finds something called an Ancient Fizbin of Misfortune. I have no idea what it is, but it sounds ominous.
It’s a large room to, but there’s nothing else in it, so I go back.
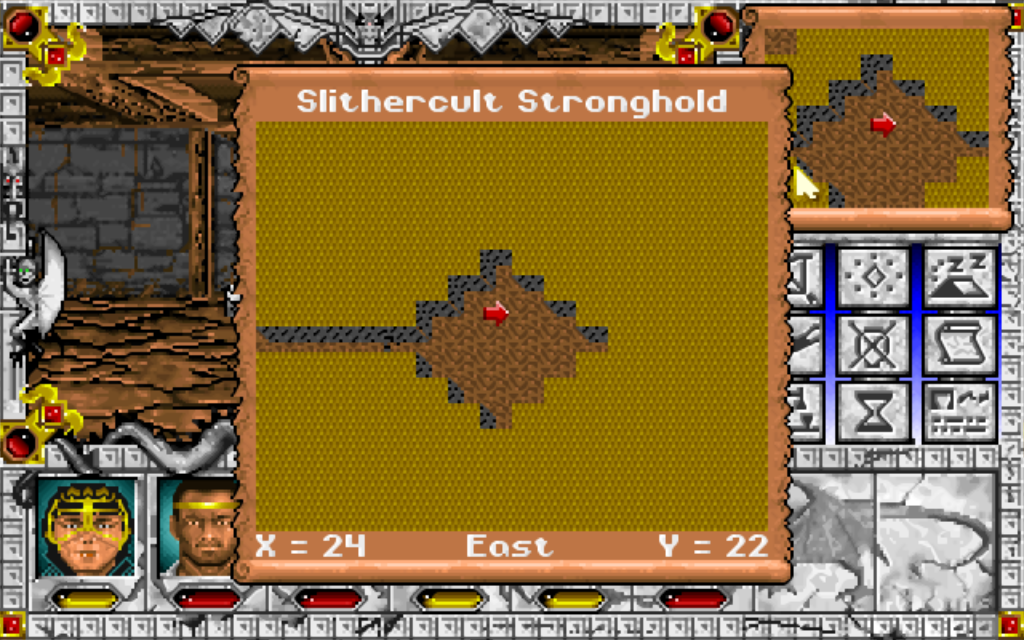
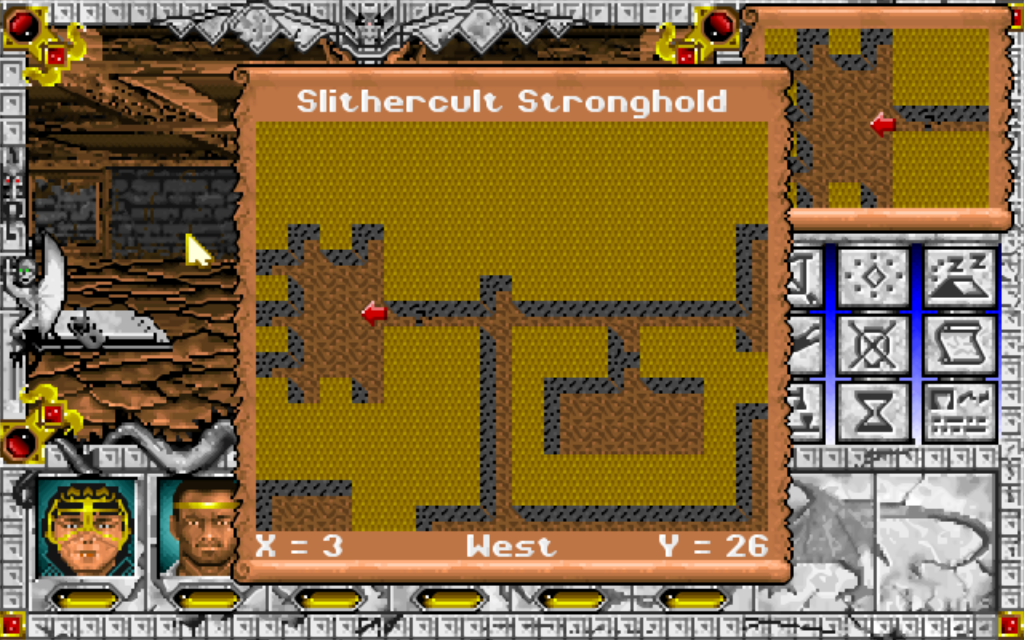
Pictured: The map scrolls when it’s bigger than 16×16, so you can never see it in its entirety.
The perilous southeast
I go back to the very first intersection and go east, to explore the final, southeastern part of the Slithercult Stronghold.
Immediately, a breakable wall and a locked gate are in my way.
Pictured: Doors and walls were hurt in order to take this picture.
Bashing through, I find one more room with one more yellow spring, but no lock box this time. The pool contained several Quatloo coins. I already got a bunch of these from other sources, but up to now, I had no idea what to do with them.
On thing did occur to me as I’m writing this, though. There are fountains in Fountain Head, where I can throw coins for good luck, except the fountains are polluted with green slime. Maybe this is all somehow related? I have no idea, but I intend to find out.
Another secret wall takes me to another big room with a yellow spring and a lock box, but also several cobra fiends and a candle creep or two. Once I clear those, I try my luck with the pool and get another Sacred Silver Skull.
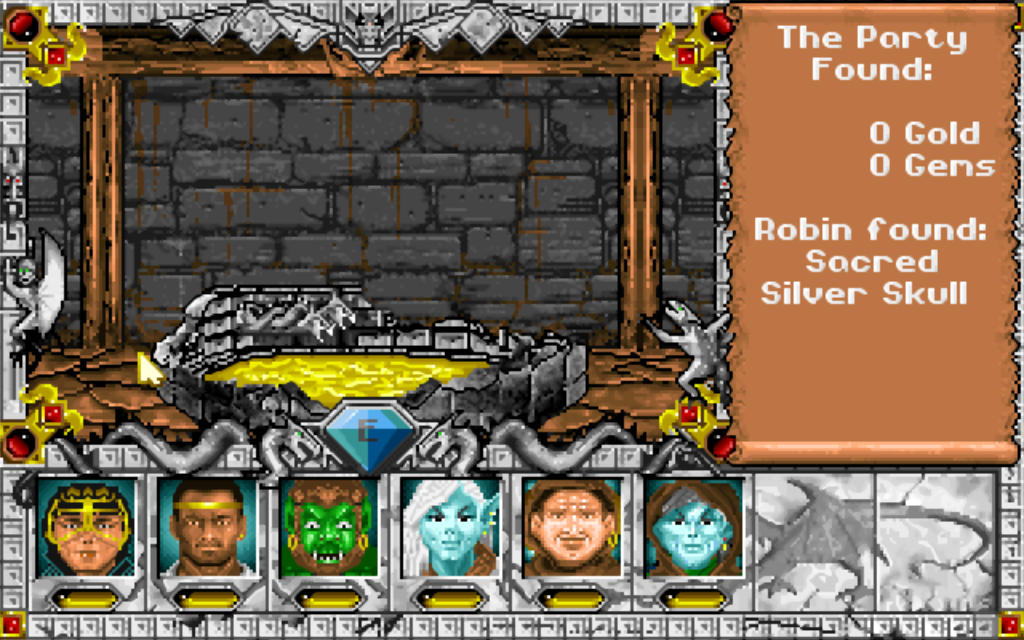
Pictured: Any found items go automatically into the bag of the first character that has room.
The final southeastern passage is the most dangerous one, containing three consecutive guillotines right after turning a corner on the first one. Luckily, the party can survive it at the level it’s at.
Pictured: A yellow gem bellow the portrait simply indicates the character is damaged, but not critical yet.
A low level party would have to be very careful here. The best approach would be to first turn east. After that, to minimize damage, the party would sidestep right into the first guillotine and cast Jump to skip the second one. Otherwise, someone would probably end up dead.
Past the guillotines, there’s a locked door, so the party also needs to pay attention to the “danger bat” on top of the screen. It’s moving at this point, meaning there are enemies behind the door, so it’s as good a time as any to rest before proceeding.
For me, though, I took a step forward, side stepped three times, turned east and bashed the door without needing to rest. The group of monsters inside was quickly dead.
This final room I could explore contained two pools and two locked boxes. The pools granted Lorelei and Percival about 30 permanent poison resistance each, so it was a great prize.
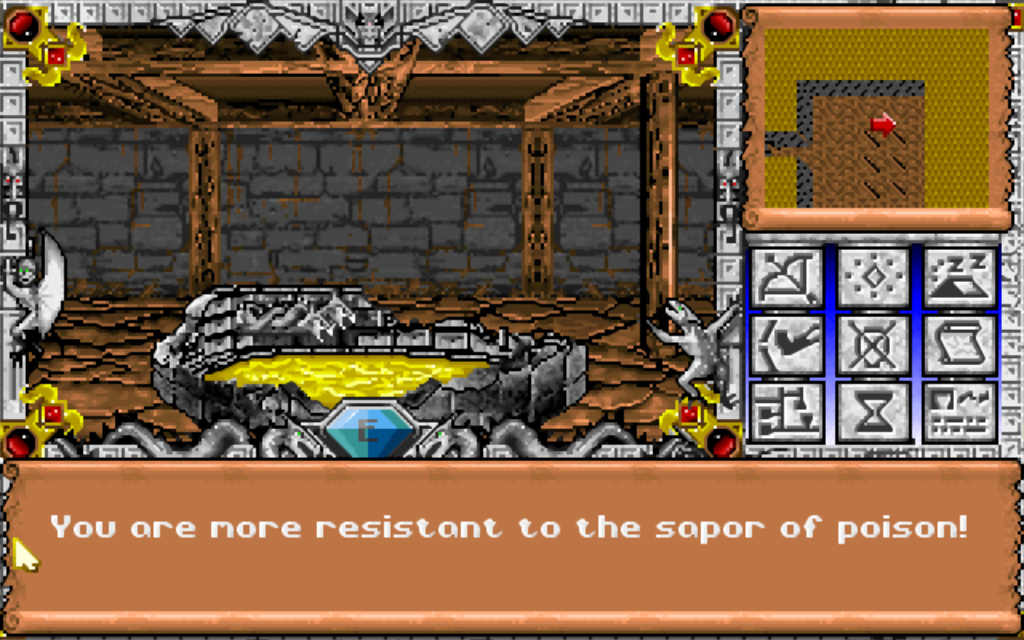
Pictured: Percival getting a boost in poison resistance.
The dungeon was not done yet, though. I still needed the password for the talking head in the northwest. Since I didn’t find it within the dungeon, I went and looked at my old notes, hoping to find something there.
…
Then I figured out there actually is a hint and it was written on the wall:
Say the missing brother sent you.
This needs an explanation.
There was a quest that started in Baywatch, involving five brothers: Alpha, Beta, Gamma, Delta and Zeta. Alpha was in Baywatch and Beta in Baywatch cavern. Gama was in Wildabar and Delta in Wildabar cavern. Zeta was the last brother and I found him, in the Arachnoid Cavern.
My first instinct was to try Zeta, since Zeta wasn’t in any of the towns. This didn’t work. Then I took a look at the Greek alphabet and realized Zeta wasn’t the last letter; it was the sixth. I tried Epsilon, which was the actual fifth letter and that worked. The statue didn’t push me back anymore.
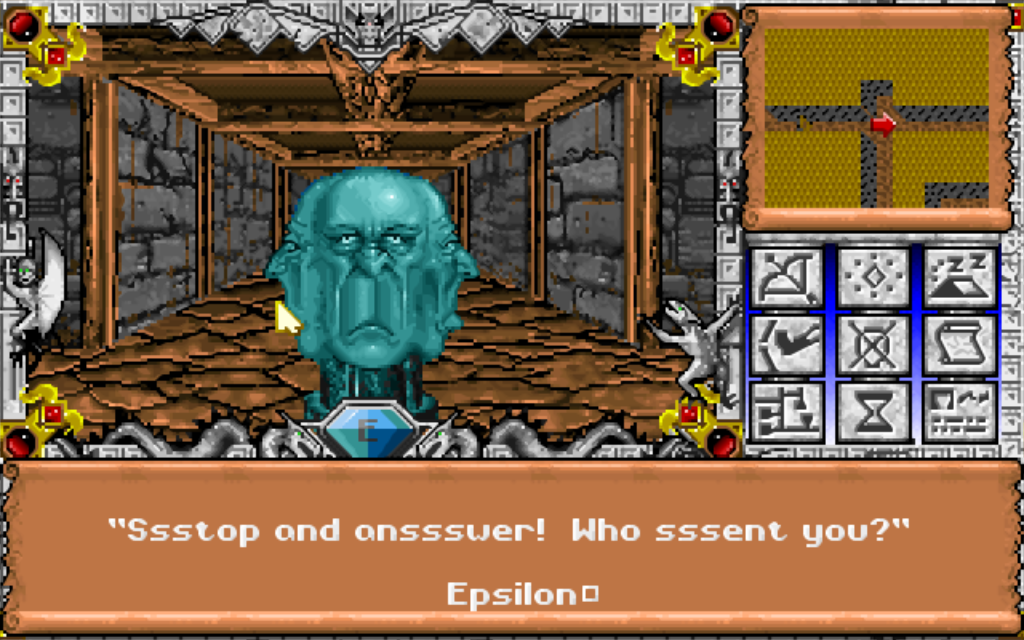
Pictured: Other than not being teleported, there is no other indicator of answering correctly.
The Ssslithercult Sssaloon
There’s something absolutely amazing past the talking head, to the east – the Slithercult Saloon.
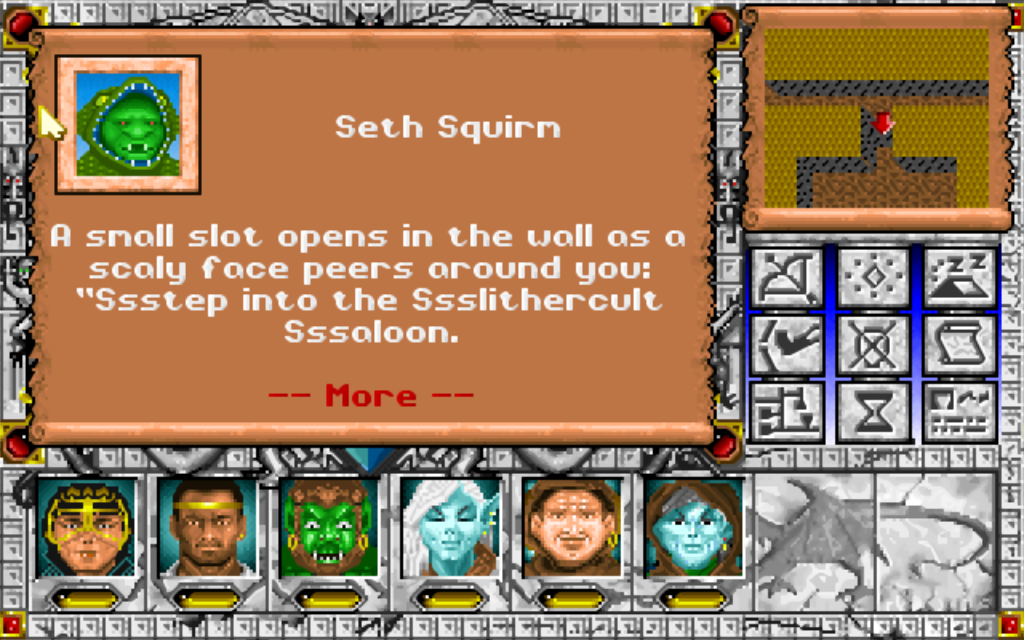
Pictured: The entrance to Slithercult Saloon.
So what is this place?
It’s where I can finally waste all those Quatloo coins, meaning my previous theory was completely incorrect. It’s also were the Ancient Fizbin of Misfortune comes into play, it seems.
An explanation.
There are talking heads demanding Quatloo coins to swallow. If I agree and provide one, they boost that character’s individual stat by five points. There’s one statue for each of three attributes – Might, Accuracy and Endurance.

Pictured: This Quatloo statue will boost a character’s Endurance.
On the other hand, if I try to use it with a character carrying the Ancient Fizbin of Misfortune, that character gets eradicated.
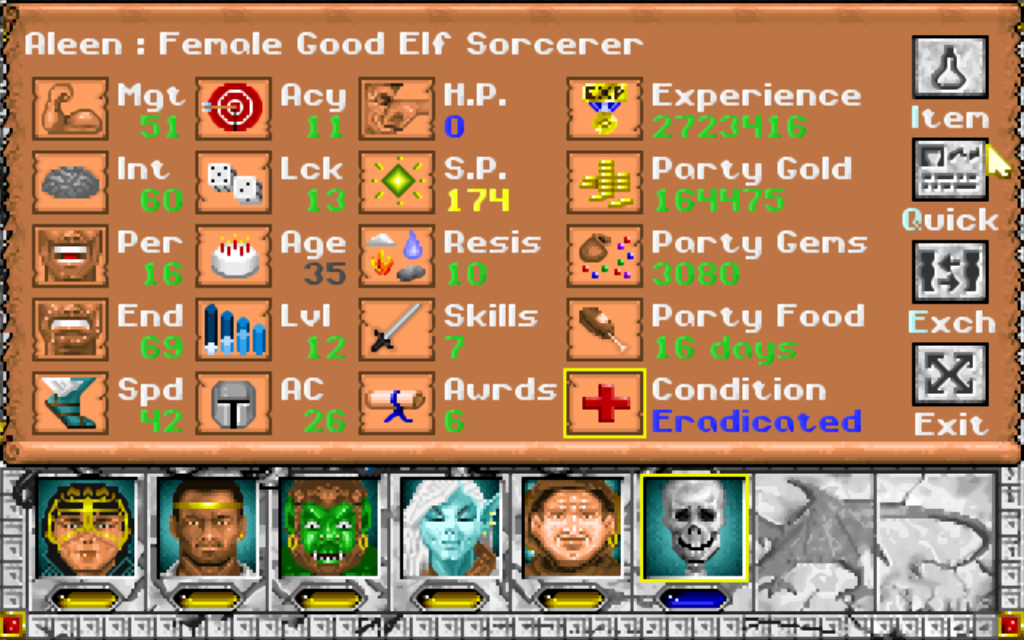
Pictured: Aleen was the guinea pig for this screenshot. It only happens in a parallel dimension, where I don’t reload the game.
Knowing Might and Magic, though, there’s probably some other function of that seemingly horrible item, so I’ll be keeping it for now. I just have to be careful and take note of who’s holding it.
Even with the Saloon found, the dungeon is not over yet.
The far eastern room contains another minor puzzle. It’s a large room filled with guillotines. The empty tiles aren’t completely safe either, though. Some of them contain teleporters that send you back to the entrance of the room, right under another guillotine.

Pictured: I’m a calm guy, but this room was starting to get on my nerves.
Solving this puzzle takes me to the boss room. Most dungeons I’ve explored to this point had one of these. It’s not really a room special in any way, except that it contains the special monster of the dungeon.
In this case, it was the cult leader and it looked exactly like a regular cobra fiend, so I almost killed it without taking a screenshot.
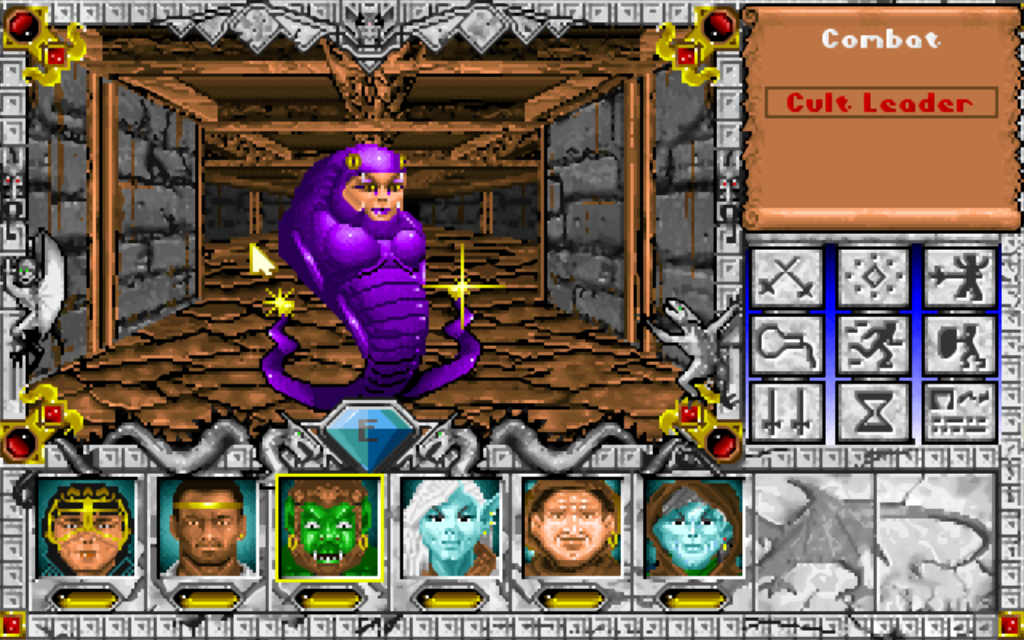
Pictured: The cult leader, near death.
My reward was 10.000 gold, 25 gems and access to another room with another pool and three locked boxes. The pool gave me the Ancient Artifact of Neutrality, which sounds like something I need to hold on to. I know for a fact someone is already looking for the Ancient Artifacts of Good and Evil, so I’m bound to find someone who also needs this one.
In fact, I already have two Ancient Artifacts of Evil in my bags.
Now, this I mention how evil Might and Magic games can be?
Well, they can be very evil.
There was one more talking head in the guillotine puzzle room I couldn’t find a way to reach by walking and jumping over the safe tiles. Instead, I had to jump from one guillotine to another.
Know what that head does? Absolutely nothing. Well, it laughs maniacally.

Pictured: Evil incarnate
And I’m still not done at this point!
There’s one more room to the east that I skipped, somehow.
This one didn’t take long, but it did contain a pool with an item called the Precious Pearl of Youth and Beauty.
Pictured: Layout of the room containing the Pearl.
This is a good a time as any to explain how age works.
In Might and Magic Book One and Book Two, some spells or events would age characters. If a character is old enough in those games, they might just die. Luckily, there are spells and locations in those games that can rejuvenate any character to as low as their teenage years.
In Might and Magic 3, there’s natural aging and unnatural aging. You can’t reverse natural aging. It just happens as you play. As for unnatural aging, there are methods to reverse it, but I have yet to find any.
Considering the name of this item, anyone would understand why I got excited, especially since most of my characters were already unnaturally aged by fights against ghosts and similar monsters.

Pictured: Aleen was naturally aged by 15 years already.
Alas, the pearl is neither usable nor can anyone equip it, so I’ll continue my search.
I have a good guess on what it might be meant for, though. I’m pretty sure there was an NPC that wants their beauty restored. The only problem? I wasn’t careful with my notes so I can’t find him in any of them.
Recap
In any case, that’s Slithercult Stronghold.
Here’s what we got out of exploring this dungeon:
- 2 Sacred Silver Skulls, tradeable for gold and experience
- 2 Levels on Lorelei
- 30 Poison Resistance on both Lorelei and Percival
- The Ancient Fizbin of Misfortune
- The Ancient Artifact of Neutrality
- 20-30 points in Might for Lorelei, 5 points in Accuracy for Percival and 5 points in Endurance for Rax at the Slithercult Saloon, all traded for Quatloo coins, some of which I got in this dungeon
- 10.000 gold for the cult leader fight, more gold and experience from all the other fights
- The Precious Pearl of Youth and Beauty
There was also a total of 10 lock boxes I have yet to unlocked, so I decided to go for it. I traveled to Fountain Head and used the portal to get to Wildabar, in order to hire a ninja.
With Wartowsan in the party, I rushed back to the dungeon, to save as much gold as I can, and started opening those boxes. Here’s the grand total of that excursion:
- 5000 gold
- Coin of curing, leather flamberge, coral padded armor, bronze belt
- Wooden pendant, bronze leather armor, crystal chain mail
- 3000 gold
- 50.000 gold
- 10.000 gold
- 200 gold, 500 gems
- 1000 gold, 1000 gems
- 20.000 gold
- 500 gold
- Life amulet, Power belt, silver boots, Warrior shield
The last three chests were in the boss room. Based on some of these, I’d say some treasures are fixed and some are random. The grand total in currency alone was 89.900 gold and 1500 gems. Wartowsan was well worth it and I’ll be doing this thing of hiring him after exploration with any other dungeon I decide to explore.
Also, with Wartowsan’s Thievery at 53, he wasn’t able to pick all the chests on the first try. Lucky for me, you can try again. Even luckier for me, though some of the chests were trapped, none of them were as dangerous as the chests in the previous two games.

Pictured: It’s not a horrible thing to fail at thieving in Might and Magic 3, unlike the previous two games.
And another thing.
When you’re using a hireling, you get a daily expenses summary at the end of each day, so it’s not as easy to run out of money as it was in the first two games.
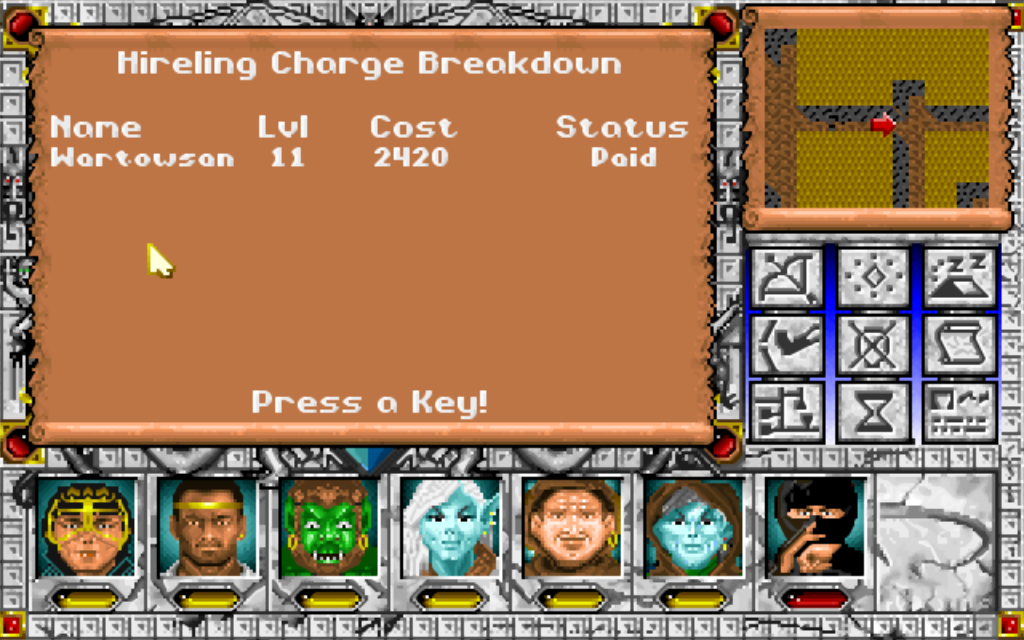
Pictured: The daily expenses window.
Back then, one could easily forget there are two high level characters in the party with the daily wage of 50.000 gold each. In this one, it’s extremely difficult to forget that.
Conclusion
It took me 4 to 5 hours to clear this dungeon while writing the article. It takes me less then half of that when I do it by just taking notes for myself.
There aren’t as many dungeons in Isles of Terra as there are in Skyrim, for instance, but all of them are designed by hand. They also might not be very thought through, but they have a point to them and they have a substance, or at least, it feels that way.
In any case, this was one of them and it should illustrate what the early Might and Magic games were about – you explore everything, take notes and see how the whole game slowly unravels in front of you.
There’s no next objective to follow. There’s just you, your party and your maps and notes. It’s up to you to figure it out and if you’re methodical in your approach, you WILL eventually figure it out.
I keep mentioning notes here and as I said, I’m making my own map and notes as I go along. Here’s the one I made for Slithercult Stronghold, while writing this. I make them in Excel.

Pictured: Excel-made map of Slithercult Stronghold, with notes.
I hope someone enjoys reading this as much as I enjoyed writing and playing it.
Meanwhile, I’ll focus on playing some more. I’m hoping my next posting about Might and Magic 3 will be about me beating the game.


