I actually played Link’s Awakening a lot longer after completing the Eagle’s Tower, but since that posting became a lengthy one, I decided to put Turtle Rock into a separate submission.
Everything I wrote about below happened on May 4th, 2013.
I Considered Exploring
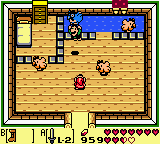
I’m not sure if the Hen Breeder looks more like Mario or Luigi.
For a few minutes after completing Eagle’s Tower, I actually considered setting out to explore. I got off the mountain and made my way towards the village, but I ended up giving up on it, realizing the Mirror Shield probably won’t unlock a bunch of new areas. Instead, I climbed up the mountain again and visited the Hen Breeder. Apparently, the Flying Rooster found a new home here.
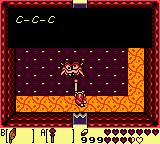
I Rescued Marin
I stopped for a moment and then got a moment of clarity. If anything can get me through a flamethrower turret, it has to be the upgraded shield. I made my way towards the cave and stumbled into Marin at the rope bridge. Apparently, she got kidnapped. In an awesome action scene, I used the hook shot to rescue her, Tarin got there and they both left. Then the owl arrived and said Marin was trying to wake up the Wind Fish with her Ballad. I guess something was going on.
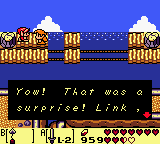
I tried to capture the action scene, but it was to high speed. Marin is impressed!
I Fought a Giant Turtle
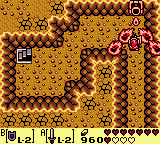
The fire deflection is a cool effect.
I got to the cave, used the shield and sure enough, it blocked the flames, creating a nice effect of splitting them into two. A few screen later, I was at Turtle Rock. It actually was a giant, petrified turtle. I used the frog song to revive it and then promptly chopped off its head to reveal the entrance to the Turtle Rock dungeon.
I revived it so I could kill it.
I Entered Turtle Rock
Yes I did, and compared to the Eagle’s Tower, Turtle Rock was a breeze to get through. Sure, it took me a long time, but it was all one, single, huge level, and there was nothing confusing about it.
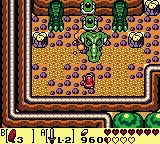
The cyclops now dies in 2-3 swings of my sword.
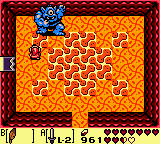
The level was divided into several areas, each having a mini-boss room with an enemy I defeated in one of the previous dungeons. Since the areas were connected with side-scrolling screens, they would reset every time I left, so I ended up fighting a lot of mini-bosses. By far the most annoying one was the ball throwing thing called the Smasher. I had to fight it the most often and it had a mechanic I needed to use instead of just swinging my sword.
Even the side scrolling areas have a final level theme.
There were two difficult aspects to Turtle Rock. First, I needed to figure out the mechanic behind those movable blocks. At first, I thought they just moved on their own, but eventually, I managed to figure out that I was controlling them once they started moving. This was important because several rooms involved me creating the correct pathway through them, or even filling out everything with floor tiles to make a chest or a key appear.
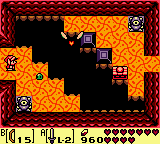
I had to use the block to fill the entire screen with floor tiles here.
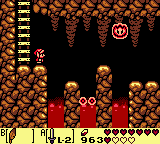
After well over an hour of exploring, familiarizing myself with Turtle Rock, mapping the layout and getting all the items, I got past two important milestones. First, I found a way-point about half way through. There was an additional exit/entrance to Turtle Rock, which led me to a teleporter way-point outside, as well as one more entrance to the dungeon. From there, I was able to kill the two dodongo snakes, as instructed by one of the owl statues. I had to kill them from a ledge above them because that’s where the chest would appear and there’s no way to get to the chest from below without leaving the dungeon.

The alternative path led me to a hearth scale.
I Used the Magic Rod to Defeat Hot Head
This unlocked more areas in the dungeon by giving me one more key and eventually got me to my second milestone – getting the magic rod. Once I had the magic rod, pretty much everything was explored, so all I had left was to get to the boss room. In order to do that, I had to go through a side-scrolling area filled with ice blocks, so I had two more minor puzzles to figure out, involving destroying the correct ice blocks while living the important ones standing.
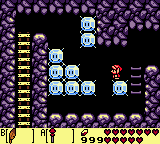
This was the last puzzle I had to solve.
Once all that was done, I got to the boss and that was it. Hot Head was extremely easy. I just hit him with the magic rod until it was dead. I was surprised it worked because the magic rod fired fire balls and Hot Head was, well, made out of fire, but it did.
Hot Head was embarrassingly easy to defeat.
I got the final instrument, the Thunder Drum and now, it was time to get to the Wind Fish Egg.


