I’ve fully mapped the wilderness of Sorpigal. Well, I mostly fully mapped it. It turns out, I forgot to mark the transition to the northern region in the northeastern part of the map, but I’ll correct that at some point in the future. In case, it was time to give the cave near Sorpigal a try.
All of this happened between the 27th and the 29th of May of 2013.
The Cave near Sorpigal (C-2) is HARD!
I thought this would be the logical next step in my exploration, but there’s a definite possibility I was completely wrong. Some of the encounters in there are manageable, but most of them are a pain to get through, even with some very generous usage of spells.
Door #1
The cave starts out with a “pick a door, any door” type of deal. One of the doors immediately puts you on a slide, which ends up in a pool of acid. Once you get through the slide, most of the party is usually unconscious or very close to it, so taking a wrong step into the acid end up killing them.
Healing, resting and taking the right step puts the party in a better position, but the only way forward ends up teleporting them to a dark (constantly dark) room with an encounter against several Acidic Blobs. These guys don’t have a lot of health, but they can do some serious acid damage to the entire party, so it’s best to kill them as fast as possible. The problem is, a lower level party wouldn’t be able to do this.
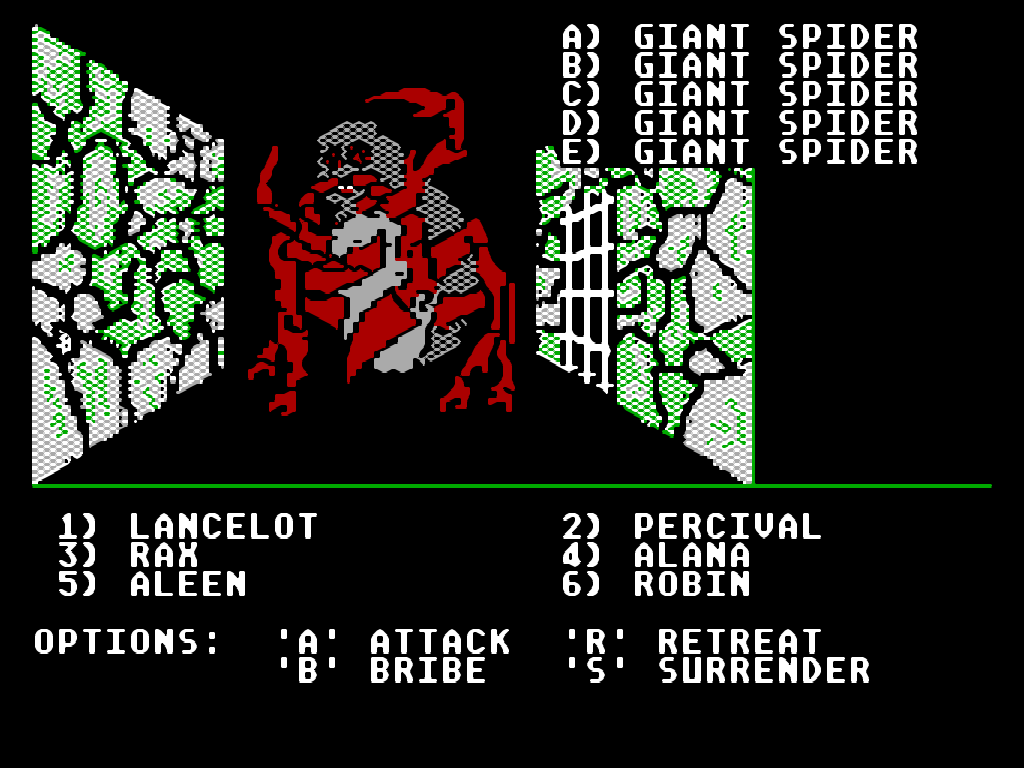
Giant Spiders share the graphic with ants and other insects. They can poison a character, which is nasty.
Once you survive that, you realize you’re in the eastern part of the dungeon. There’s the corridor of endless encounters, which is good for training, I guess. There’s a teleporter that brings your right back to the acidic blobs, and there’s the way out, which goes through another encounter, this time with a group of giant spiders.
Door #2
Door number two is short, but eventful. There’s a long hallway, with a door at the end of it. This leads to a small room with another door, usually trapped, which then leads to an encounter with a group of ogres. These guys have about 50HP and hit twice, with each hit doing up to 10 damage. The group size can be small, with 4 or so ogres, but it can also get big. When it’s small, it’s doable, but a group of 7 or 8 ogres can easily kill my party.
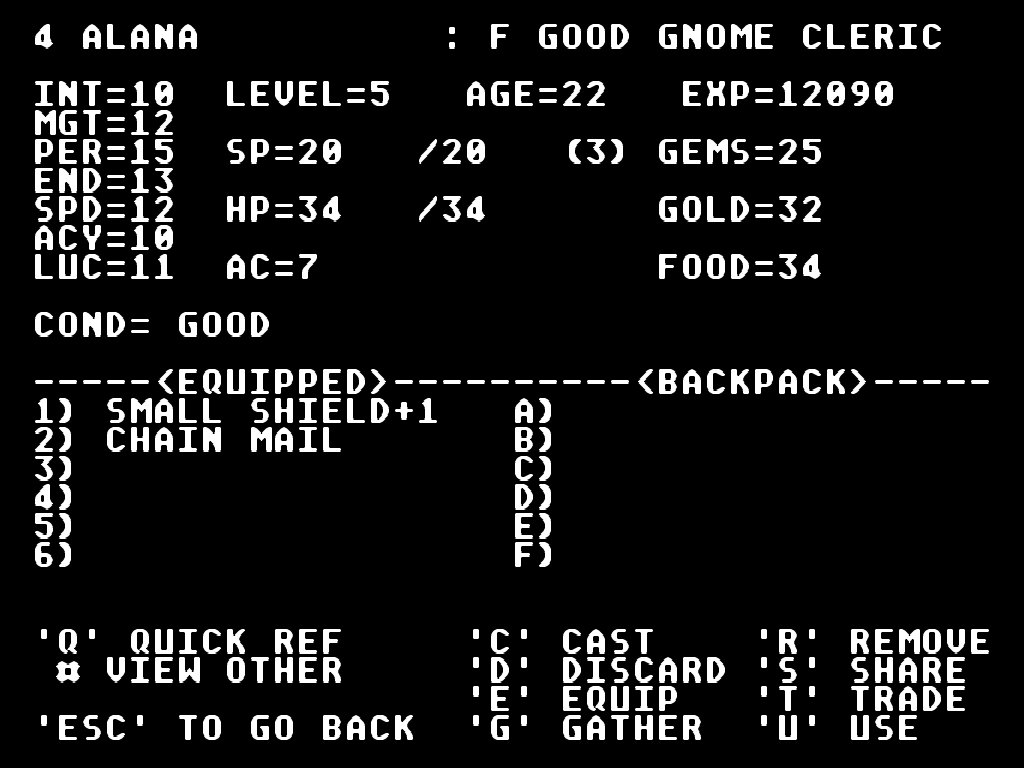
With Level 5, Alana got access to the third level of Cleric spells.
Once you deal with the ogres, you’re in a 3×2 room with nothing in it, other than another encounter in one of the corners, this one against a group of cyclops. I didn’t manage to beat those yet.
Door#3
Door number three takes you to a region where you end up if you take door number one anyway. Once you get past the door, you can either go north to the giant spider encounter and the part where those acidic blobs and the corridor of endless encounters are, or you can go further east.

Apparently, zombies are smart enough to use weapons in Might and Magic.
The eastern hallway splits. The path south puts you in a room with an encounter against barbarians. This is an ogre level encounter which I didn’t manage to beat, because it tends to be a large group.
If you instead go further east, you end up in another slide. It again takes you to a spot where you can either try and step into the acidic pool and just die, or you can go one step west and teleport yourself into the acidic blob encounter. The difference between this and the previous slide is, there’s no safe spot to rest before fighting the acidic blobs, so you either have to spend a lot of magic points healing the party, or you get to just die.
The Caryatid Guard Room
Finally, past the encounter with the giant spiders, there’s a small room with an encounter against a group of caryatid guards. This is definitely easily beatable if you have a couple of party members with enchanted weapons. By now, Lancelot, Percival and Robin all had them, so it was easy, relatively speaking. If you’re unlucky and the spiders manage to poison you, though, it gets a lot harder.
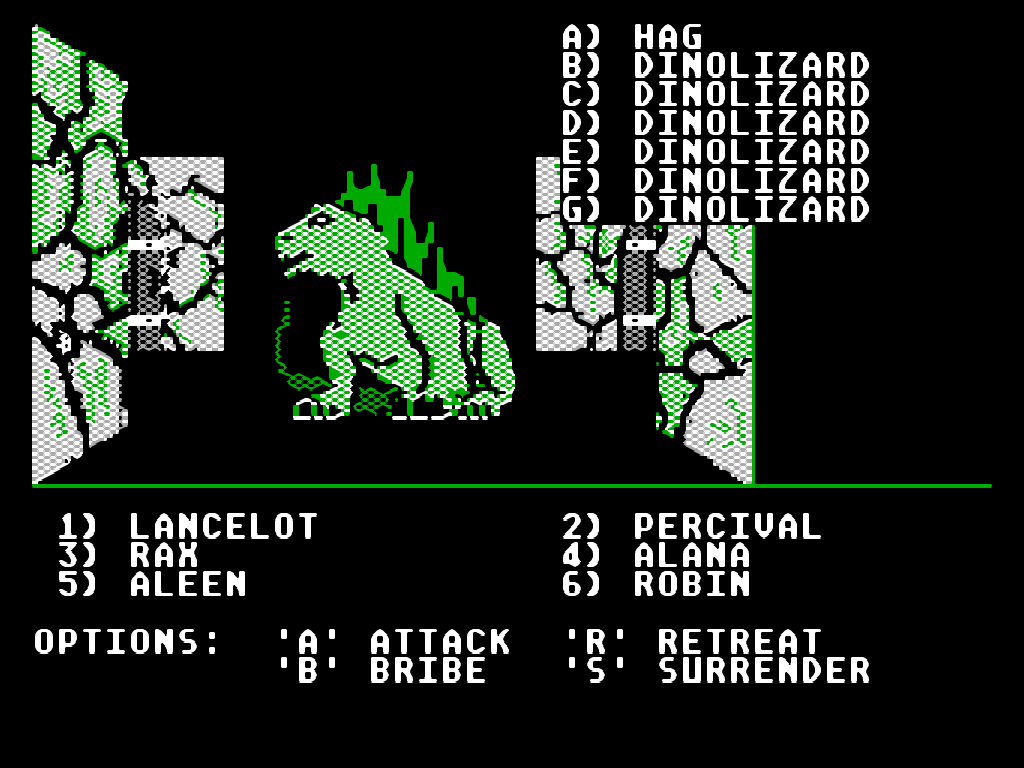
This was my first encounter with Dinolizards. They aren’t too tough.
Once past that room there are two more gates and you finally get into a room with a button. Pressing this button disables the eastern slide, allowing you to explore the area. It might disable the first slide to, but I haven’t tried it yet.
In any case, this is the trick to the dungeon. Disabling the slide unlocks more areas, allowing the party to move on. One slight problem, though – leaving the dungeon resets it. Once you hit the button, you can’t leave to save until you clear most of it. This makes it a very risky and time intensive ordeal.
Sure, you can still progress by mapping different parts on each try, but if you die, all of the fighting was for nothing.
Money Problems
Throughout all of this, I died several times, mostly thanks to the slides, so I was forced to pay for resurrection of a few of my party members. Because of that, I’m extremely short with cash now. I got most of my party to level 5, finally, but I end up not having the money for training when a character gets to that point.
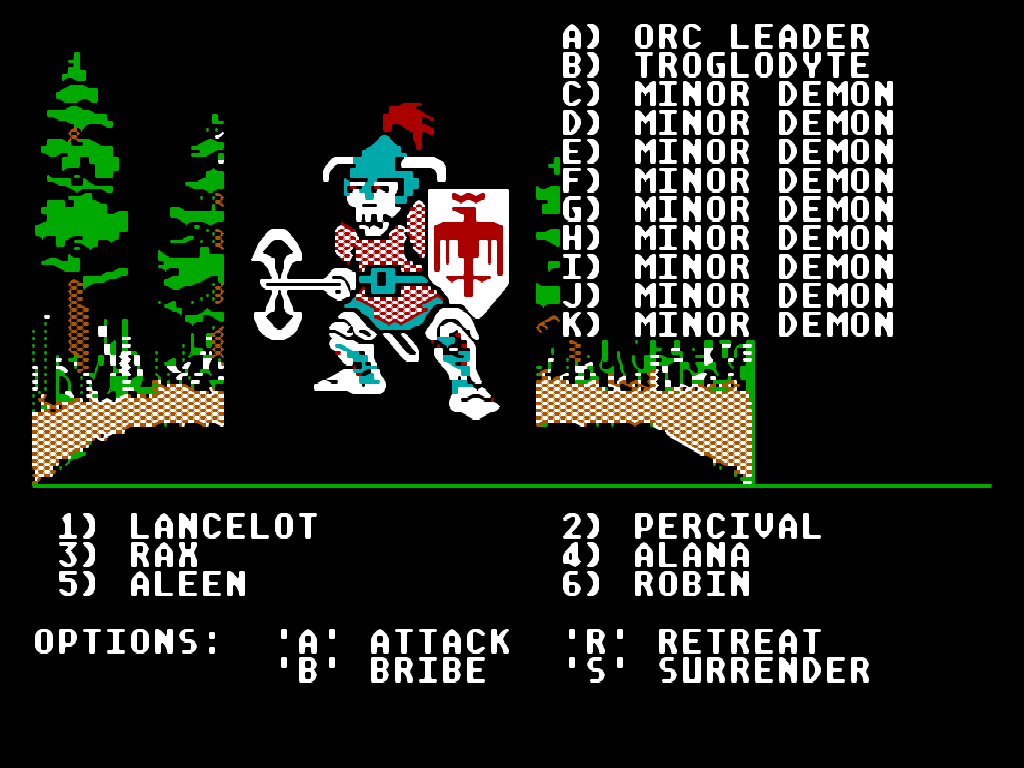
Minor demons are low level monsters, but a group like this means game over, thanks to their special ability.
Luckily, I don’t have to buy any gear any more, at least for the time being, so all of my money goes into training and healing, which I need a lot of, especially the latter.
Peeking into Future Towns
At one point, I decided to pay the leprechaun and teleport to a few of the other towns. The second town, Portsmith is easy on the encounter levels, but every few steps, something drains the male characters of my party, so it’s basically impossible. I’m hoping there will be a way to stop this.
Town number three, Algary, doesn’t have this issue, but it’s much harder on the encounter side, with Orc Leaders and Ogres being common. In any case, I’m not ready for either of those two.
Making a Bestiary
Since I usually have to heal after every fight and I often die anyway, it doesn’t really matter how fast I beat it. Because of that, I decided to start using the Identify Monster spell with Aleen, my Sorceror. This provides full monster information, so I started writing this down, for myself and possibly for other people, if they ever need something like that. The only stat that seems to vary with monsters is the starting health, so I’ll write the range I’ve seen it in for that. Everything else seems to be fixed.
For now, the bestiary is small, so I won’t link it yet, but whatever I end up having when I finish the game will be available for download. I might even take the time for a table.
So What Now?
Since I hate leaving something half done, I’ll try and map out the rest of the cave. I might not be strong enough to clear it, but I can at least die trying for long enough to map it. You can expect a “Take 2” in my next posting.


