Getting the Honey
I visited the Camera House, so I was now able to take photos at specific locations.
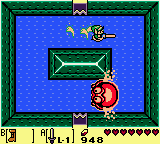
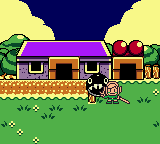
I got out of the Key Cavern and then circled back around Richard’s house to explore for a bit. I took a wrong turn and stumbled into the area with the beehive, which turned out to be very lucky, because Tarin was there, and he asked for the stick I got from the monkey. He used the stick on the beehive, so the bees chased him away and I was able to get some honey. Here’s a note for a random googler:
- After the Key Cavern, go to the beehive and give Tarin the Monkey Stick for some Honey
The Color Dungeon
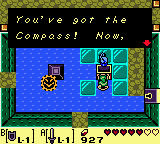
I then went back to the village to use dash on the unreachable book in the library. The book contained hints on how to enter the Color dungeon, which is a secret dungeon in the DX version of Link’s Awakening, I’m guessing. There were some numbers with some direction in the book, as well as a mention of the graveyard and finding the correct grave stone. In hindsight, I should have probably written all of this down, so I’ll have to come back later to do just that.
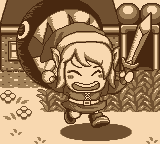
VBA ate my screenshots again, so here’s a photo.
- Color dungeon hint: Use dash to knock down book in the village library
Papahl Lost in the Hills
I decided to go north, past the Mysterious Woods again. I took a look at the egg, to hopefully get a screenshot this time, but it looks like my emulator is somehow overwriting them, so I didn’t get one this time either.
This happens a bit later, not on my first visit.
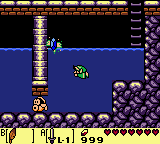
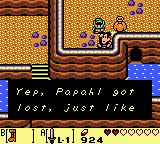
I was able to get a bit further with dash this time, so I got to a screen where I could see Papahl. I guess he finally got lost in the hills as he said he would. I couldn’t reach him, though, or, in hindsight, maybe I could, but I just didn’t realize at the time.
The “Desert”
I went back to the Savannah and with dash, found a way into a desert area filled with (currently) unkillable dragon knights. I thought this was the desert the owl told me to go to after the Key Cavern, but it turned out I was wrong. I died, so I went in a different direction from the last check point and got to the Animal Village.
The Animal Village
At the Animal Village, I was immediately told that Yarna desert was to the south, so the part I died in was not the desert at all, since it was to the north. I started exploring the village, taking notes as I went along.
- The Animal Village and the Mabe Village are “Twin Cities”. Mabe Village is the starting village?
- A bunny loves hearing Marin sing
- There’s a Dream Shrine in Mabe Village. I don’t know what that means.
- There’s a painter who made the mermaid statue by the bay.
- There’s a writer, like the one in the north. She wants a Hibiscus flower before talking to me.
- There’s a cave in the back of the village, but I don’t have any bombs at the moment.
- I traded the Honey for a Pineapple with a bear chef in one of the houses.
- A walrus is blocking the way to the Yarna desert. Marin can wake him up.
It was obvious I need to go back to Mabe Village and get Marin, so that’s exactly what I decided to do. Before that, though, I wanted to figure out what that armor knight place was.
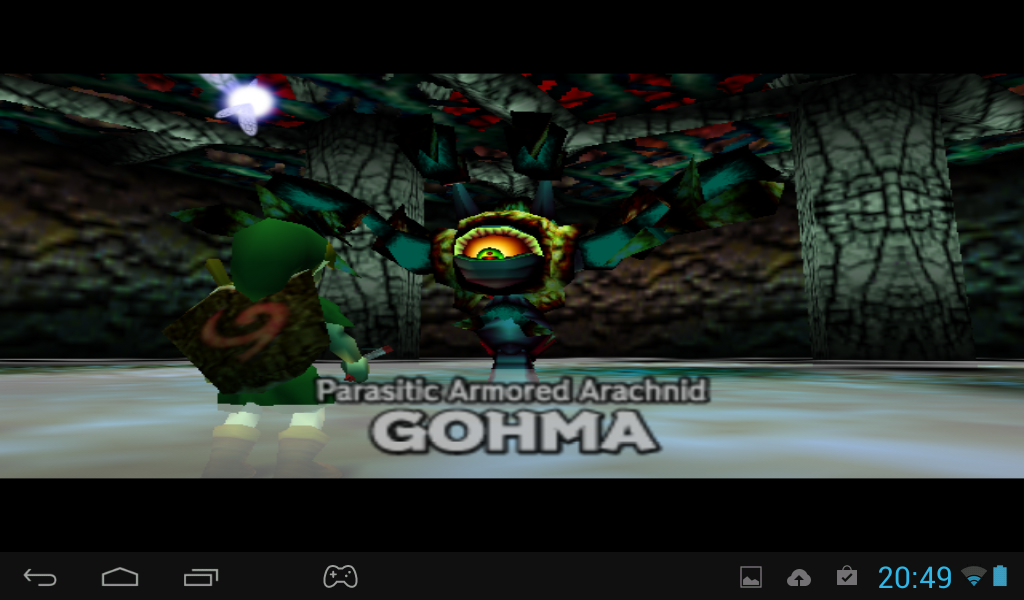
The Armor Knight Area
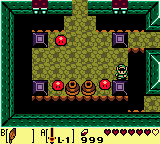
I went back north and carefully navigated through the maze, dodging enemies. I found a seashell in one of the nooks and finally reached a small dungeon. There was just a boss room in there and the boss was difficult, at least at first. The only thing I could hit him with was my dash, but dashing to hard or at the wrong moment meant getting hit myself.
The boss had three phases, each faster than the previous.
After many attempts, I managed to get through all three phases of the fight and finally beat it. This got me the Face Key, which I have no use for right now, and it opened the way into the back room, where there was a mural.
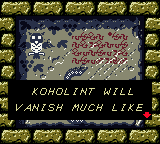
So the island is a Dream? That’s sad.
The Mural said the whole island is just a dream, dreamt up by the Wind Fish. If I wake up the dreamer, the dream will go away. I will be able to go to, but the dream will be gone. I actually knew about this plot point from a video before, but now that I played through the game a bit and realized what a charming world it was, this made me kind of sad.
But what about Zelda?
I got out of the dungeon and the owl was there, saying there’s no way to be sure if what I read was true. The only one who really knows is the Wind Fish and the only way to find out was to wake it up. In any case it was time to go get Marin.
Getting Marin
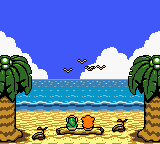
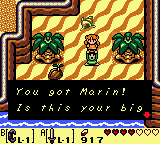
Marin was at the beach, south of Mabe Village. Finding her triggered another cut scene with more charming scenery, making what I just discovered that much stronger. After a talk, Marin joined Link and I took her to the Animal Village via a nearby shortcut. She woke up the walrus and I was able to get to the desert.
…chance? Maybe Link, maybe.
The Yarna Desert
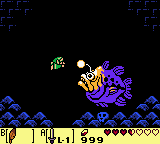
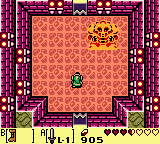
The desert consisted of several screens and it wasn’t to hard too clear. The last screen contained a mini-boss who guarded the Angler’s Key. Even the boss was extremely easy, so I didn’t die at all here. All I had to do was to dodge its slow movement, hit it when I could and avoid falling through the quicksand. I can’t be completely sure, but I think I also got a seashell while I was there.
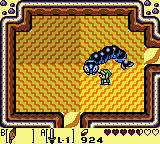
This guy inspired Pin from the Binding of Isaac.
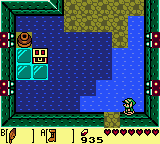
The Waterfall
The lock the Angler’s key was meant for was north of the Savannah, next to a huge waterfall. I already walked past the lock several times while exploring, so I knew exactly where to go. It was even near a warp point, so getting there was easy.
This is where I used the Angler’s Key.
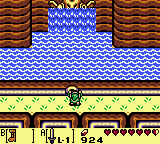
Using the key on the lock caused to waterfall to retreat, opening the way to the Angler’s Tunnel, the next dungeon. I could get there from the lock, though. I had to go several screens west, then north, through a cave and finally to the place where I’ve seen Papahl in the hills.
As I said before, I wasn’t sure if I could reach him, but now I definitely could. The water that blocked the way was actually shallow, so I could walk through it. It’s possible that using the key made the water shallow, but it’s also possible it was like that to begin with and I just didn’t notice.
Saving Papahl in the Hills
In any case, I got to Papahl and talked to him. He was hungry, so I gave him the Pineapple, getting a Hibiscus flower in return. I already know who to give that to, but right now, it was time to get into the dungeon. Here’s a note first:
- Give Pineapple to Papahl in the Hills, in exchange for the Hibiscus flower.
To get to the Angler’s Tunnel entrance, I had to go to the screen directly north of it and then jump down. This got me right in front of the dungeon. There were also stairs next to the entrance, which lead to a one-way cave back down to the main area, next to the Angler’s Key lock.
I got into the dungeon and did a “Save & Quit”. That was it for now.