I got to Deling quickly, using a train from Galbadia. However, I didn’t enter the city right away. Instead, I decided to save me some time and go to the nearby tomb right away, in order to save me some time. You see, my contact, a military official named Caraway, would send me there anyway, before even meeting me in Deling.
I got to the tomb and read the ID from a sword on the ground. As far as I know, this number changes in every game, but it was 155 in mine. I might be wrong, though. I really can’t remember what it was last time. This is all that needs to be done in the tomb, but most players opt for getting the extra GF hidden in there, so I did the same.
This is the correct route, I went in the opposite direction.
The brothers are Sacred and Minotaur. They’re an earth based GF and pretty much impossible to beat by a low level party unless you figure out the trick. They get healed every few seconds. Sacred got healed by about 100HP at my level. This was easy enough to offset in the first battle against him, so I could do it in the team battle as well. His brother, however, was healing close to 500HP every turn.It feels like a maze at first, but once you understand the layout, it’s easy enough to navigate. Sadly, I went in the wrong direction at first, so I did an extra unneeded lap around the tomb before doing all I needed to do. At the east side of it was Sacred – the first half of the GF. He was easy to beat, but he always runs away to the center. To get to the center, I had to first go north to open a floodgate and then west to lower the drawbridge. Then I got out to save and returned to the tomb, going straight forward towards the central chamber. That’s where the battle against the GF “Brothers” starts.
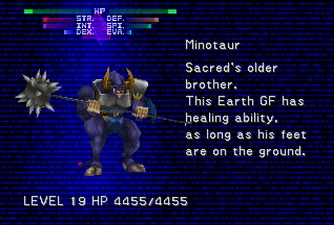
Scan tell you all you need to know.
It was time to go to Deling.A cast of the Scan spell hints on how to get past that. They get healed through their connection to the ground. Casting float on them stops the healing. Luckily, you can draw float straight from them, so all the tools to beat them are available in the battle. Soon enough, they were dead and another GF was mine.


