Gothic - Cover, Box Art

I’m not sure if I’m just having a hard time remembering, but it feels like I haven’t advanced the story by much in Gothic today. Maybe my memory comes back to me as I write this, so let’s see.

I Found the Exiled Orc Shaman

Xardas told me to look for the orc shaman in a castle ruin to the east, but I somehow heard west, so I went in the wrong direction at first. I checked my journal soon, though, so I didn’t lose a lot of time. I actually already visited that castle ruin when I teamed up with Lester. I think I even put a screenshot here somewhere, saying there was nothing there.

Gothic - Castle Vista

The climb to the castle ruin provided some nice vistas. To bad I suck at taking screenshots.

Well, this time, the shaman was there and I had to save it from a bunch of orc temple warriors. He spoke human (or common, or English) poorly, but he was clear enough for me to understand where I’m going next. I need to enter the orc city and find my way underground, where they sealed the Sleeper’s temple. This is the only way to destroy the Sleeper, but I have no chance in getting inside what with a whole city full of orcs being on top of it, so I need a special item, called the ULU-MULU.

Gothic - The Shaman

The graphical advancement was not kind to the shaman. ULU-MULU it is, then.

Apparently, the ULU-MULU is a mark of honor and/or friendship among the orcs, so holding it would make them not attack me at sight. The shaman said there’s a friend of his he left behind slaving in one of the “human mines” who’s able to make me one. Of course, I needed to figure out which mine it was and then find that friend.

I Decided to Free the Free Camp

At this point, I was kind of stuck, because none of my quests were telling me where to go next. I decided to just go back to the New Camp and check out the mine there, since it was taken over by the Old Camp anyway. I was right to do this, because a group of New Camp mercenaries, with Gorn leading them, was waiting at the path towards the Free Mine. Gorn told me to pay a visit to Wolf before we head out, so that’s what I did. Wolf gave me a job. If I get him enough minecrawler armor plates, he’ll make me a set of armor. That’s pretty much a no-brainer, so I don’t have to say what my response was.

Gothic - Gorn

I have a love-hate relationship with Gorn. I love that he can’t be killed and hits hard, but I hate that he’s an idiot.

The idea was that Gorn would be my companion for the mine mission, but with Gothic being the buggy game it is, this didn’t go according to plan. First, I managed to get myself stuck by trying to open a chest at the moment a cut scene with Gorn was about to start. He couldn’t find his way to me, so he just kept running in place and none of my controls would respond. I had to quit the game and reload.

Gothic - Guards

I really started hating the Old Camp guards while in the mine.

On my second try, Gorn just got completely lost, but somehow, as I got to the mine, he just appeared out of nowhere and started the same cut scene. We got rid of the three guards outside and entered the mine. Inside, he immediately went rogue, fell down a level and started fighting random diggers and guards, while I was stuck on top, on my own.

I Got Annoyed

This is where Gothic started to get annoying. The guards love to use their crossbows and fighting ranged enemies in this game plainly sucks. It’s hard to dodge the hits and if you get close, you just get yourself in even a bigger danger, since their shots start suddenly doing way more damage, way more often. There was one particular part where I had to use a ladder to climb down into a room with three crossbow wielding guards ready to “have at me”. It took me several tries before I could even survive the descent, and once I was down, the pain would only just begin.

I Found the Orc Slave

Somehow, I managed to clear most of the mine, even with Gorn out of the picture and finally, I found the orc slave. He needed medicine he lost nearby, so after I found it, he told me what I needed to do. In case anyone googles their way to this article, the orc medicine is in the room with the orc, in a small alcove under the wooden area. You need to jump and climb into it.

Gothic - The Slave

The orc slave wanted medicine, which he lost nearby.

The orc told me he needs four items to make the ULU-MULU. I need to get him swampshark teeth, a shadowbeast horn, a fire lizard tongue and some troll skin. I guess that’s what I’ll be doing next time – hunting monsters! I love variety!

Gothic - The Medicine

This is where I found the orc medicine, after making two laps around the mine.

Well, I guess I did do quite a bit in Gothic today. I found a plot NPC, freed the mine and got my next major quest.

Gothic - Cover, Box Art

I’m pretty sure I’m getting close to the end of Gothic, because a lot of stuff happened today.

I Got Through a Plot Point

First, I immediately went through the woods, towards the Old Camp. As I approached the bridge, I got attacked by the two guards there. For a moment, I thought I did something wrong so I’m going to have to reload my game. I was just about to do it, when I saw Milton across the bridge, so I went to talk to him.

Gothic - Milton

Milton made it even more obvious that he, Lester, Gorn and Diego are buddies.

It turns out, the guards went nuts and killed all of the fire mages, so the bridge guards attacking me was supposed to happen. I like how this part of the story was introduced. The Old Mine collapsed, so Gomez and his goons decided they need to take over the Free Mine, belonging to the new camp. The mages disagreed, so Gomez had them killed. It’s not some prophecy, it wasn’t supposed to happen, it’s just bad timing. It makes the story feel more real.

Gothic - Diego

Diego was on the other side of the Old Camp. He had more info on the mine collapse.

Again, the way Milton was talking made it even more obvious that he, Gorn, Lester, and now Diego are all good friends. He asked me to tell the other three to meet at their “usual place” and sent me to Diego, who was supposed to be lurking at the other entrance to the Old Camp.

Then the game crashed….

I reloaded and I was back at Saturas. I did the same thing all over again, except this time, I didn’t drink the dexterity potions, so I didn’t “waste” those. Also, I did some shopping and bought an awesome amulet with 20 extra strength, as well as a ring with a lot of resistances.

Gothic - The New Sword

The sword I bought from Scorpio looks awesome.

This time, I also took the official route towards the Old Camp, through the two hunting camps. I saw Scorpio at Calvalorn’s camp. He disagreed with what the guards did, so he fled. He had some excellent weapons on him, so I bought an awesome new sword and got rid of some of the junk in my inventory. I also bought the strongest bow Calvalorn had, meaning I now had probably the strongest gear I could get at this point.

I Reported Back to New Camp

I went and spoke to Milton again and this time, I even managed to get to Diego. He gave me some more info about the Old Mine collapsing and told me there was a raid heading for the Free Mine. I immediately warped to the New Camp and told Saturas everything. The mine was already taken, though, so it was too late for that.

Since I was now officially exiled from the Old Camp, I was told to speak to Lee, who made me a mercenary of the New Camp. I was also immediately promoted all the way up, so I was able to buy the heavy mercenary armor, which is the equivalent of the heavy guard armor from the Old Camp. I’m not sure if I was ever able to actually get the heavy guard armor, which looked much nicer, but this will do.

Gothic - Job Change

And just like that, I’m now a high-ranking mercenary of the New Camp.

After that, I went and spoke to Saturas again, who also made me a water mage and got me my first robe. I thought the robe would be crap, but it’s actually almost as strong as the armor. The next robe will probably be an upgrade.

Gothic - Character Sheet

The character sheet is simple, but the change in stats matters a lot.

Finally, I got the next big story revelation. I need to find Xardas, the necromancer mage who left the Old Camp and built a tower for himself in the orc country. To get to him, I need to figure out how to get rid of his golem guards and for that, I can go to the water mages’ library.

I Fought the Three Golems

The library did have a book about golems, but it seemed simple to figure out anyway. I mean, I already killed the stone golem in one of my previous “visits”. It was a good thing I did it to, because the book said it can only be damaged by blunt weapons, and I sold the mace I used to kill it. The book also said needed fire spells for the frost golem and wind, cold or lightning spells for the fire golem. I had plenty of scrolls, so I just teleported to the Sect Camp and made my way towards the tower.

Gothic - Frost Golem

With Fire Bolt, the frost golem wasn’t an issue.

The frost golem was easy to kill. Two fire bolts were enough to get rid of it. The problem was the fire golem. It turns out I only had an ice block spell in my inventory and I couldn’t even hit it with that one. I tried it a few times, but it just wouldn’t work. I then tried porting to the Sect Camp to buy a couple of Fist of Wind scrolls, but those wouldn’t work either. At least this time, I decided not to take a shortcut and instead opted to fight orcs and monsters along the way to the tower. This got me an extra level before I got back to the fire golem. Still, Fists of Wind wouldn’t do damage to it either.

Gothic - Fire Golem

It took me an hour before I finally got the correct spell and beat the fire golem.

I took the bite and ported to the New Camp as well, where I finally learned the first magic circle and bought myself the Ice Bolt rune. That one worked like a charm and the final golem was finally dead (pun not intended).

I Met Xardas

It was just in time to, because in the tower it was guarding, I met Xardas’ demon familiar, who wanted proof of me killing the three golems. I gave him the items I looted from the remains and he teleported me to the real tower of Xardas, which was nearby. Xardas spoke to me, said the ore plan would fail and revealed where I needed to go next. I need to find an exiled orc shaman and find out how to get rid of the Sleeper, which is actually a demon.

Gothic - Xardas

Is it just me, or does Xardas sound like Mel Brooks?

Next up, finding the shaman…

Gothic - Cover, Box Art

I Slept and I Grilled Meat

Last time in Gothic, I just got the third focus stone, meaning I had two more left to find. Before I did that, I stopped by at the Old Camp, so this is where I started now. Before I went anywhere, I had to sleep to heal and I had about 100 pieces of meat to grill. Once that was done, left out of the back gate and turned towards snapper country.

Gothic - Grilling

Took me a few minutes to grill all that meat.

I Met Gorn Again

The first stone was in an area I tried to get in before, but got beaten by snappers. This time, the snappers weren’t an issue, so I was looking forward to get there. I got across a bridge, killed a few snappers and then the same thing happened as with the other two focus stones – I met someone. This time, it was Gorn, from the New camp. It looks like the game is strongly hinting that Gorn, Milton and Lester’s friendship is somehow important, because every time I meet one of them, they say stuff like “my friend Lester” or “my good friend Milton”. It’s getting a bit weird.

Gothic - Gorn

Gorn is way more useful than Lester or Milton.

This “random person I met” was looking for some spells and treasures in an old monastery where the focus stone just happens to be. First, he led me to the caves bellow it, where we got a key. Then, he allowed me to lead him to the monastery, where the gate was shut and a puzzle was waiting.

I Turned into a Meatbug to Enter the Monastery

The title said it all. In the caves bellow, other than the key, I also found a few “Transform into Meatbug” scrolls. Using one of them again made it obvious how buggy the game is. I couldn’t figure out how to transform back, so as I got through the wall, tried pulling the wheel of the gate while still transformed and I basically got stuck. I couldn’t move, so I had to reload the game. The second time, I managed to figure out the enter key reverses the transformation.

Gothic - Transform into Meatbug

This is what happens when you try interacting with stuff while transformed. You get stuck.

After killing a few more snappers, I climbed a set of cliffs nearby, while Gorn kept killing snappers and giving me free experience. I love the fact that these three companions seem to be invulnerable while they’re following me. Anyway, I climbed to the top and saw a chest on a platform across a chasm, but the chasm was too wide to jump over. The obvious thing to do was to somehow knock down a pillar nearby which was obviously targetable, but I couldn’t figure out how to knock it down. I tried a fireball, I tried hitting it and “using” it, but nothing worked, so I gave up.

Gothic - Pillar Puzzle

I didn’t figure out how to push that pillar over.

I Killed a Shadowbeast

Instead, I went back down and took a different path. I am now positive I can safely kill a shadowbeast! I found one in a corridor. It wasn’t even that strong and it only gave me 400 experience. I guess they aren’t “the most powerful monsters in the game” as I previously said. I mean, even a fire lizard is worth 500 experience, not to mention a bridge troll.

Gothic - Shadowbeast

I thought a shadowbeast would be worth more than 400 experience.

The shadowbeast was guarding the room where the focus was stored. I got it and went back outside, where a juvenile troll was waiting for me. I saved my game and crossed my fingers. Luckily, the troll was slow, so I killed him without getting hurt at all and got 1000 experience for it. Then I explored for a bit longer and triggered another bug.

Gothic - Juvenile Troll

Trolls are slow, so they’re easy to kill as long as you keep swinging.

Gorn and the player character started talking like they’ve just seen the juvenile troll, even though it was dead already. As soon as that conversation was over, they started another one, acting like they’ve just killed the troll. I’ll say it again, Gothic is a buggy game. It’s worth the annoyance, very much so, but it’s a buggy game.

I Thought Diego Died

On the way to the next focus, I stopped by the old camp to spend some of my skill points at Diego’s, but I could find him so I had Thorus increase my dexterity. I was a bit worried that Diego got killed in the orc dog raid, which would suck since he was probably the only truly decent guy at the camp, but I didn’t have time to find it.

Gothic - Diego

Screw you, Diego, you really scared me!

The game apparently has a sense of irony, because Diego was waiting for me at the site of the final focus and the first thing he said to me was something in the lines of “I thought you died!” For a moment, I went stupid and thought it must be scripted, but then I remembered there’s nothing scripted about me leading a pack of orc dogs into the Old Camp.

I Fought an Adult Troll

Diego helped dispose of a huge gang of goblin warriors. I say he helped me, but in truth, I stood there for the most part, while he was sniping them with his bow. At 150 experience each, that was a lot I got for basically free. As soon as the goblins were gone, a troll appeared and this time, it wasn’t juvenile.

Gothic - Shrunken Troll

SARCASTIC: That was a tough puzzle to figure out!

Since adult trolls are supposed to be invulnerable, I had to figure out how to kill it, so this was basically another puzzle. The puzzles in Gothic are really obvious, though. Right next to me was a human skeleton with a torn page from a journal, a magic potion and a Shrink Monster scroll next to it. Well, if the scroll wasn’t obvious enough, the journal page made it absolutely clear. I used the “Shrink Monster” scroll on the troll and then killed it with a single hit. Boom! 2000 experience, just like that.

Gothic - The Final Focus

With the final focus in my hands, it was time to go back to Saturas.

Diego fixed a wheel mechanism for me and I was able to get to the platform with the focus, where a bunch of harpies were waiting. I led them to Diego, because fighting them on my own was too much of a headache and I had the final focus stone.

I Wasted Time with Thugs

There was an area nearby I wanted to explore before I went to the New Camp to deliver the stones. It was filled with thugs dressed in New Camp uniforms. At first, I wanted to clear the camp, but then I realized how annoying it will be to fight a camp full of bow users, so I just ignored it and used the Teleport scroll Saturas gave me.

I Got a Ton of Experience

It turns out I was supposed to deliver each focus stone individually. Each of the stones advanced the quest further and was worth 3500 experience, with the last one being worth 4000, so I an extra level here and got quite a long way towards the next one.

Gothic - Saturas

Four focus stones, 3500 each and 4000 for the last one – 14500 experience in total.

Saturas also sent me to the local alchemist, who gave me a bunch of potions including some which increase my stats permanently. My first thought here was “why did you max your strength, you’re wasting points now?”, but it turns out potions can increase attributes beyond the maximum, so I have 107 strength now. My next thought here was “why didn’t you wait before you max out your dexterity, you just wasted a potion, you idiot”, so I guess I can’t win against myself. Saturas also sent me to Cronus, who gave me 1000 ore as an extra reward. If 1000 ore is just spare change for them, I guess the ore mound they’re sitting on must be huge.

I Need to Convince the Fire Mages to Join

With that out of the way, I got my next mission. Twelve mages created the barrier, so twelve are needed to destroy it, and the water mages don’t have the numbers. I have to convince the fire mages to help out, which is a problem, since they basically have it made. They trade with the outside world and they are in charge of the group who controls the only thing the outside world is interested – ore operations. I’m guessing I’ll have a few quests I’ll need to do once I get to the Old Camp. I’ll save that for another day, though. For today, this was enough.

Gothic - Cover, Box Art

Last time in Gothic, I was just about to leave the Old Camp with the first focus and the Almanac ready to be delivered to the New Camp. Today, I didn’t waste much time, making my way straight there.

I Got Distracted by Respawning Monsters

Of course, it wasn’t exactly a direct route. As I said previously, monsters respawn in Gothic, so I was basically charging from scavenger to molerat, to a lizard, to a blood fly, to a black goblin, etc., along the way. Black goblin, you ask? Yup! With my new armor and my awesome Sword of Death, black goblins now die in a single hit, without even being able to touch me. I actually cleared a small cave with about a dozen of them along the way to the New Camp, but Fraps failed to load so I won’t be showing you many screenshots today.

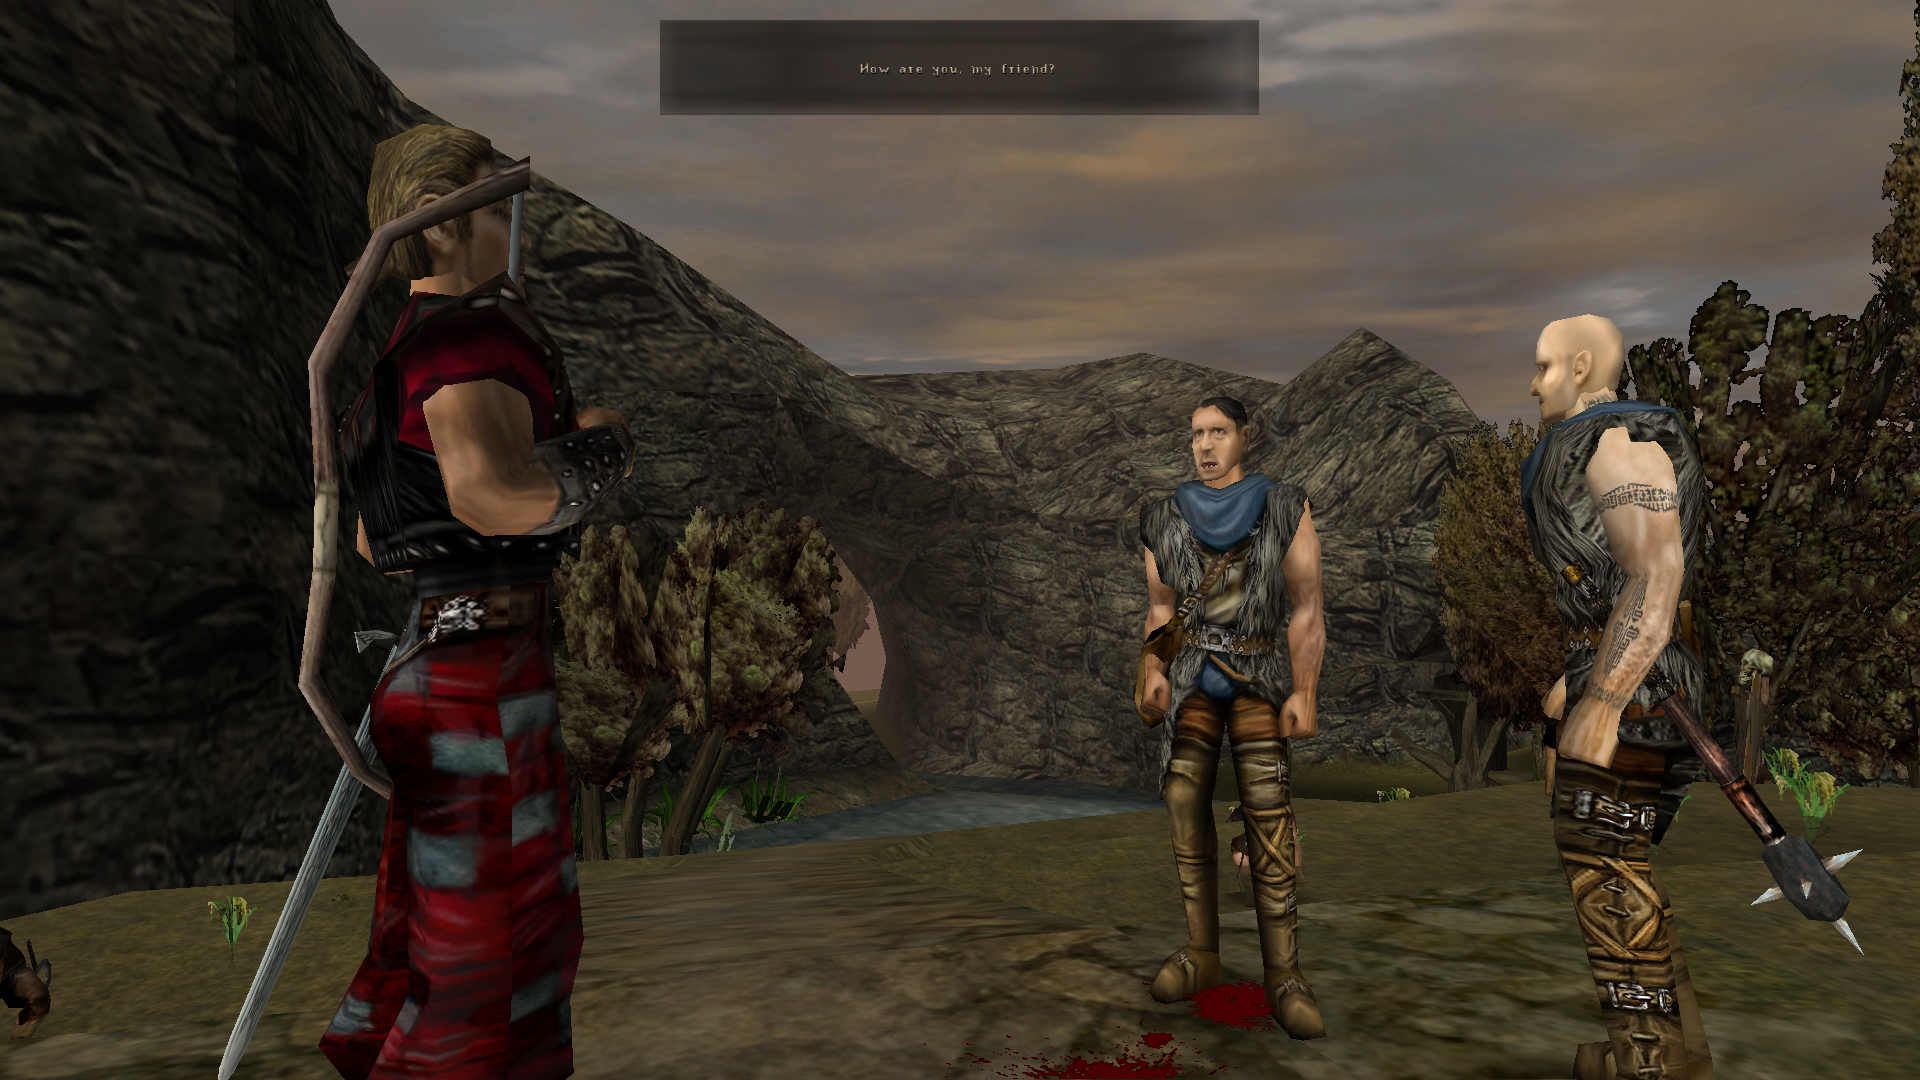
I Spoke to Cronus and Saturas

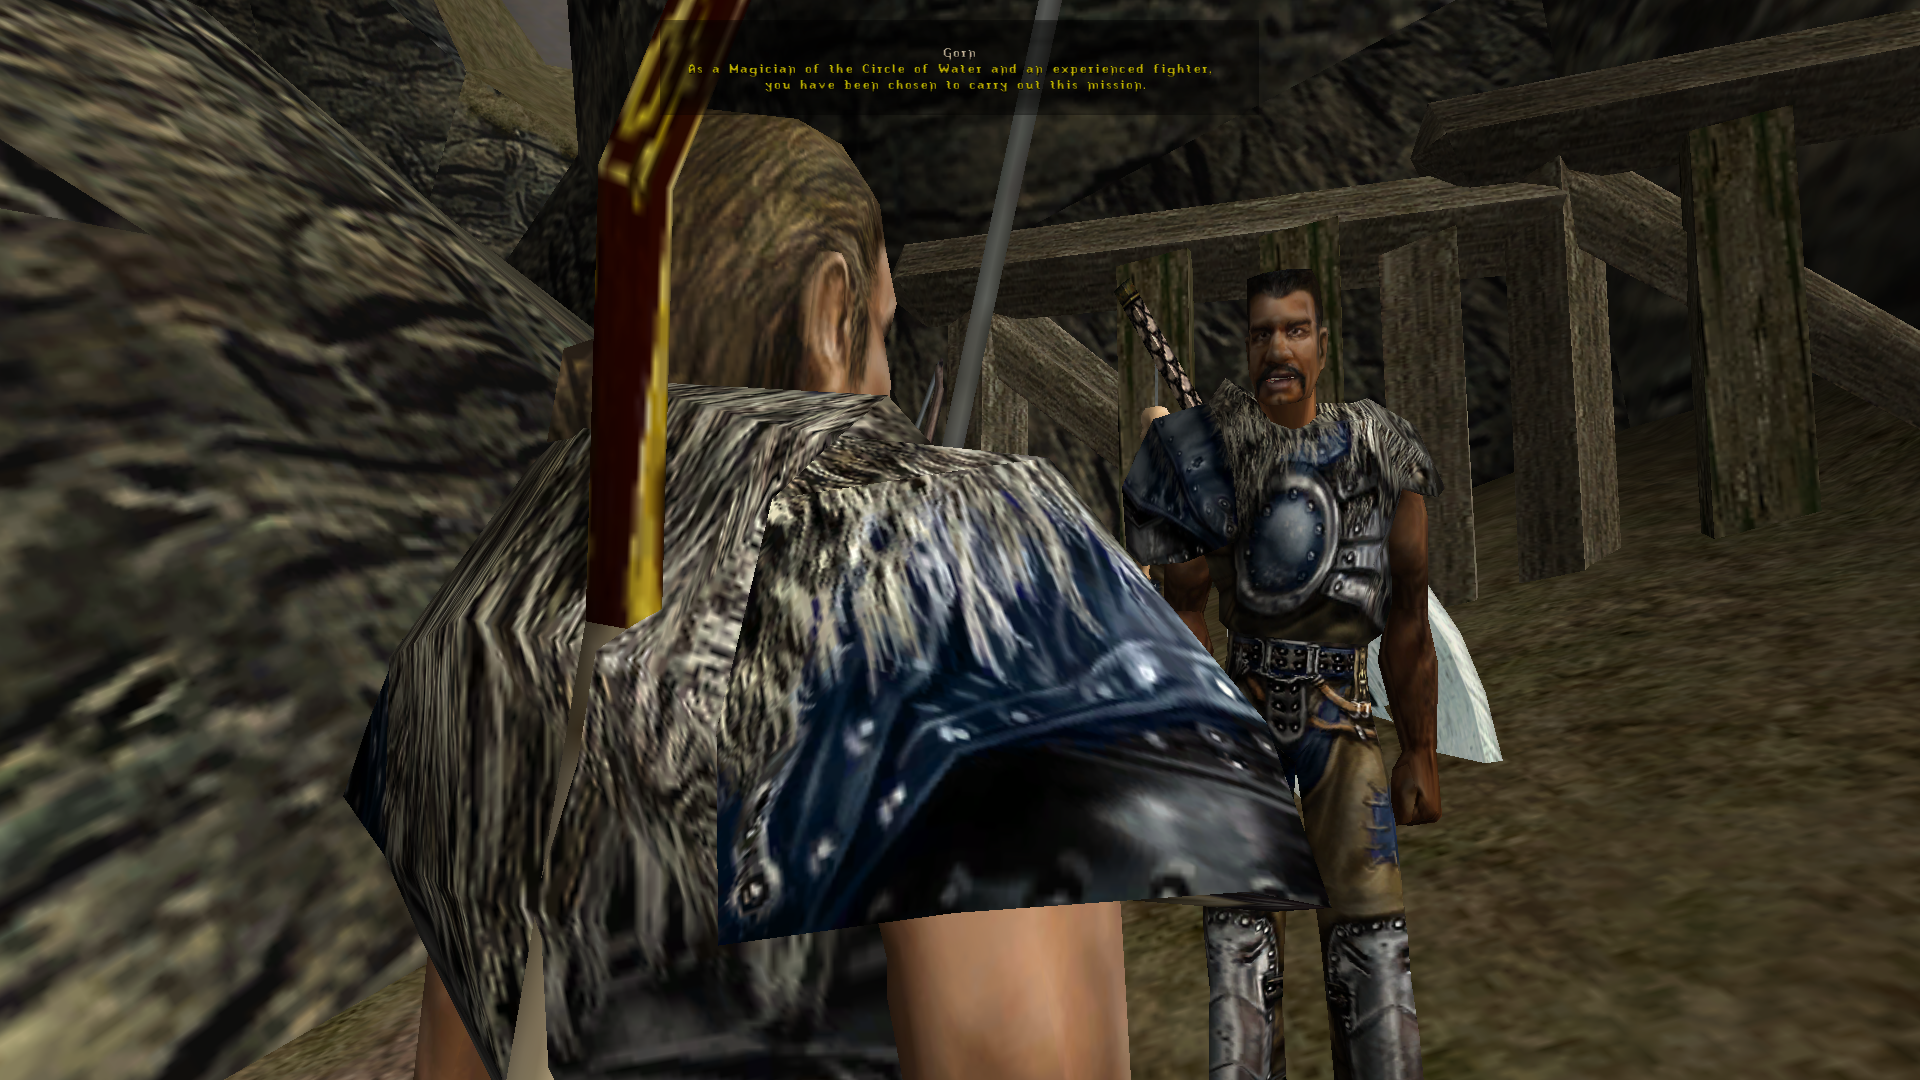
I got to the new camp and a guy who was a friend of Lester from the Brotherhood, told me to talk to Cronos, the water mage walking on top of the shaft with the ore pile. I’m supposed to convince him to let me see Saturas, the water mage leader. I actually thought I’ll be forced to do fetch quests before I’m allowed to see the boss, but it turned out I just had to tell Cronus everything and that would be enough for him to give me the password I needed to enter the inner water mage area.

Gothic - Vista 1

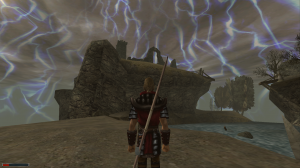
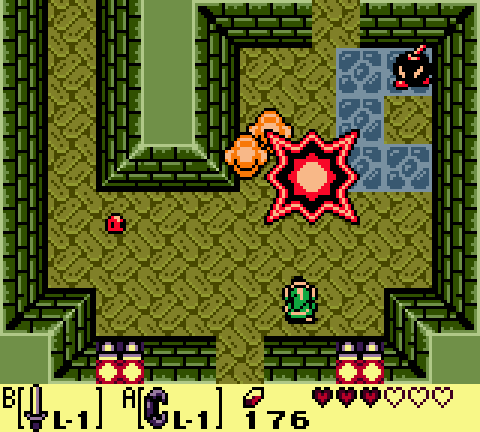
All this ruin had was one or warrior. I hoped for more.

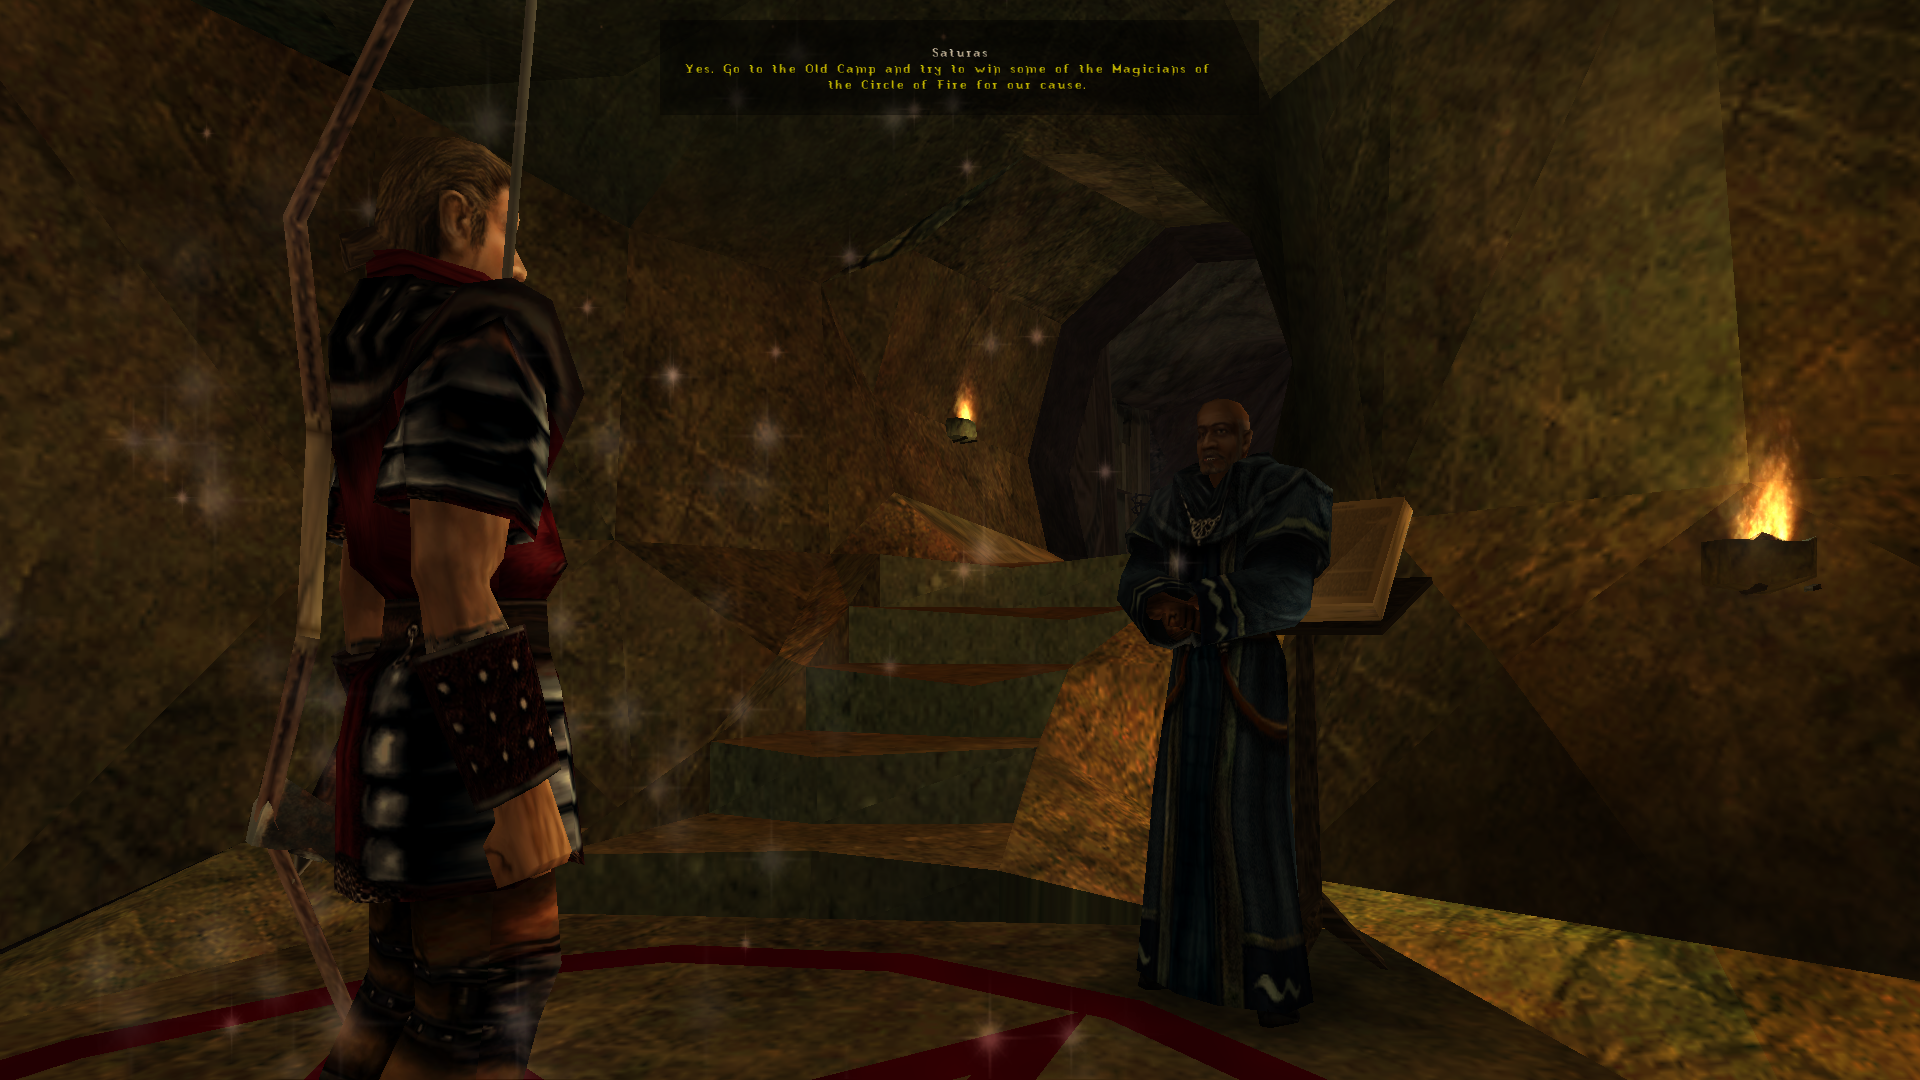
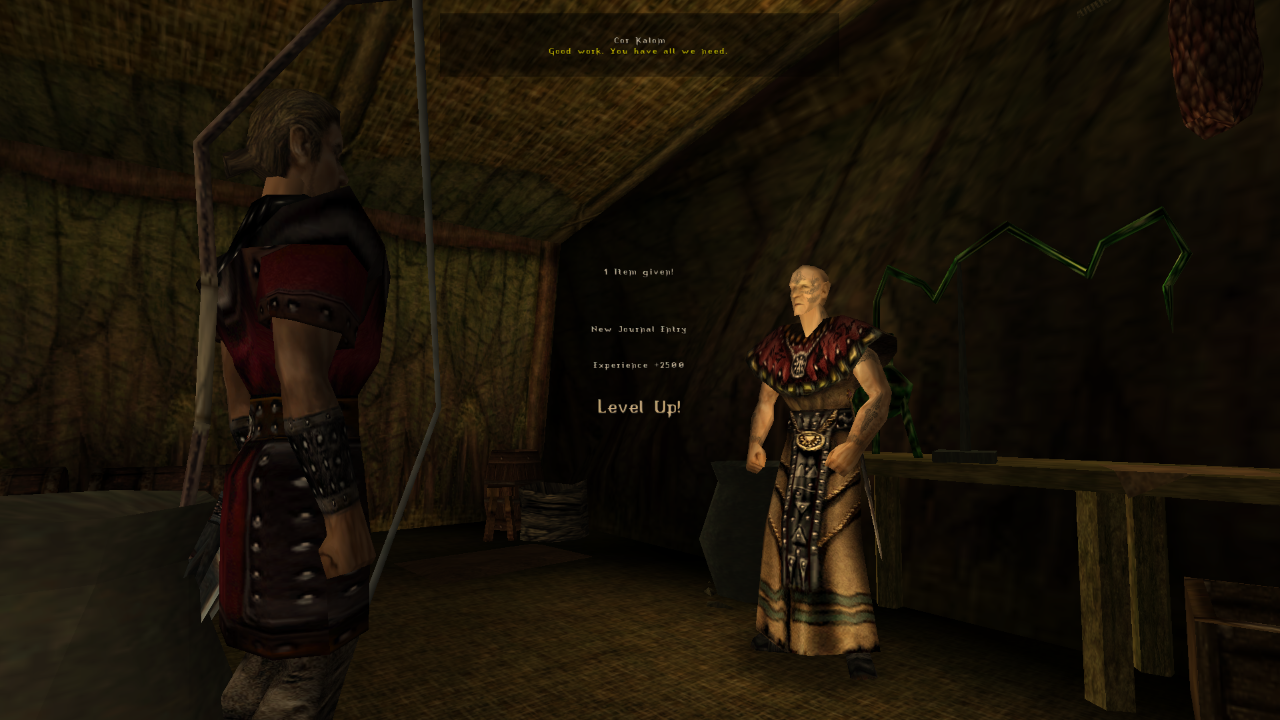
This was basically a whole extra district of the New Camp with a merchant, some trainers and various other NPCs. The most important one, of course, was Saturas, the water mage leader. I told him what I have and described what happened at the Sect Camp. He told me what he needs to detonate the ore and hopefully, destroy the barrier.

Now, I head this plan at the start of the game and it seemed illogical to me. An explosion that’s able to destroy the barrier is bound to do damage to everything else as well, right? It turns out, the game actually considers this. Saturas tells me that the explosion would be of magical nature, so it would only destroy magical stuff. I still think there’s bound to be some unwanted consequences, but at least it sounds less dangerous than it did at the start. Basically, the ore would be destroyed, the magical items would be destroyed and the barrier would be destroyed.

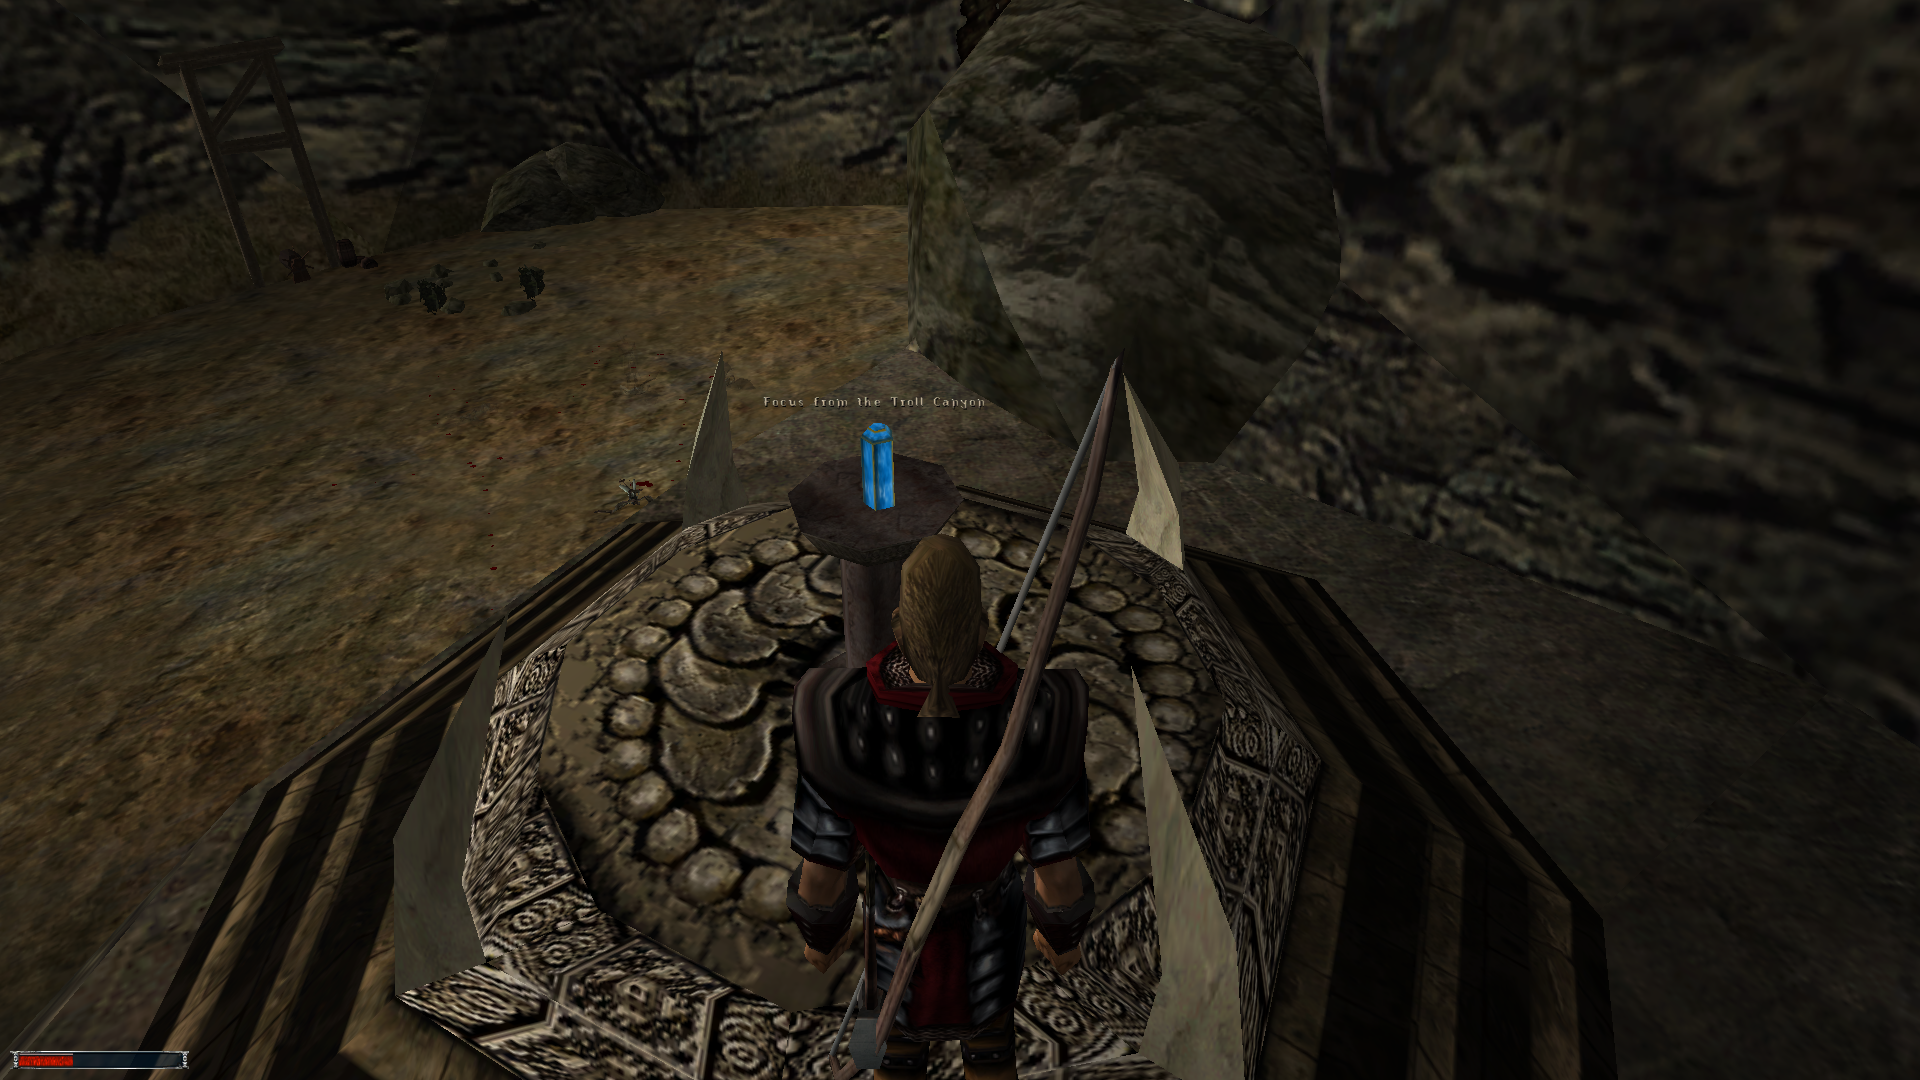
I Need to Get the Focus Stones

There are five focus stones in total and unlike Y’Berion, Saturas needs all of them. He gave me a map, a scroll to teleport back to the New Camp and told me to go to their alchemist for more help. The alchemist gave me 20 potions and sent me on my way.

Gothic - Vista 2

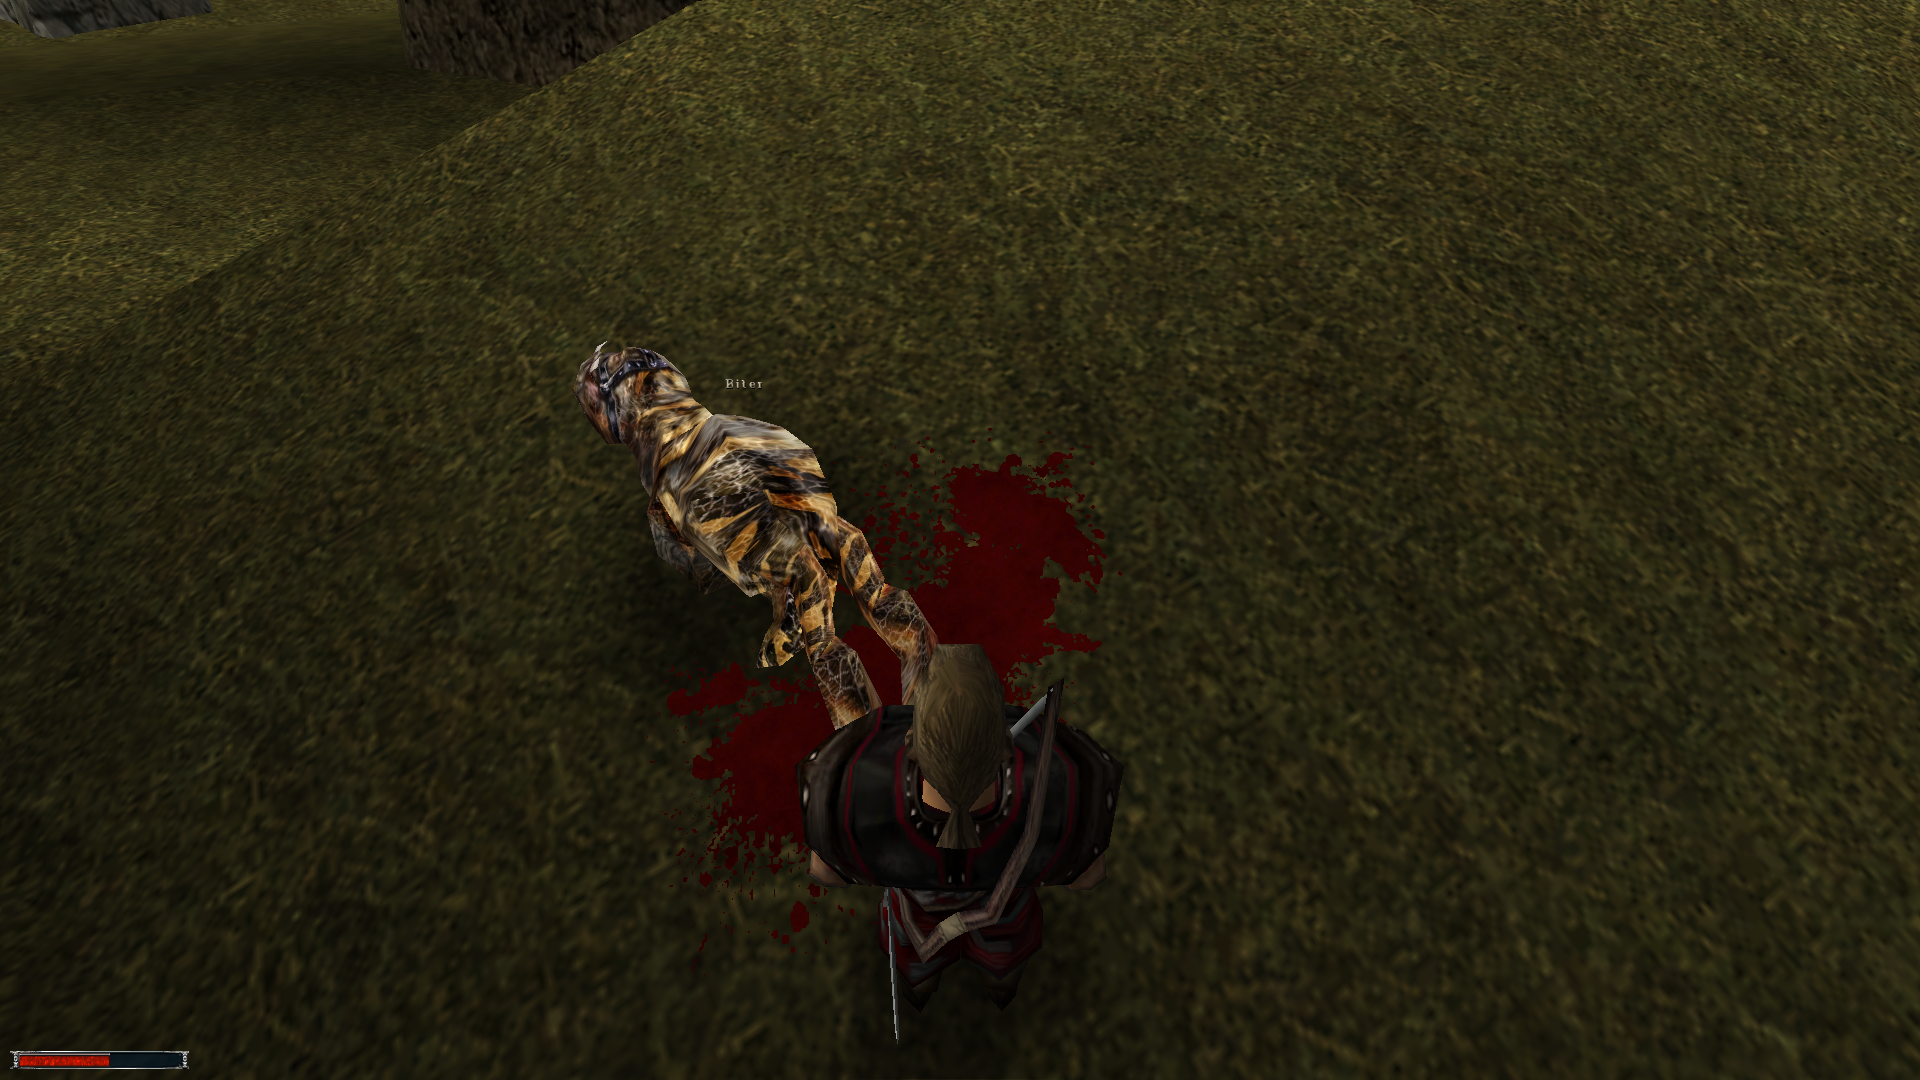
I thought jumping in the lake would be worth it, but it wasn’t, at all.

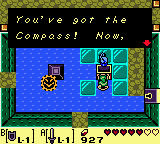
The map was basically the entire prison colony, with a pentagram drawn on top of it. The five corners of the pentagram are the locations of the focus stones. I already had one, so I could safely eliminate that one. It was time to get the other four.

I Teamed up With Milton to Get the Second Focus

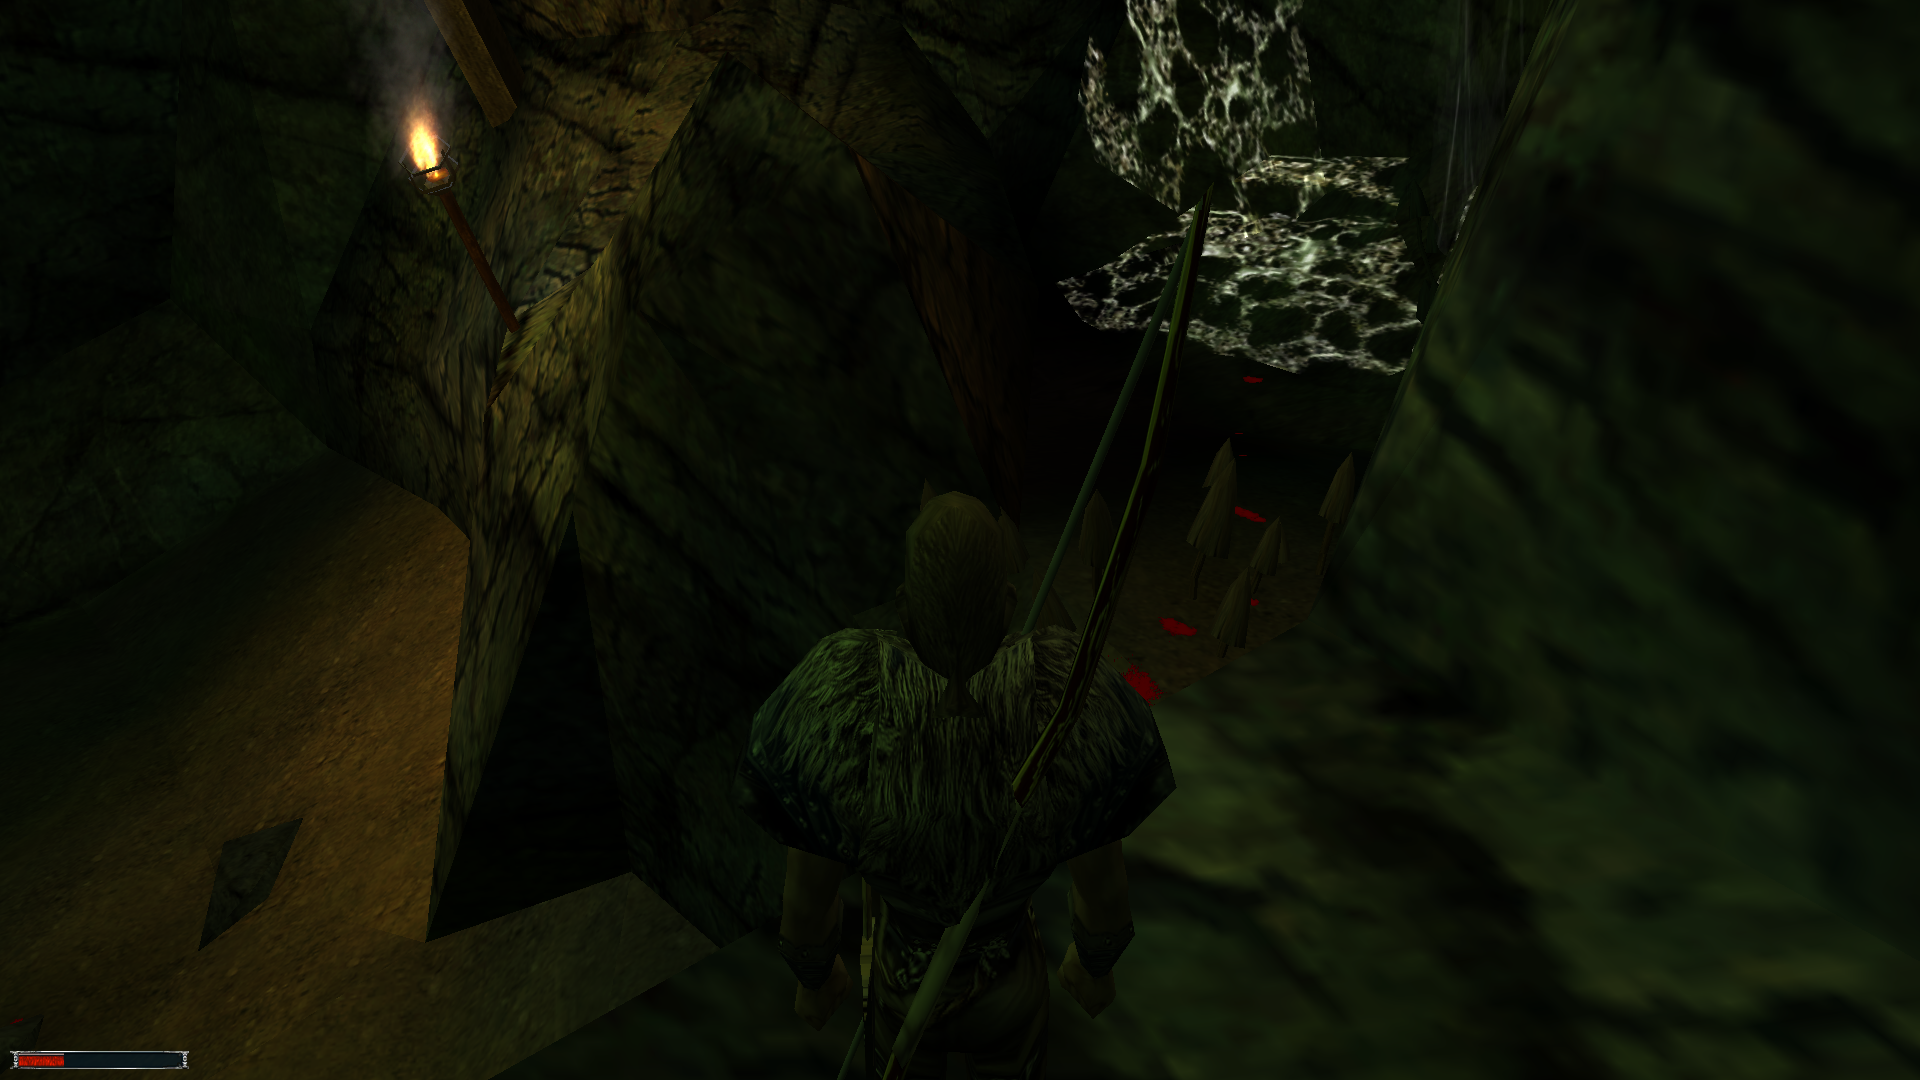
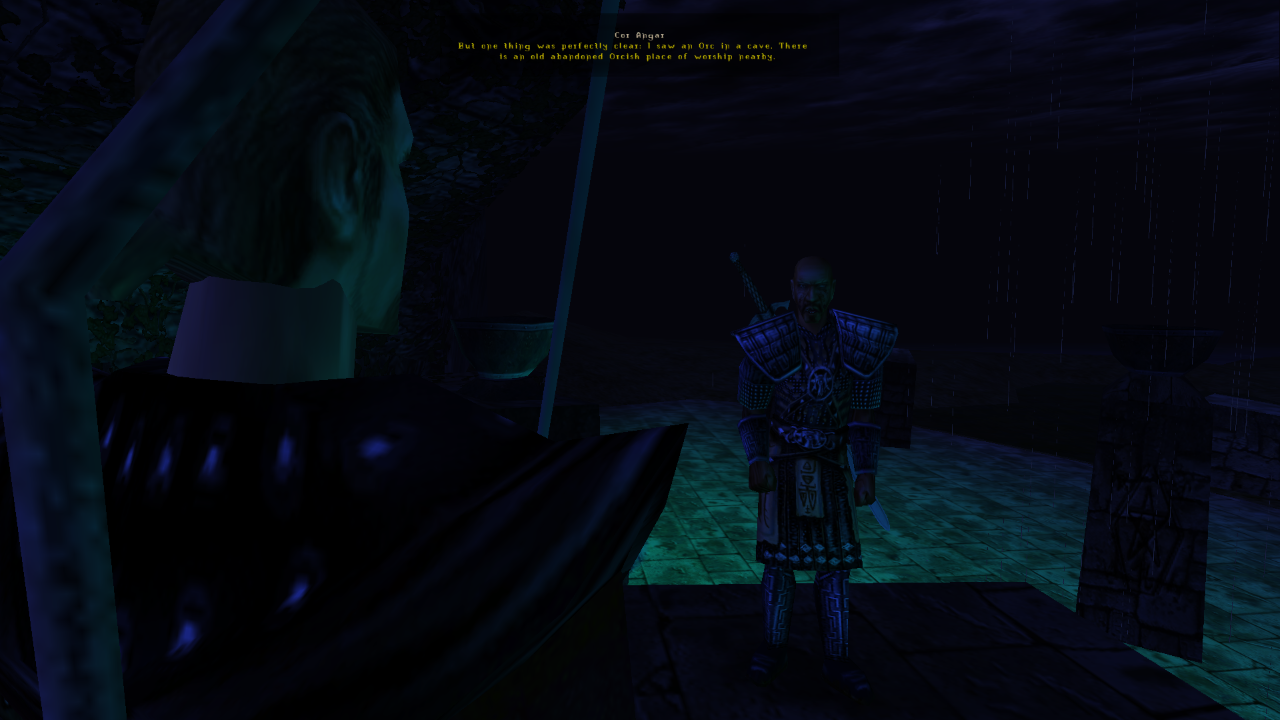
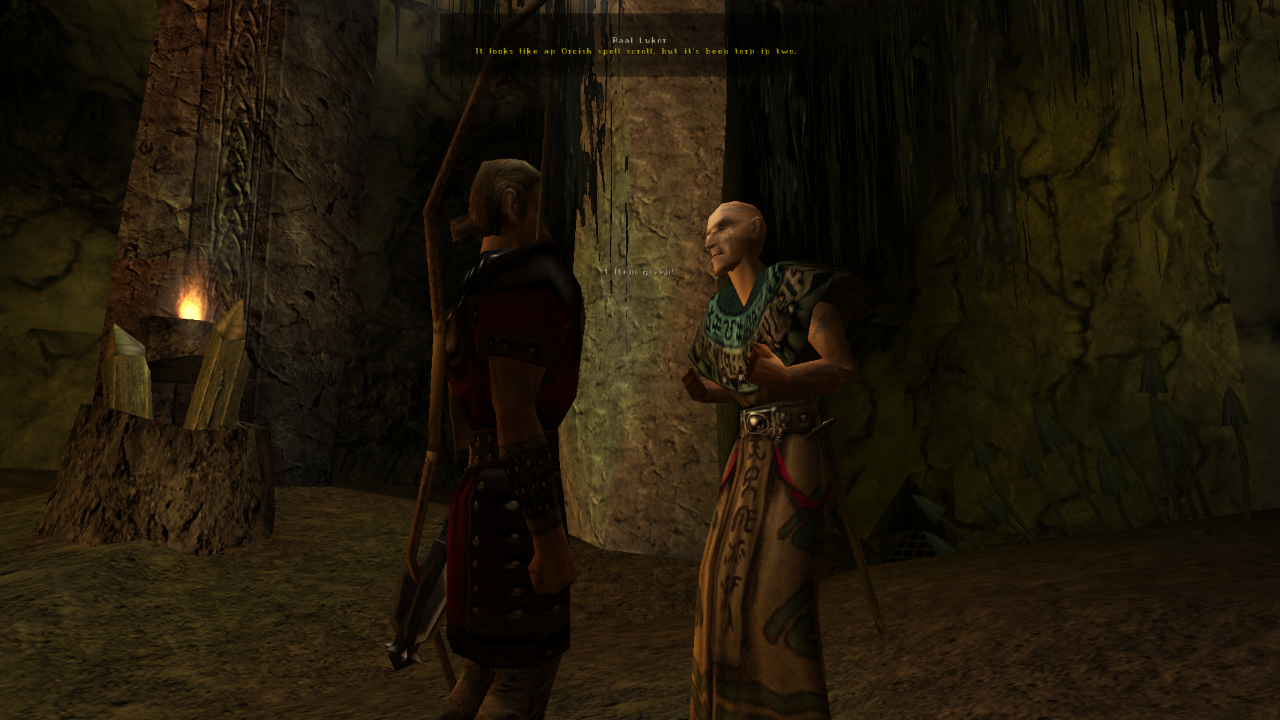
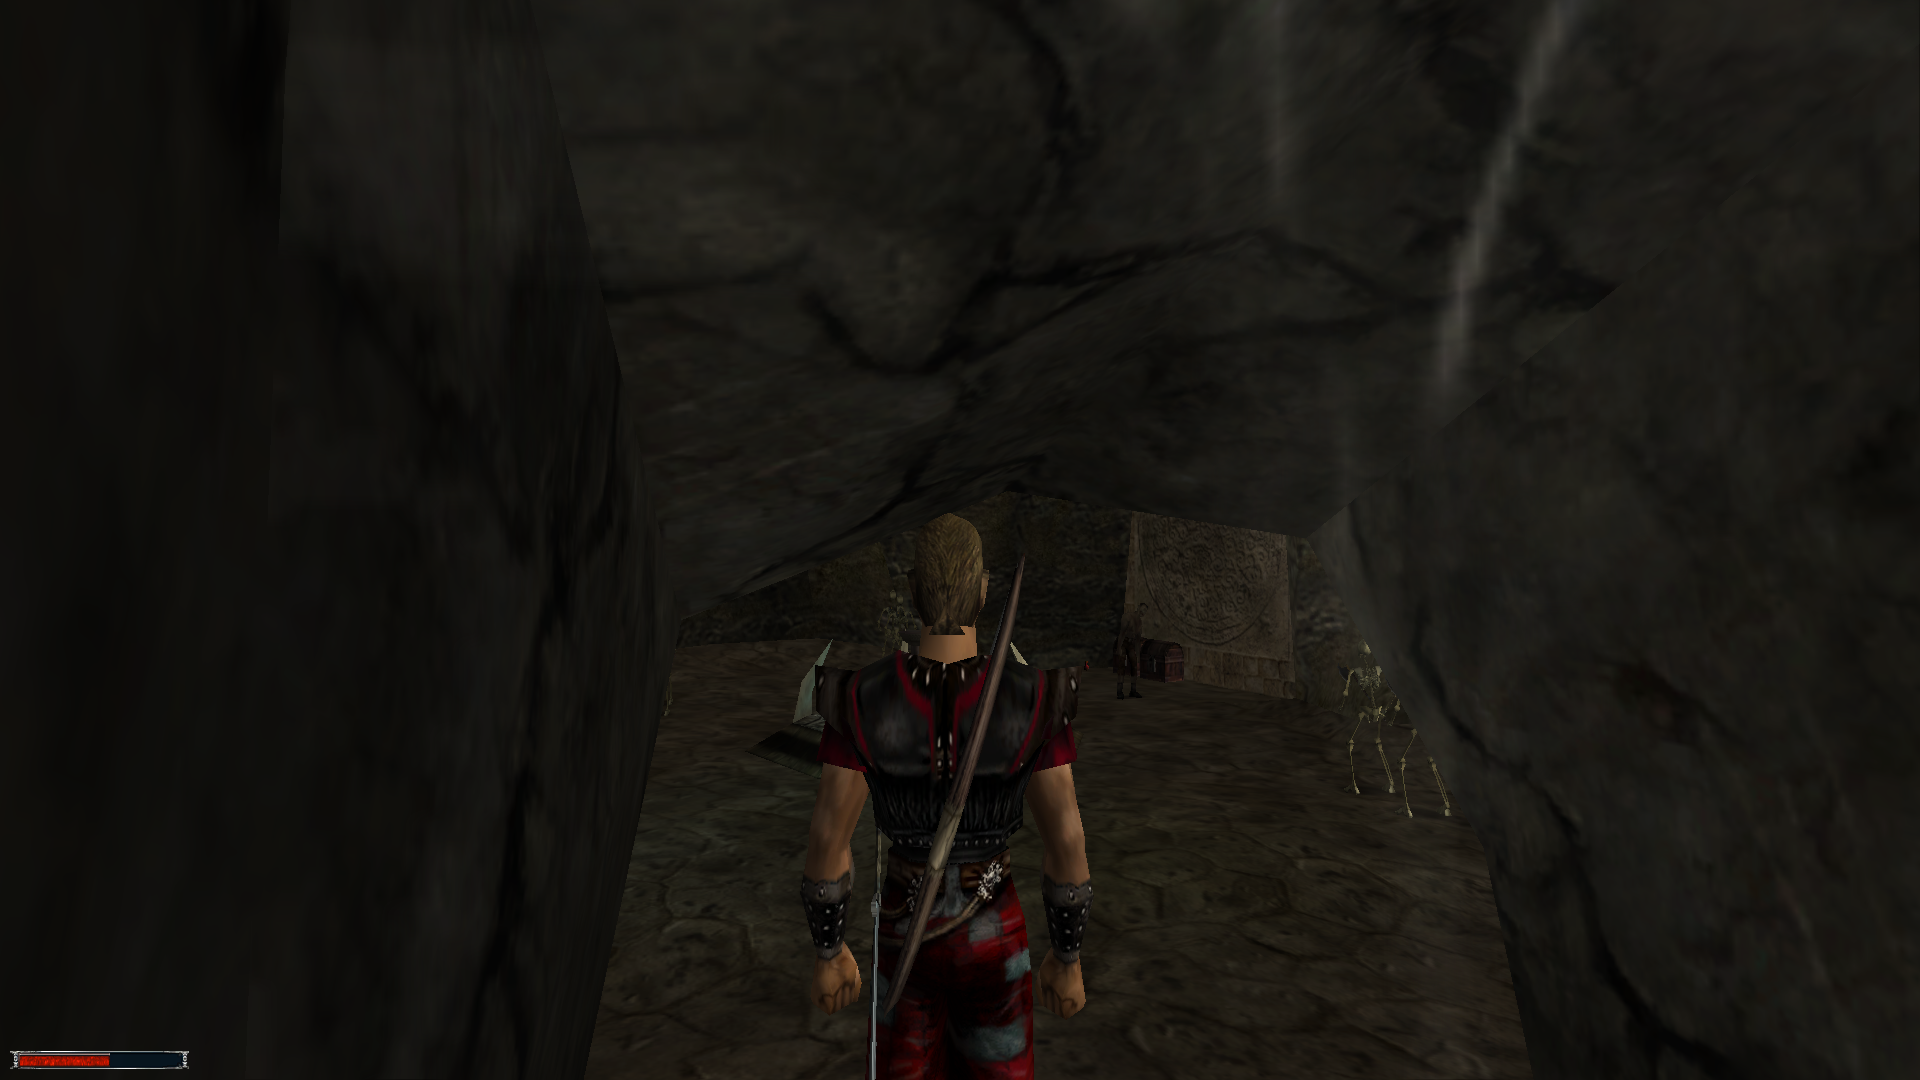
The first focus was in that crypt with the undead I died in already earlier in the game. By following the map, I approached the crypt from the other side and stumbled into Milton, the fire mage from the Old Camp. He was also interested in the crypt, but for a different reason. Apparently, there’s an orc repelling talisman in there. We agreed to help each other and he did his part immediately, by giving me a scroll that was supposed to kill the zombie in there. Regular weapons can’t hurt it, so that’s why the scroll was needed.

Gothic - Vista 2

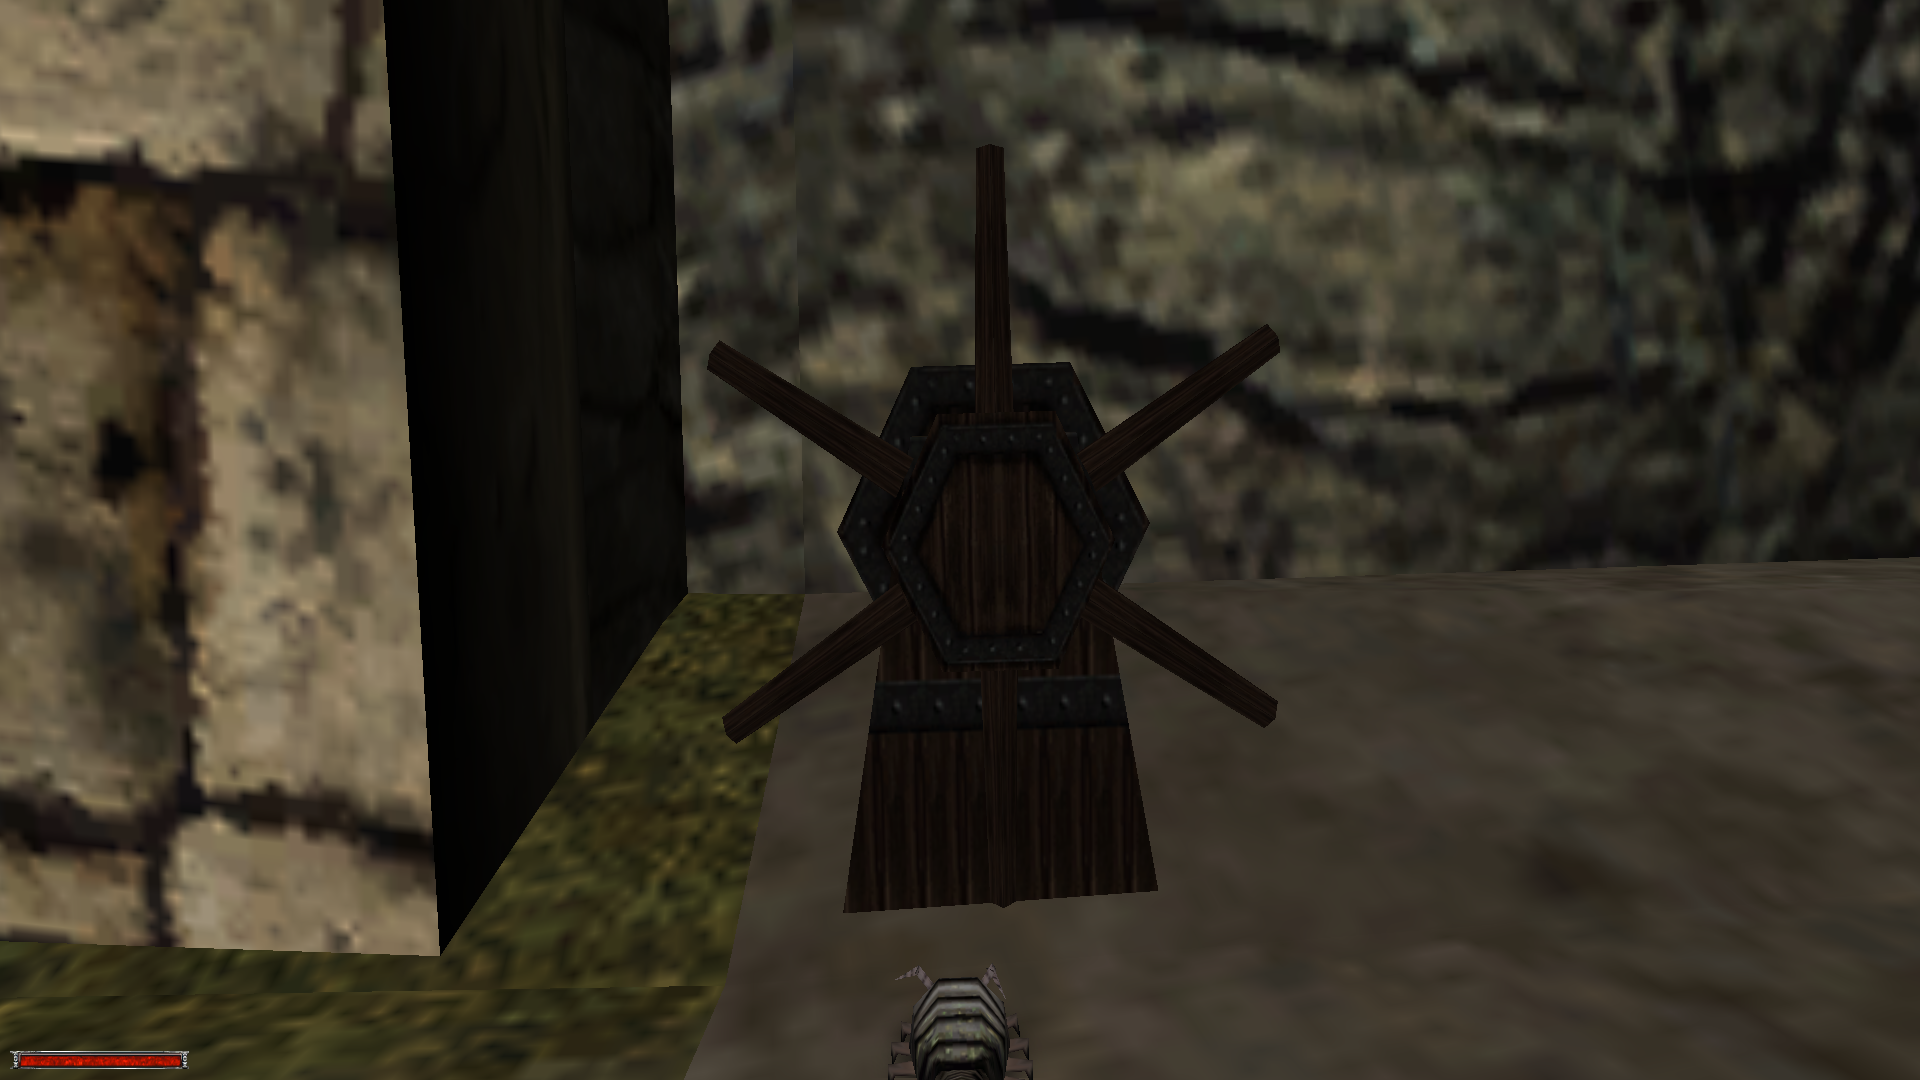
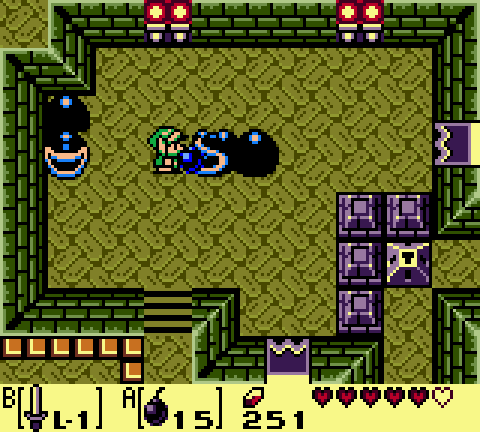
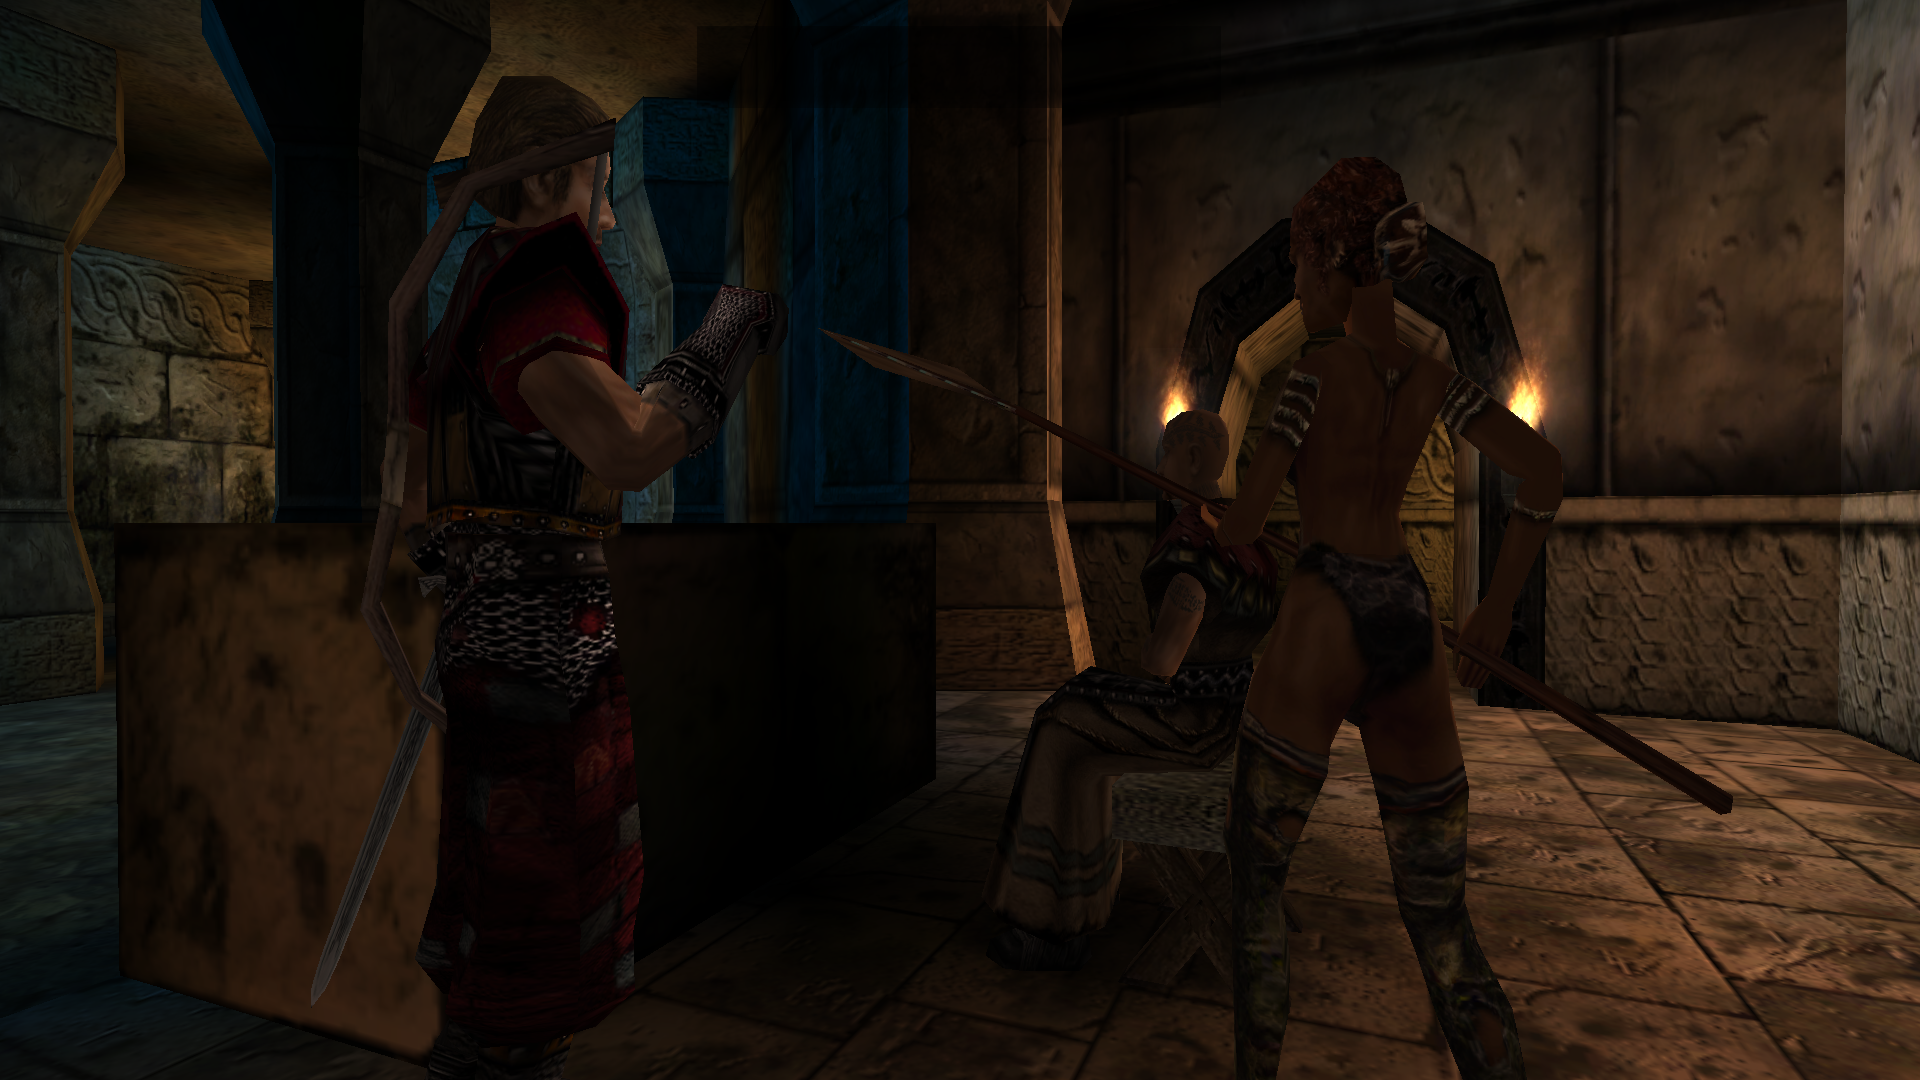
There’s no story behind this one. It just looked nice.

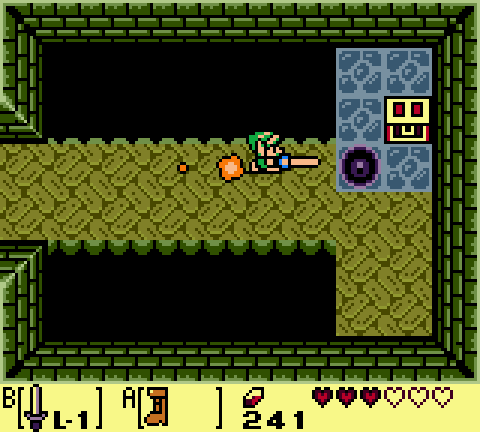
I got inside the crypt, with Milton following and about 10 seconds later, I was running for my life. The skeletons are easy enough to kill one at a time, but like the goblins, they do love surrounding you, so pretty soon I was swarmed and I was dying. I’m not proud to say this, but I ran off and left Milton in there. Once I was able to recover for a bit, I charged back in and managed to kill a few before running back out. After a couple of these “brave” scenes, all the skeletons were finally dead and Milton was somehow still alive. I readied the spell from the scroll and targeted the zombie. He died in agony.

I got the focus and gave Milton the talisman. I made my way towards the next focus.

I Pillaged an Orc Temple (or Something)

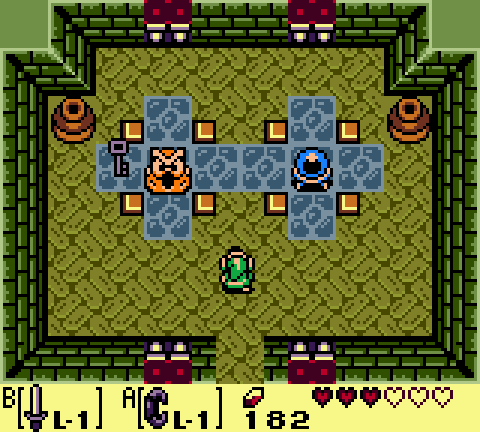
I made a wrong turn while on the way to the next focus, stumbling into a valley with a small pond, several orc statues and two orc warriors guarding the entrance to a temple of sorts. The temple was just one big room, but it had several potions arranged around an altar, as well as three chests I was able to loot. There was ore and arrows inside, as well as several lock picks per chest, so overall, even with the lock picks I broke, I came out ahead.

I corrected my heading by checking the map and started making my way to the next focus again.

I Fought Bloodhounds and Found a Hammer

The second focus was close to the Sect Camp, up the mountain with the huge waterfall. I remembered the place because a few quests ago, when I was still a shadow, I fought and defeated a bloodhound there and shortly after got killed by another one.

Gothic - Vista 5

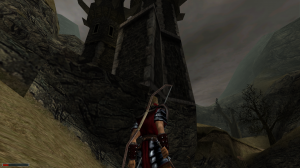
This was just a random tower I stumbled into while avoiding tough monsters.

I knew what to expect and I wasn’t wrong. The place was full of bloodhounds, with a few orcs here and there. It was a mountainous region, filled with ruins. I actually found a small room behind a door in one of the ruins. There was a chest inside, with the usual loot (potions, ore) and one unusual item – an orc hammer. This thing did 2 more damage than my Sword of Death, so I decided to try it out.

I was right to do it. A short distance past the room, there was a bridge with a golem on it. I can’t be sure because I haven’t tried it any other way, but I choose to believe the hammer did extra damage to the golem, because I killed it in a few hits and got 500 experience for it.

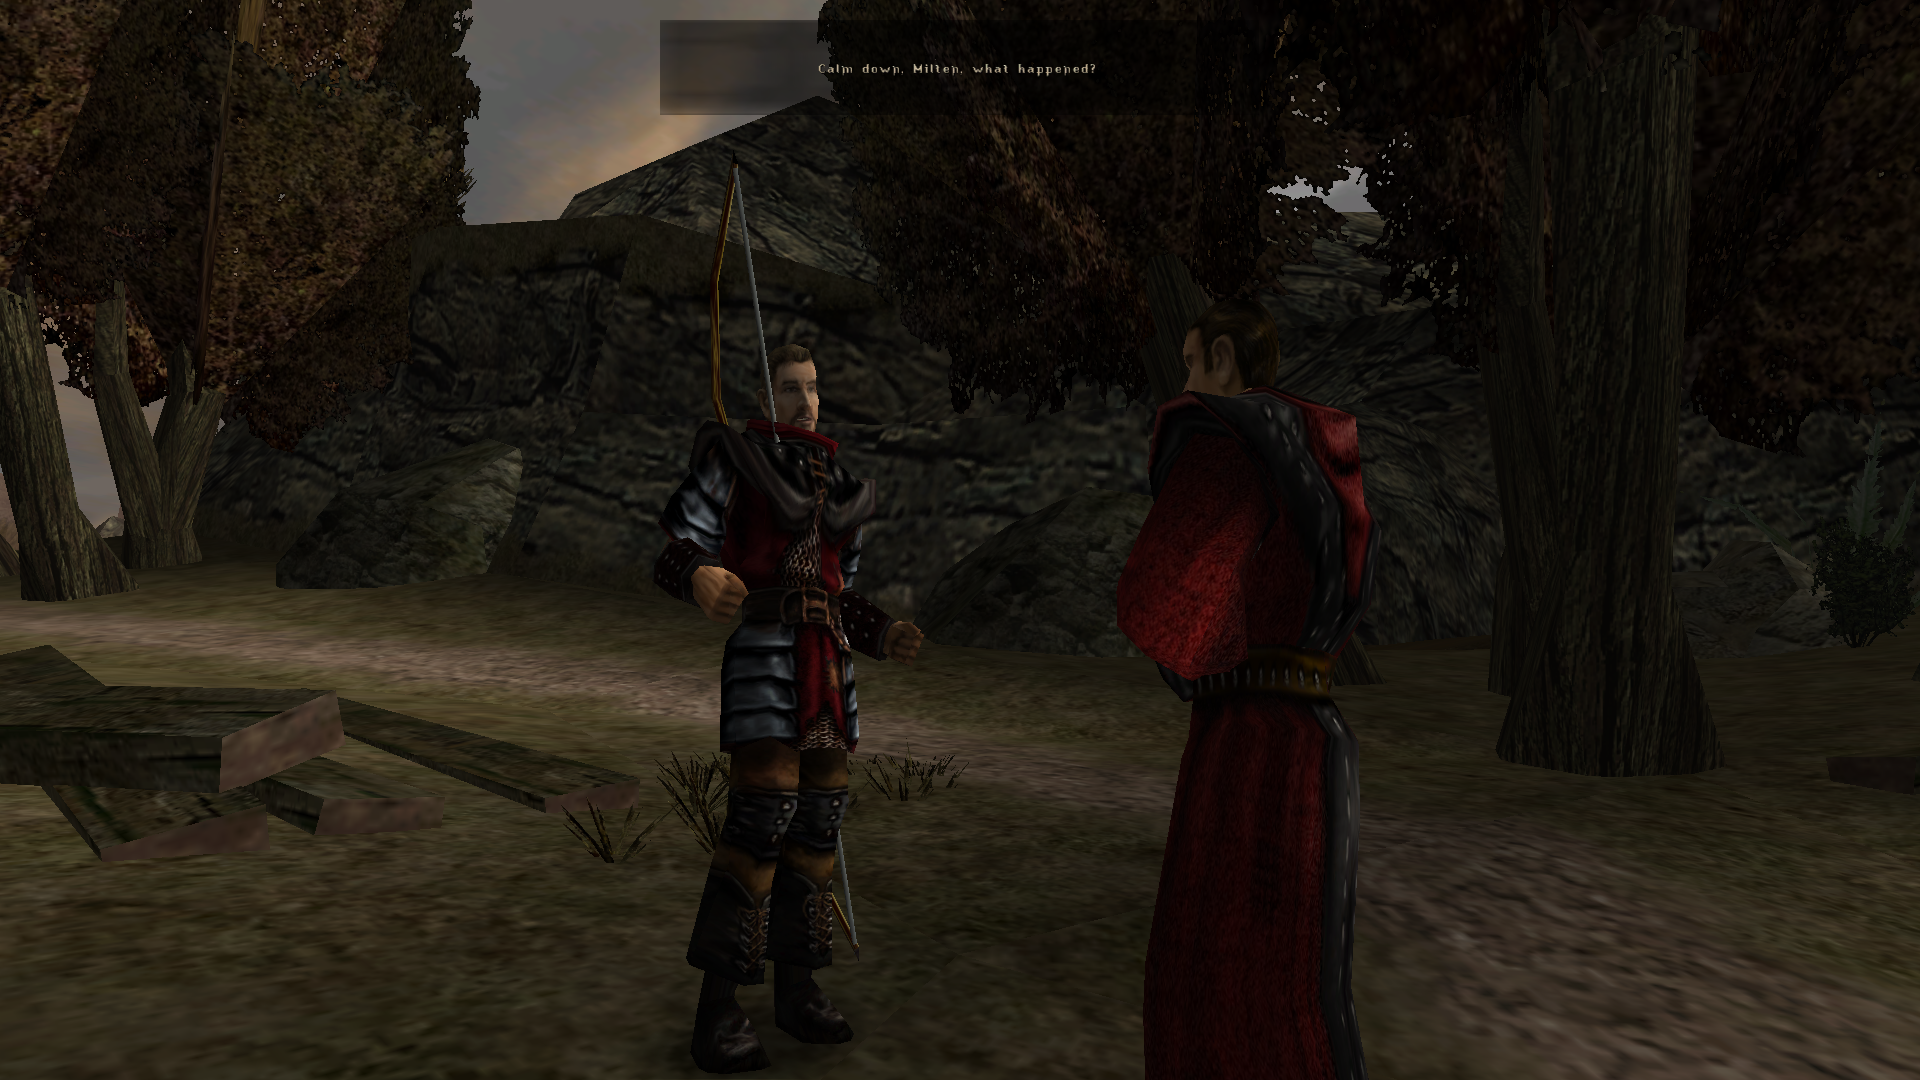
I Teamed up With Lester to Get the Third Focus

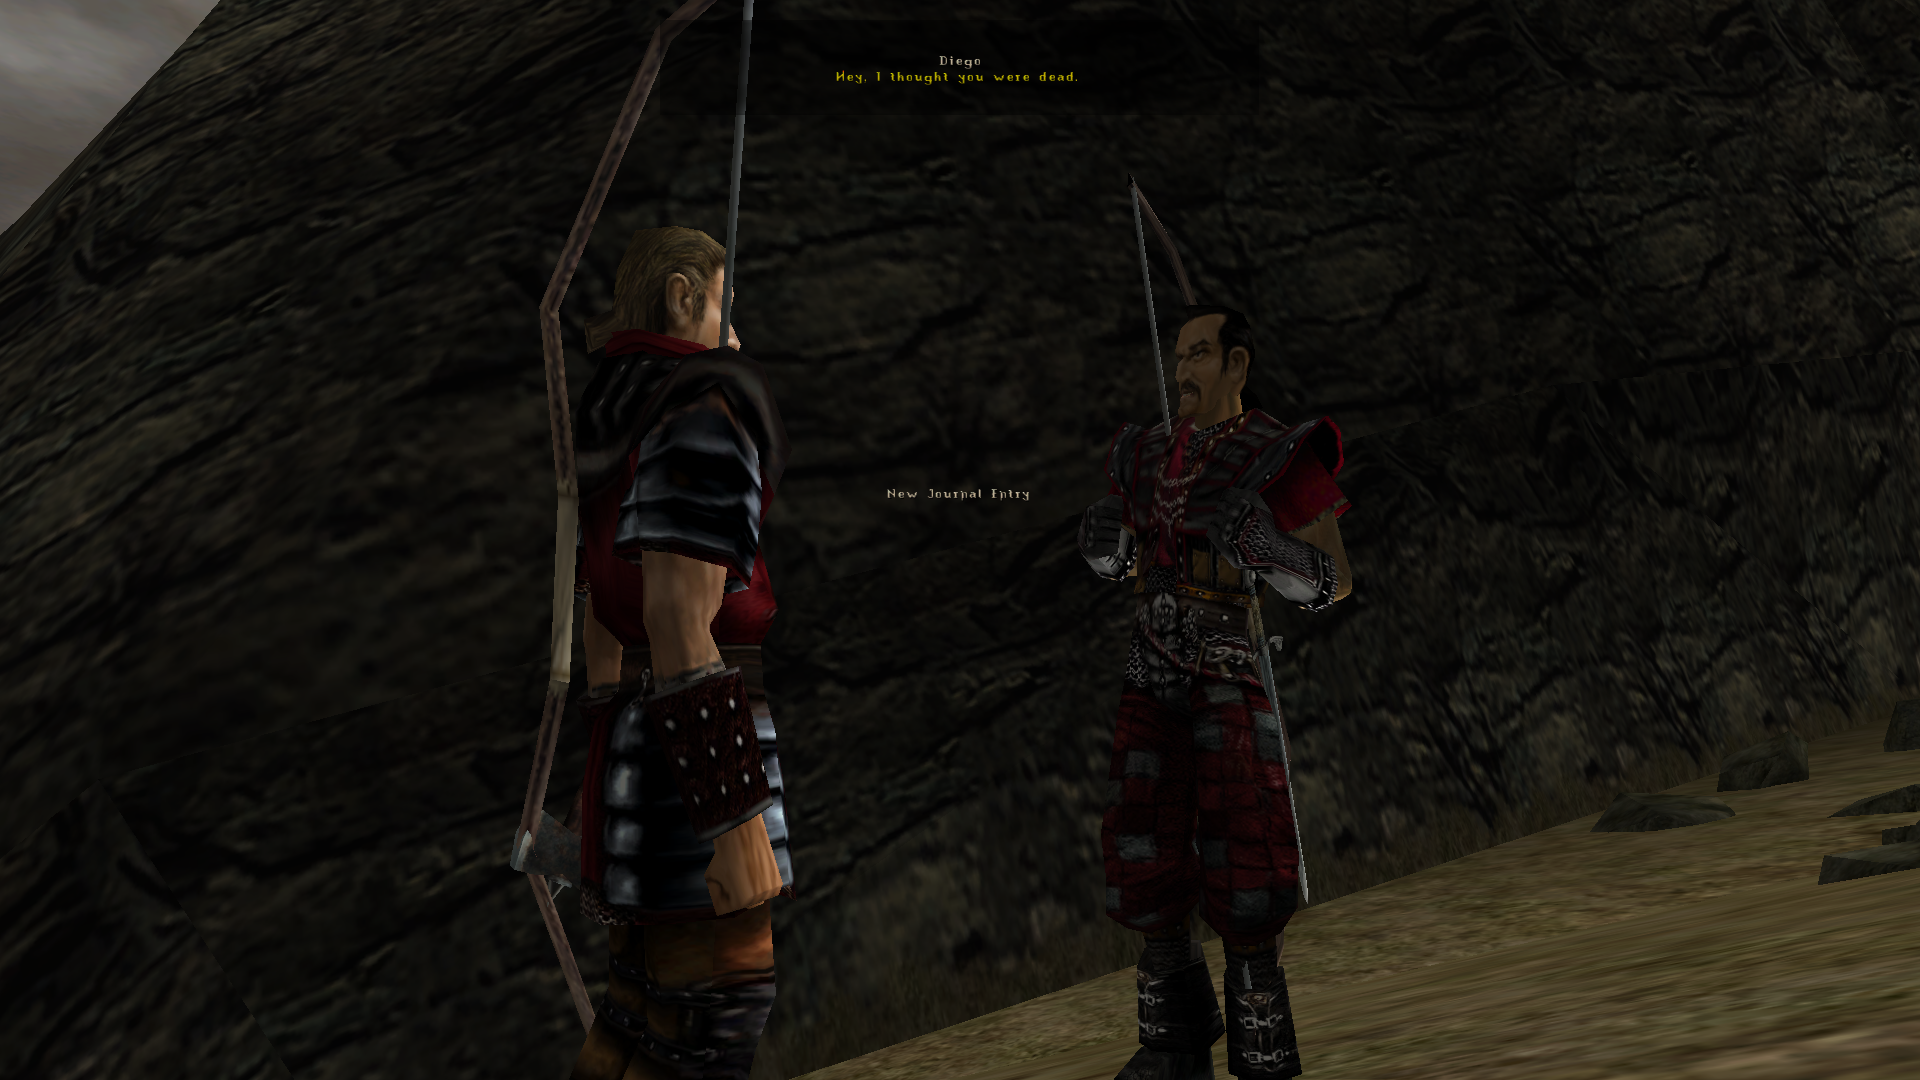
Right after the bridge, Lester of the Brotherhood was waiting for me. He didn’t really explain how he dodged the golem other than “the Brotherhood has it’s ways” or something like that, but he did mention he was there to find some documents that might be useful in the future, provided I destroy the barrier. The documents are supposed to be in the same place the focus is, so we decided to team up.

This time, I had to explore a ruin filled with harpies. I’m not sure if I mentioned this, but Gothic is a buggy game. It crashes a lot and everything feels clunky. This should say something about how good the game actually is, though, since I’m playing it in spite of those flaws.

Gothic - Ominous Bridge

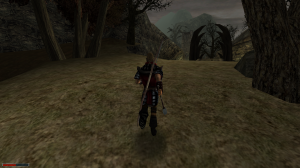
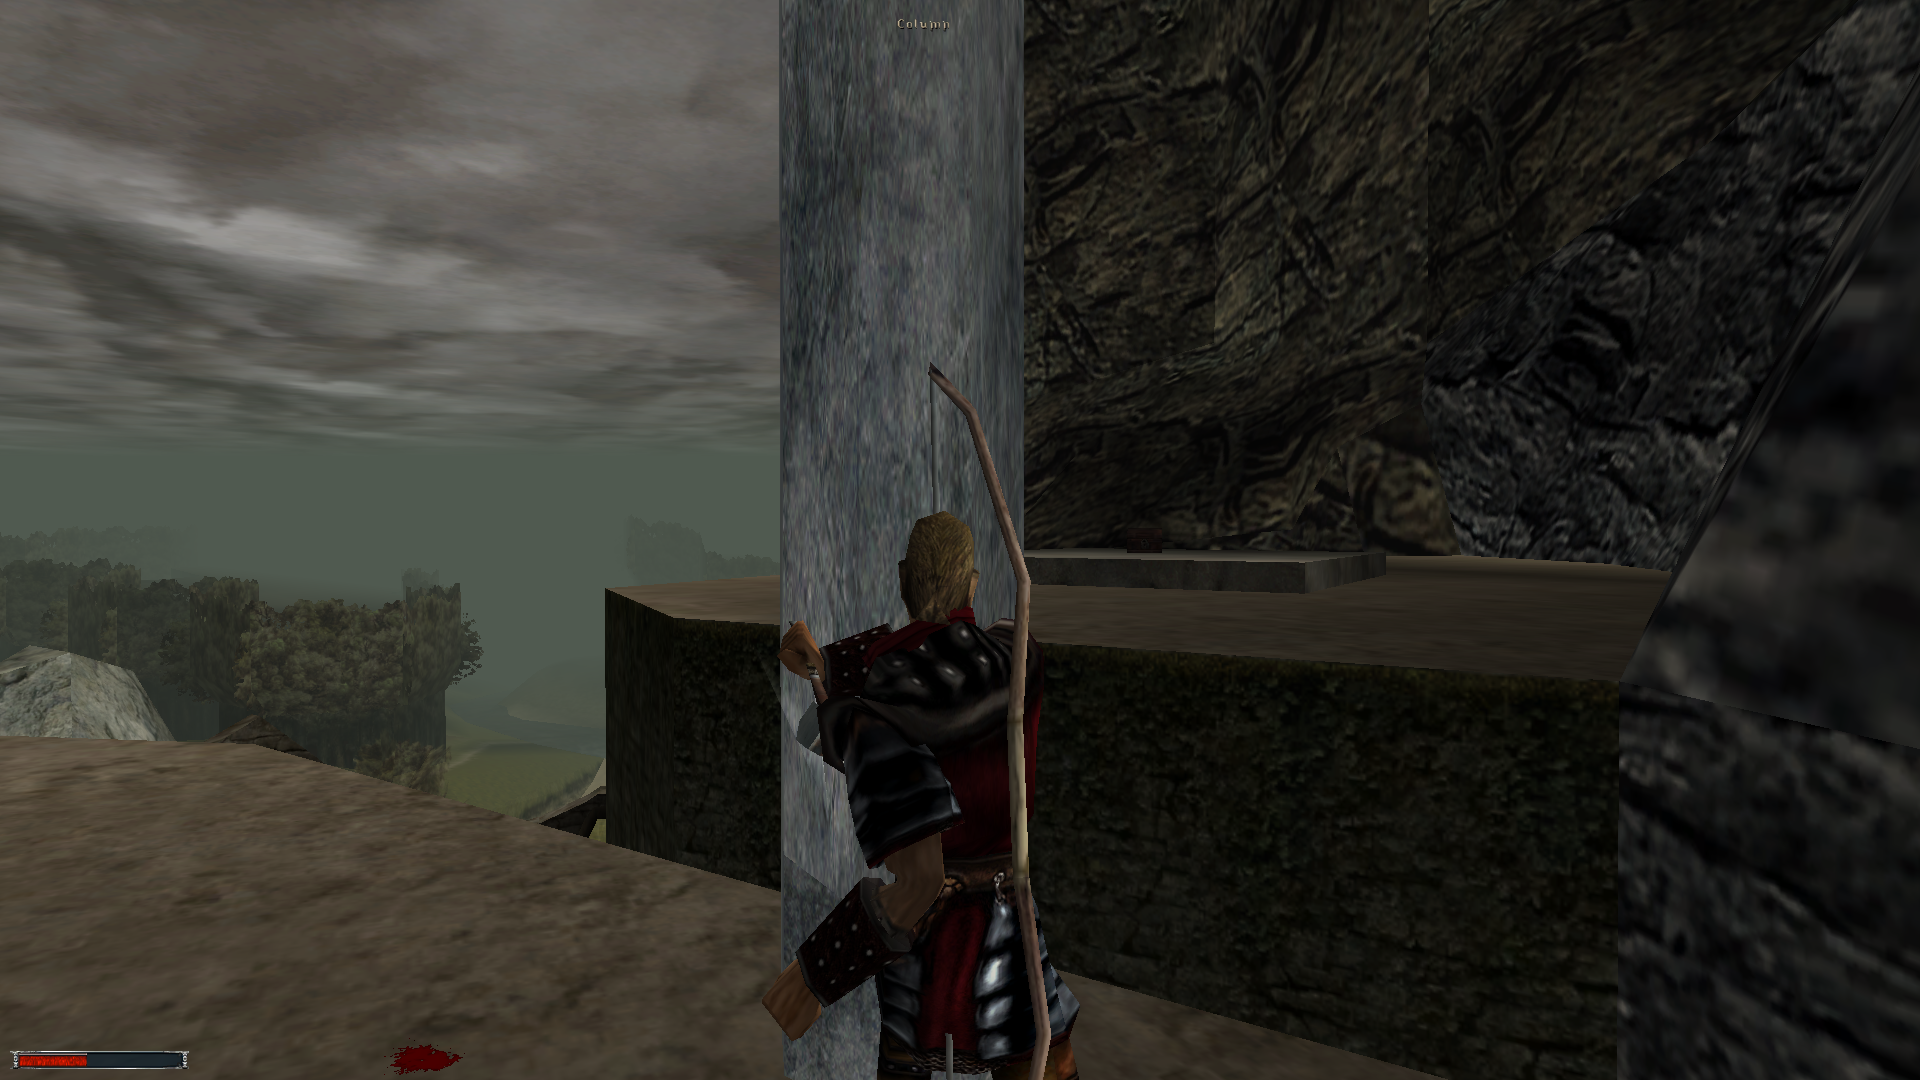
The look of the bridge tells me I’m not supposed to be here.

In any case, the bugs reared their ugly head here. Harpies are flying enemies and the game doesn’t handle flying well.  They kept flying over me, not being able to reach me, but also stopping me from hitting them because I couldn’t target them from directly below. I ended up spending a lot of time receiving unnecessary hits, running away from the harpies, letting Lester handle them and trying to squeeze in a bow shot or two every now and then. This made me burn through most of my grilled meat supply so I’ll have to find a frying pan as soon as I get to one of the camps.

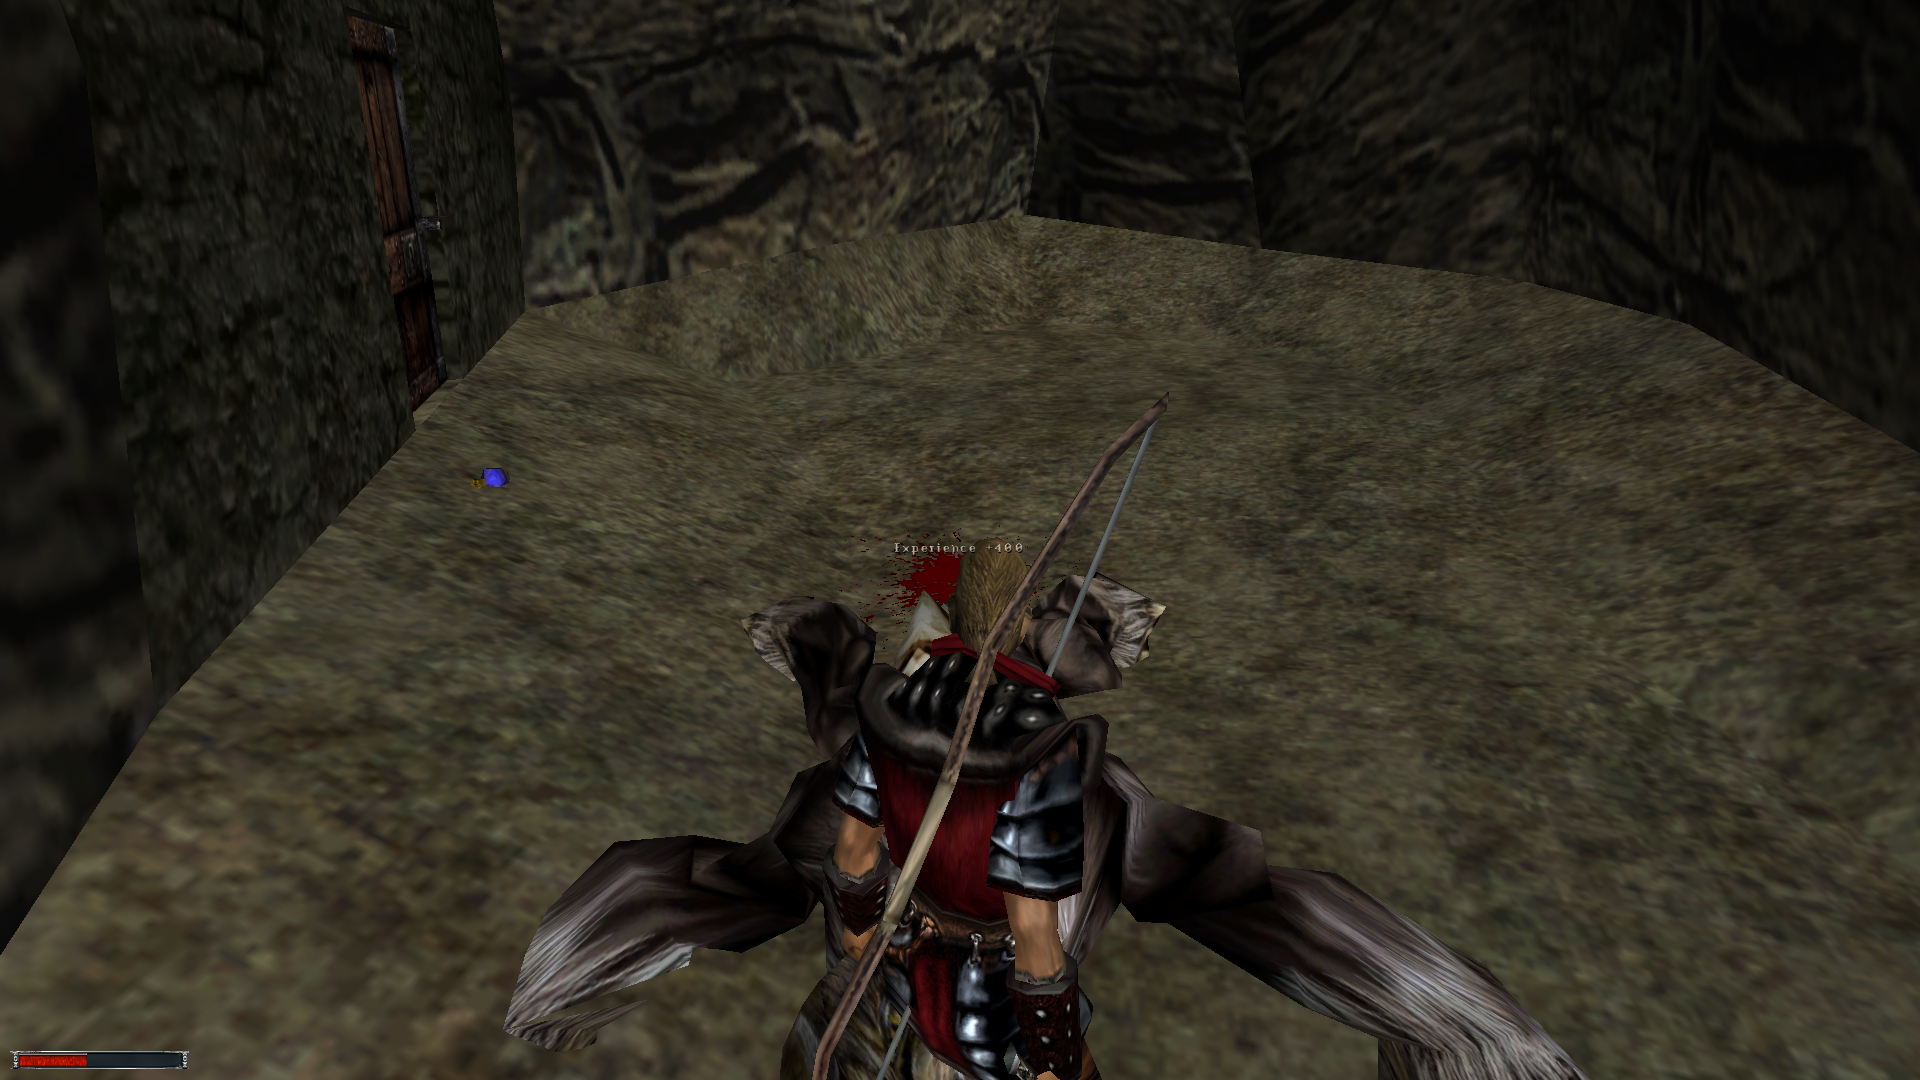
Somehow, though, I did it. I cleared the ruin, found the documents Lester needed and all I needed to do was to get the focus. The problem was, it was out of my reach, on a platform I couldn’t get to. It was obvious what the game wanted me to do. Lester gave me a Telekinesis scroll and I could easily get to a ledge overlooking the platform with the focus on it. However, I didn’t have enough magic points to actually cast the spell.

For a moment, I actually thought about going back to a camp and investing some points into magic, but then I had a moment of inspiration. I tried to jump from the ledge to the platform, hoping to survive it and I just barely did it. Apparently, there was no need for telekinesis.

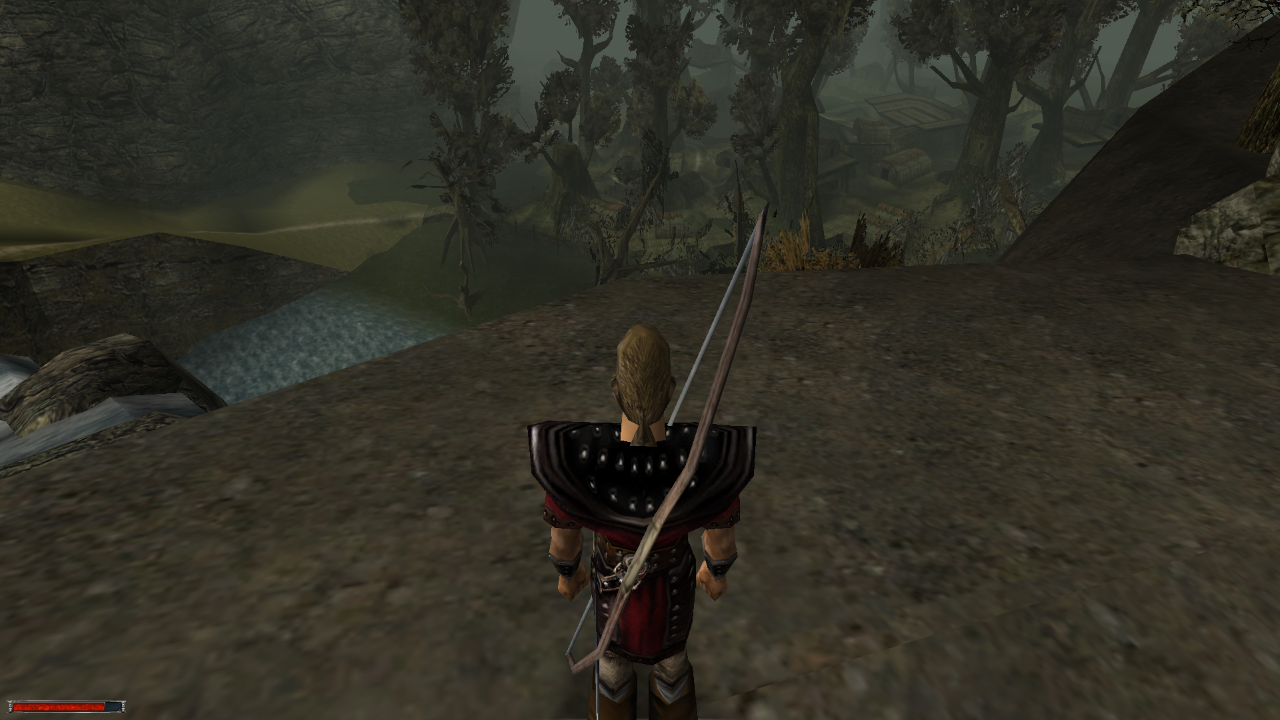
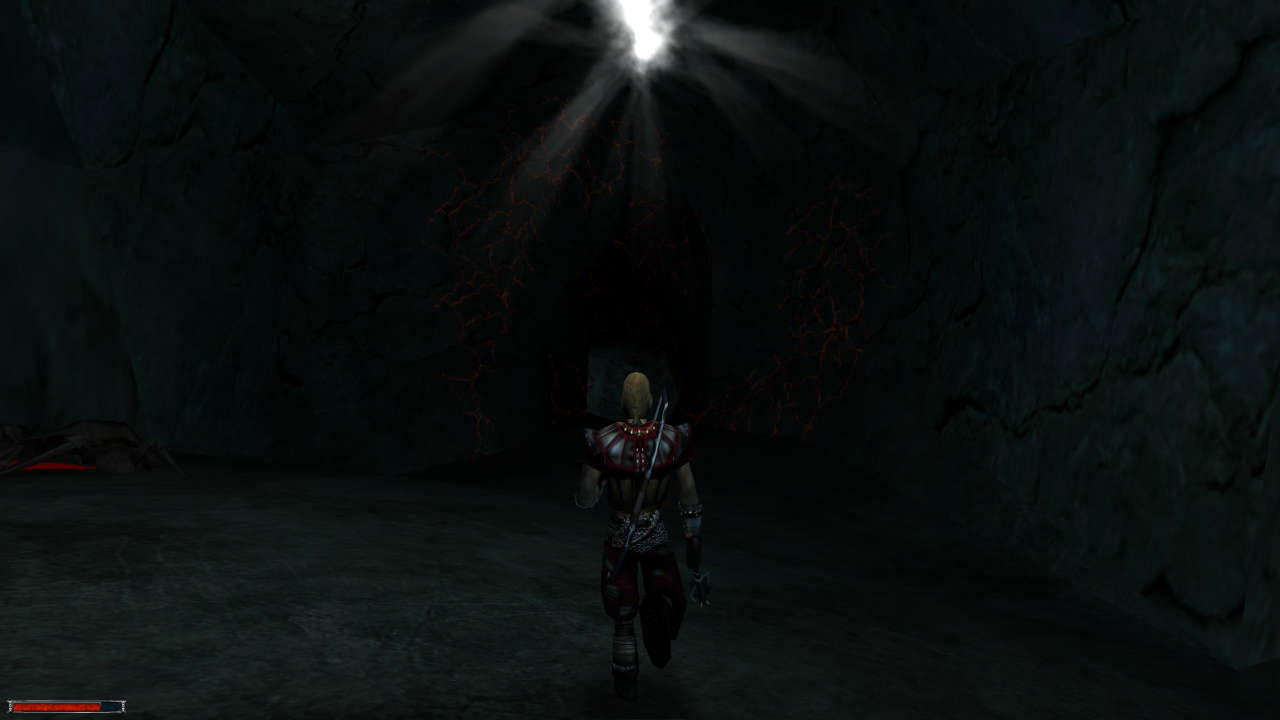
At this point, I realized Fraps wasn’t running, so I didn’t take any screenshots in this session. Because of that, you have these generic vistas with nothing on them. From this point on, though, I started taking them again.

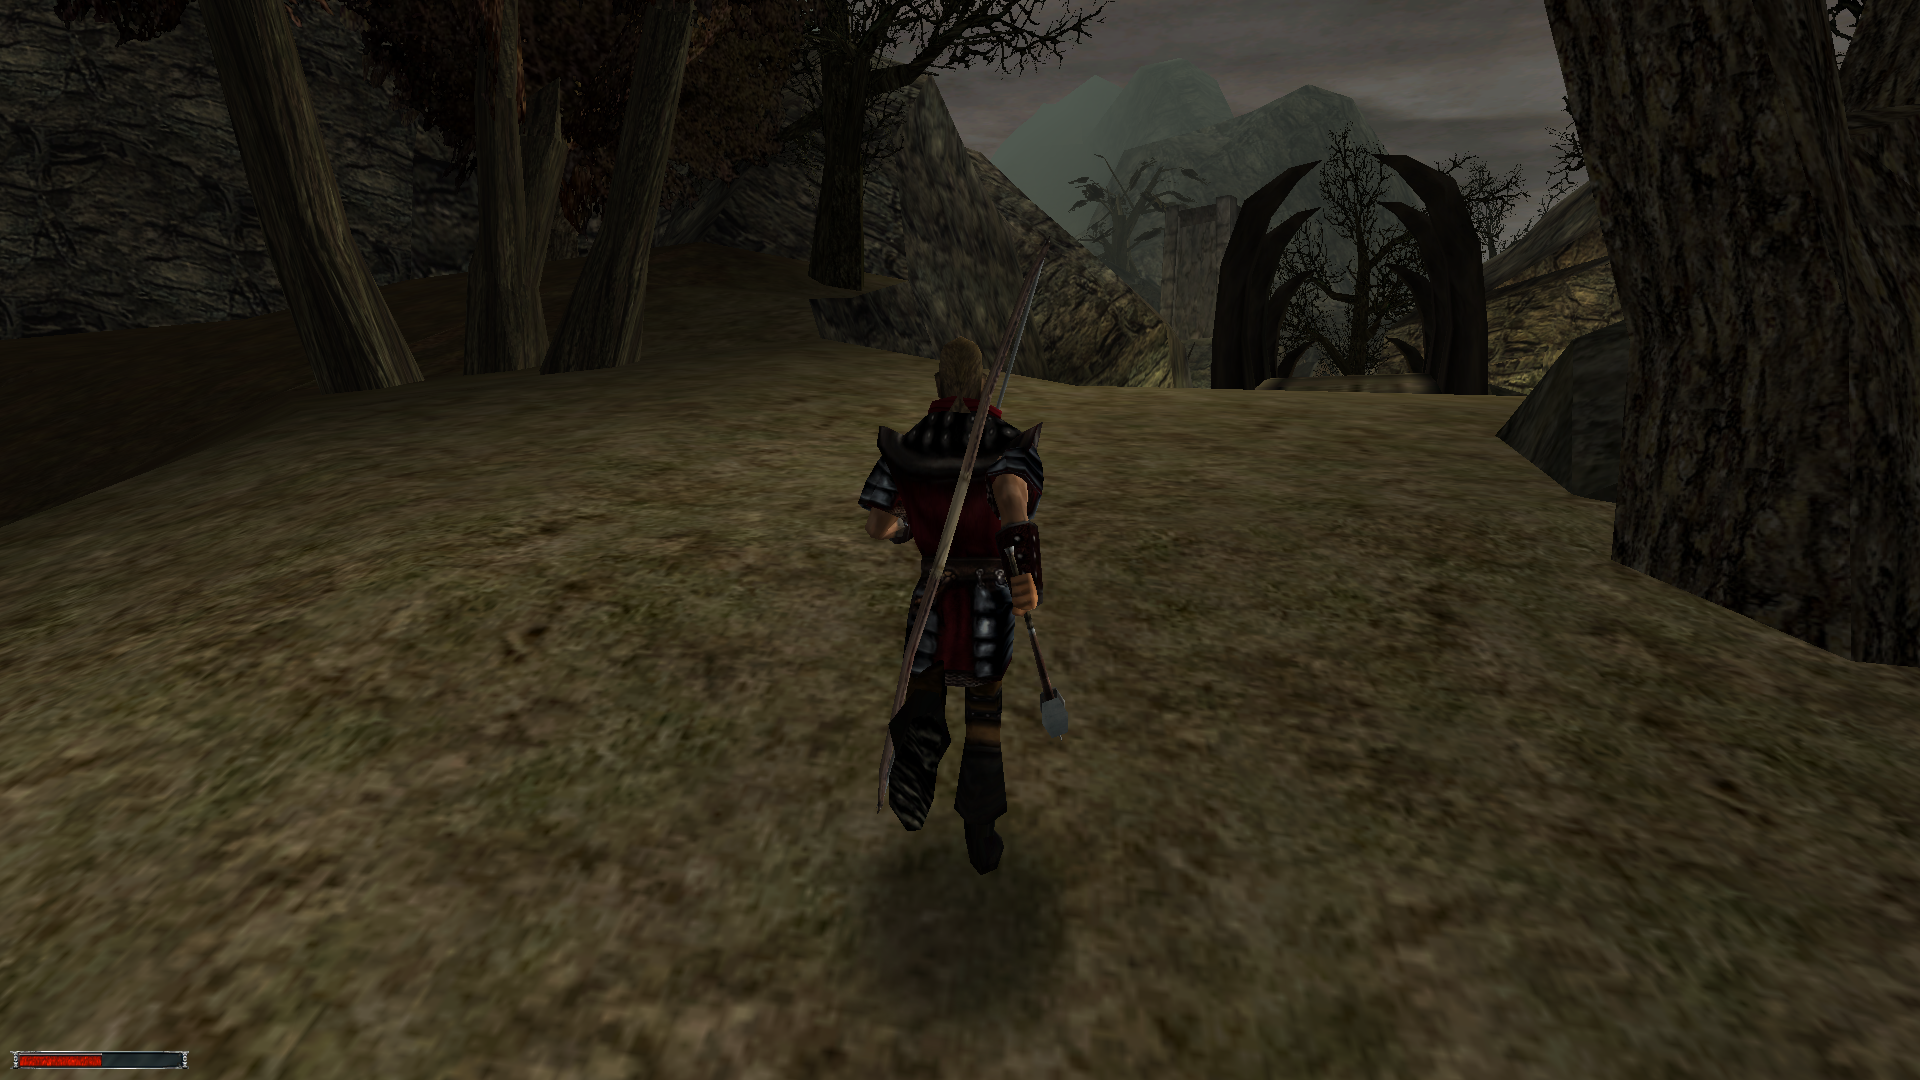
I Ended Up in a Place Way above My Level

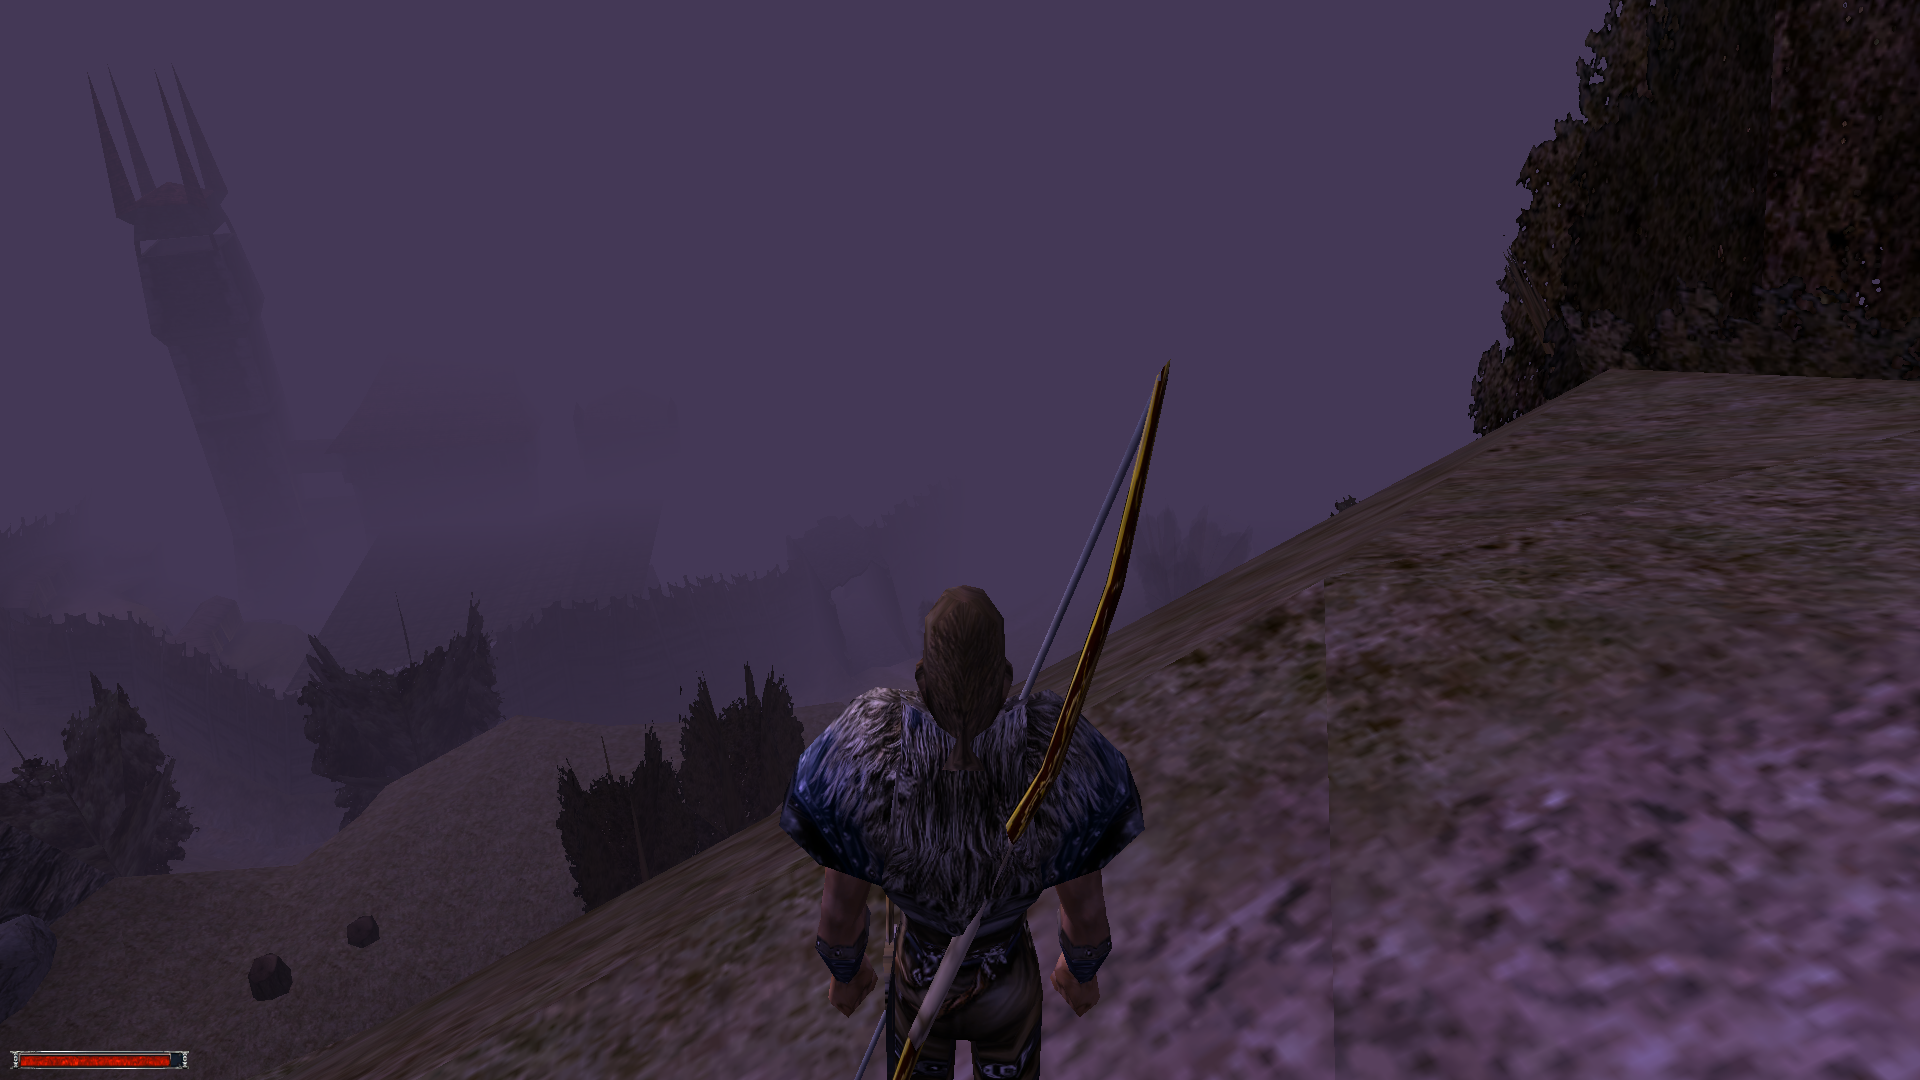
I had the third focus, but I wanted to explore some more, so I decided to make my way towards a tower in the distance. This was a huge mistake, but it ended up creating a fun situation, so I don’t regret it.

Gothic - Vista 4

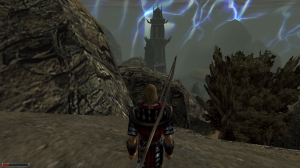
This is the tower I decided to try and get to.

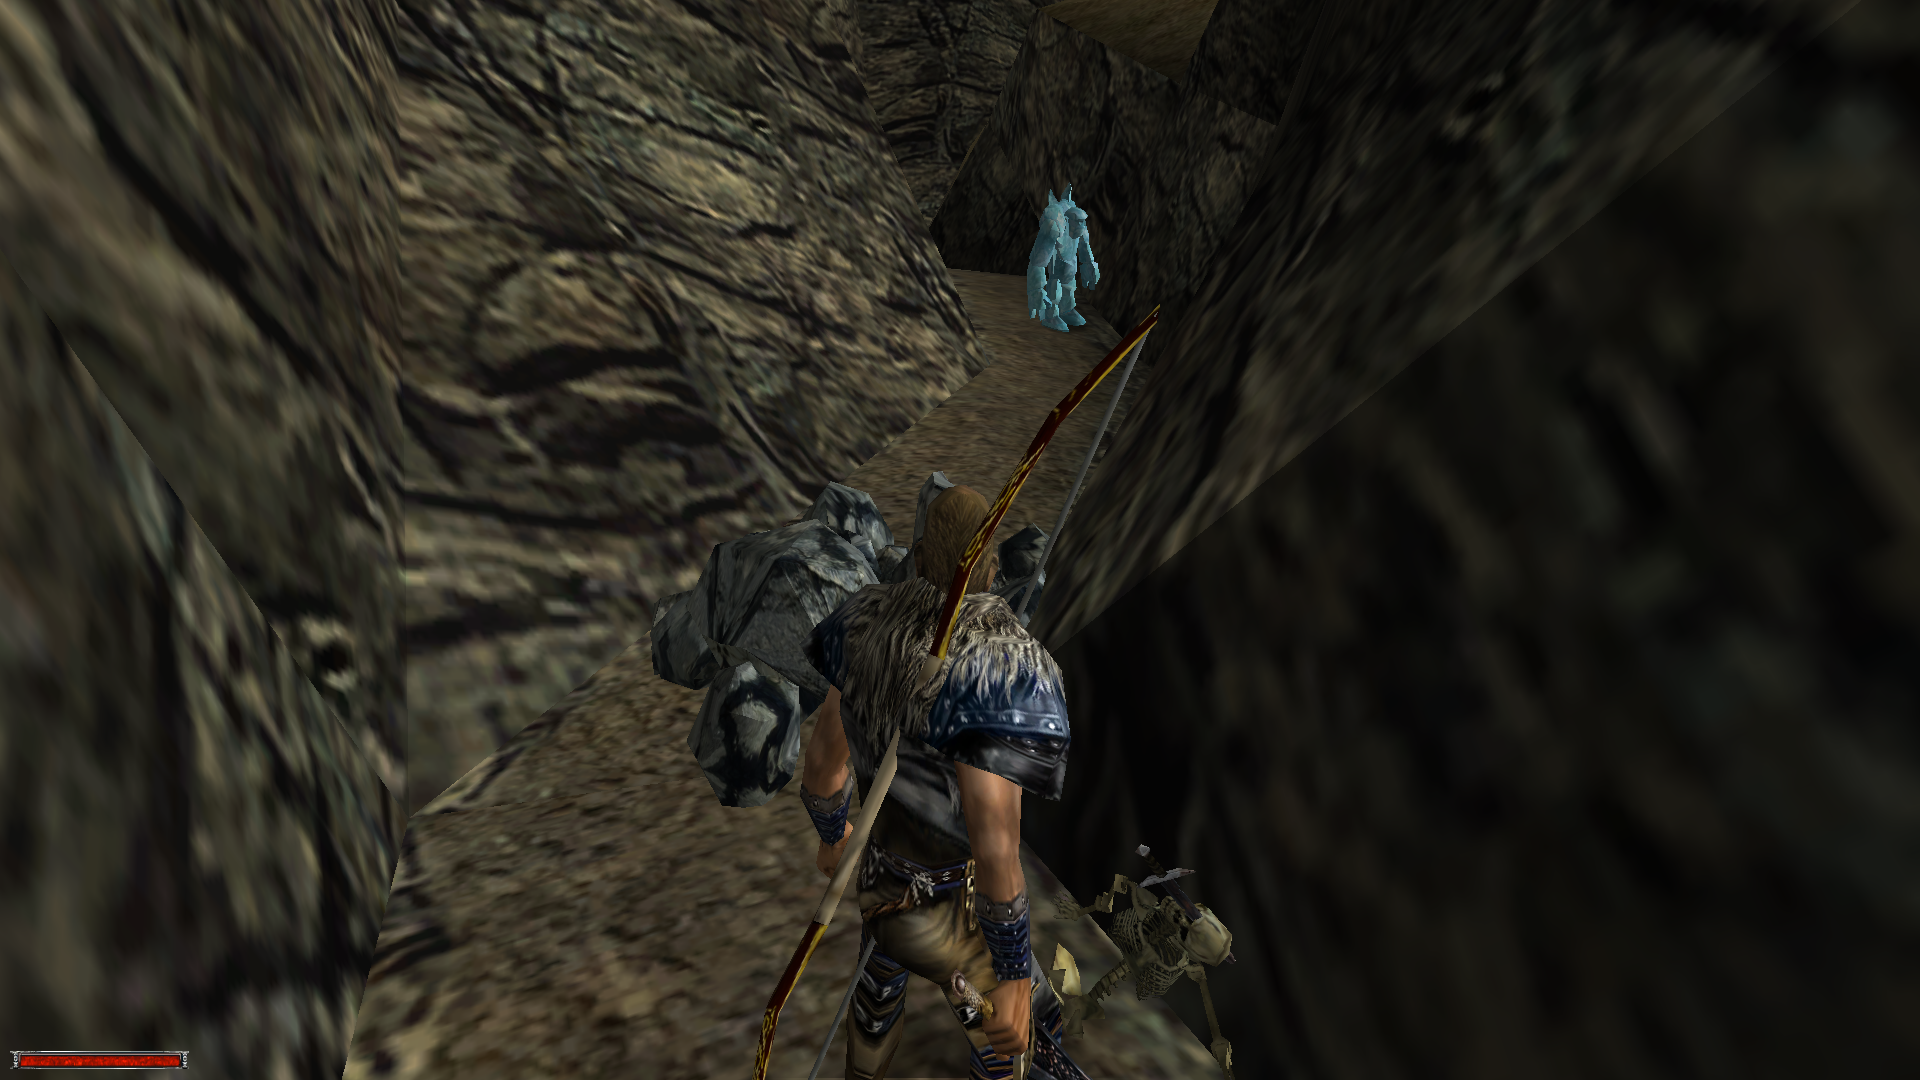
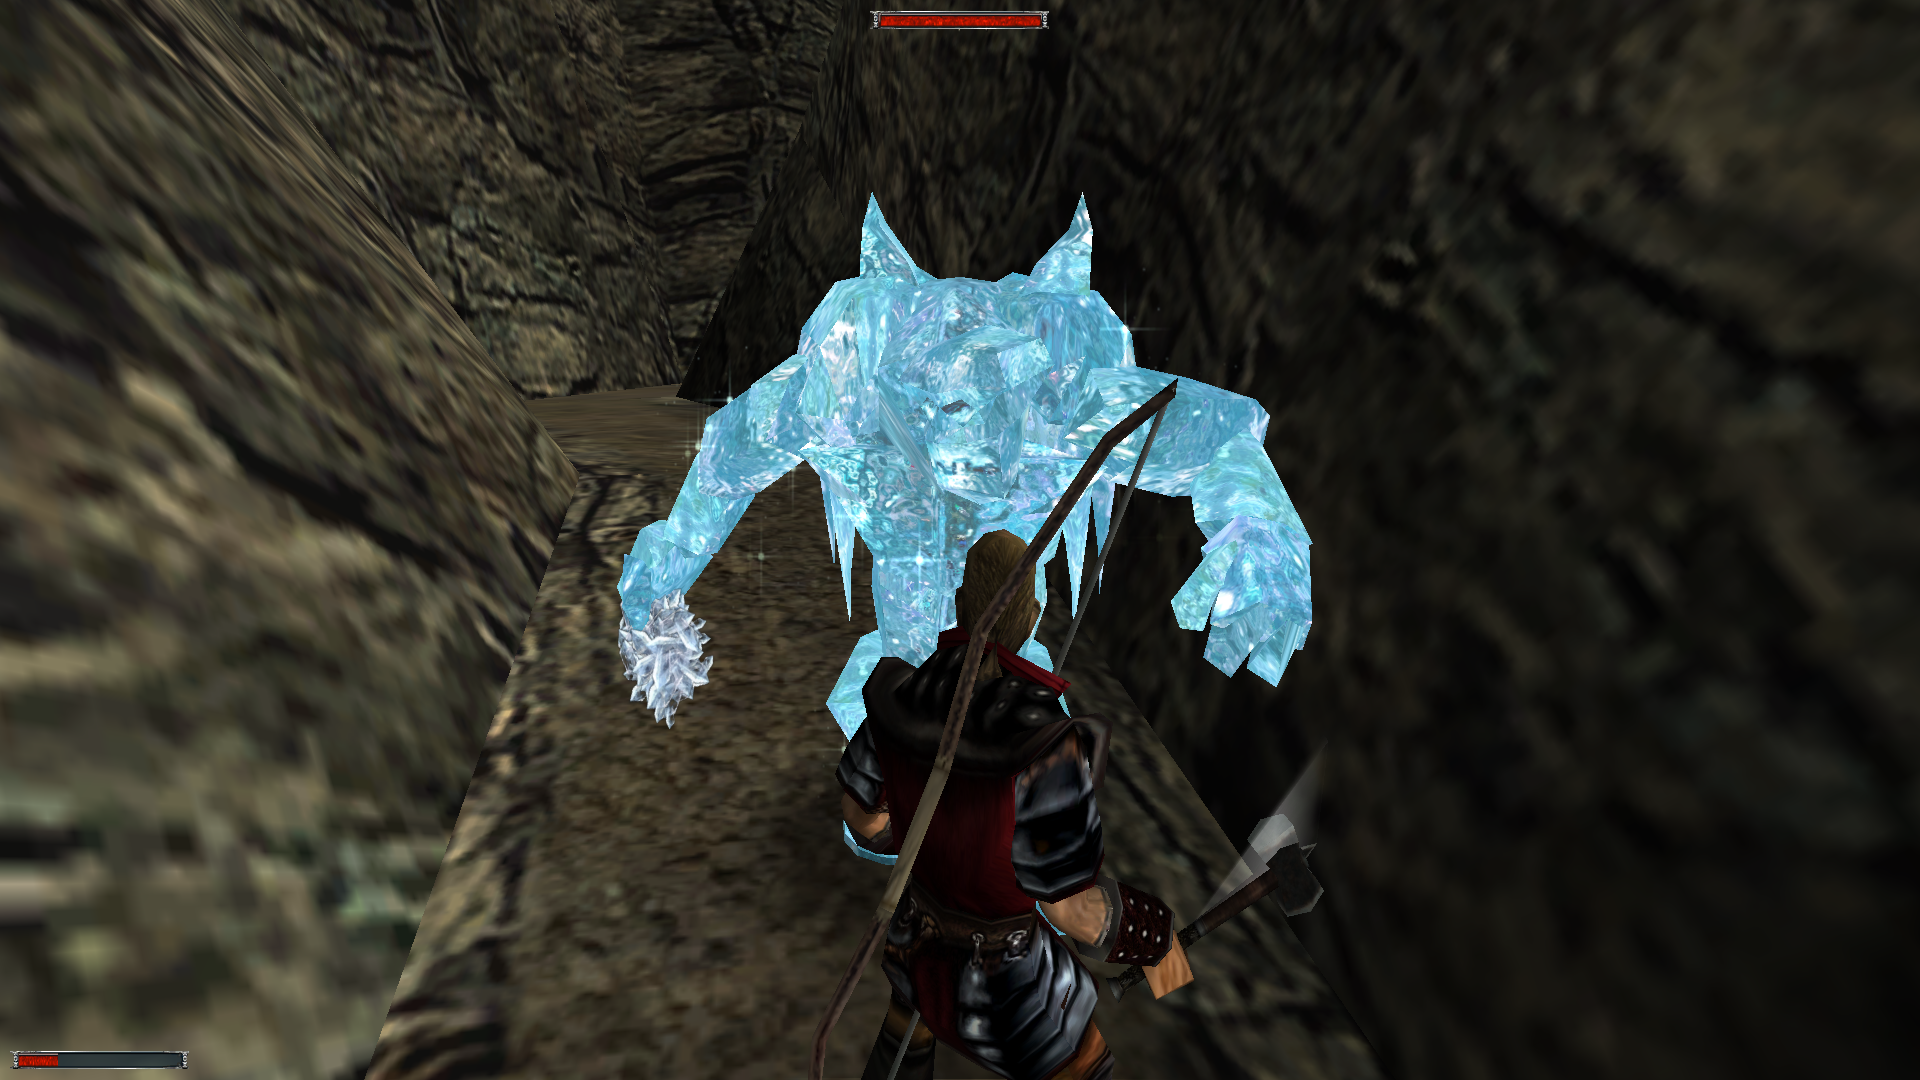
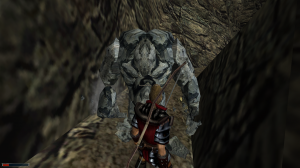
First, I went over a mountain and ran into a Stone Golem. I managed to beat it, but it had way more health than the Bridge Golem I already destroyed. It also gave me 1000 experience, so the increase in difficulty was justified. This is where it ended, though. A few meters away from the stone golem, there was an ice golem. This guy, I couldn’t even touch. It froze me with the first hit and killed me with the second.

Gothic - Stone Golem

Stone golem, meet orc hammer.

I loaded my game and killed the stone golem again, before turning around and heading in a different direction. I wasn’t out of danger yet. This was definitely orc country because the whole region was filled with orc warriors and fighters, biters and a new type of enemies called raptors. The raptors are colorized like biters, but have a different shape and are way stronger, so mistaking them for biters at first was the death of me in the beginning.

Gothic - Ice Golem

Ice golem, meet soon-to-be dead guy.

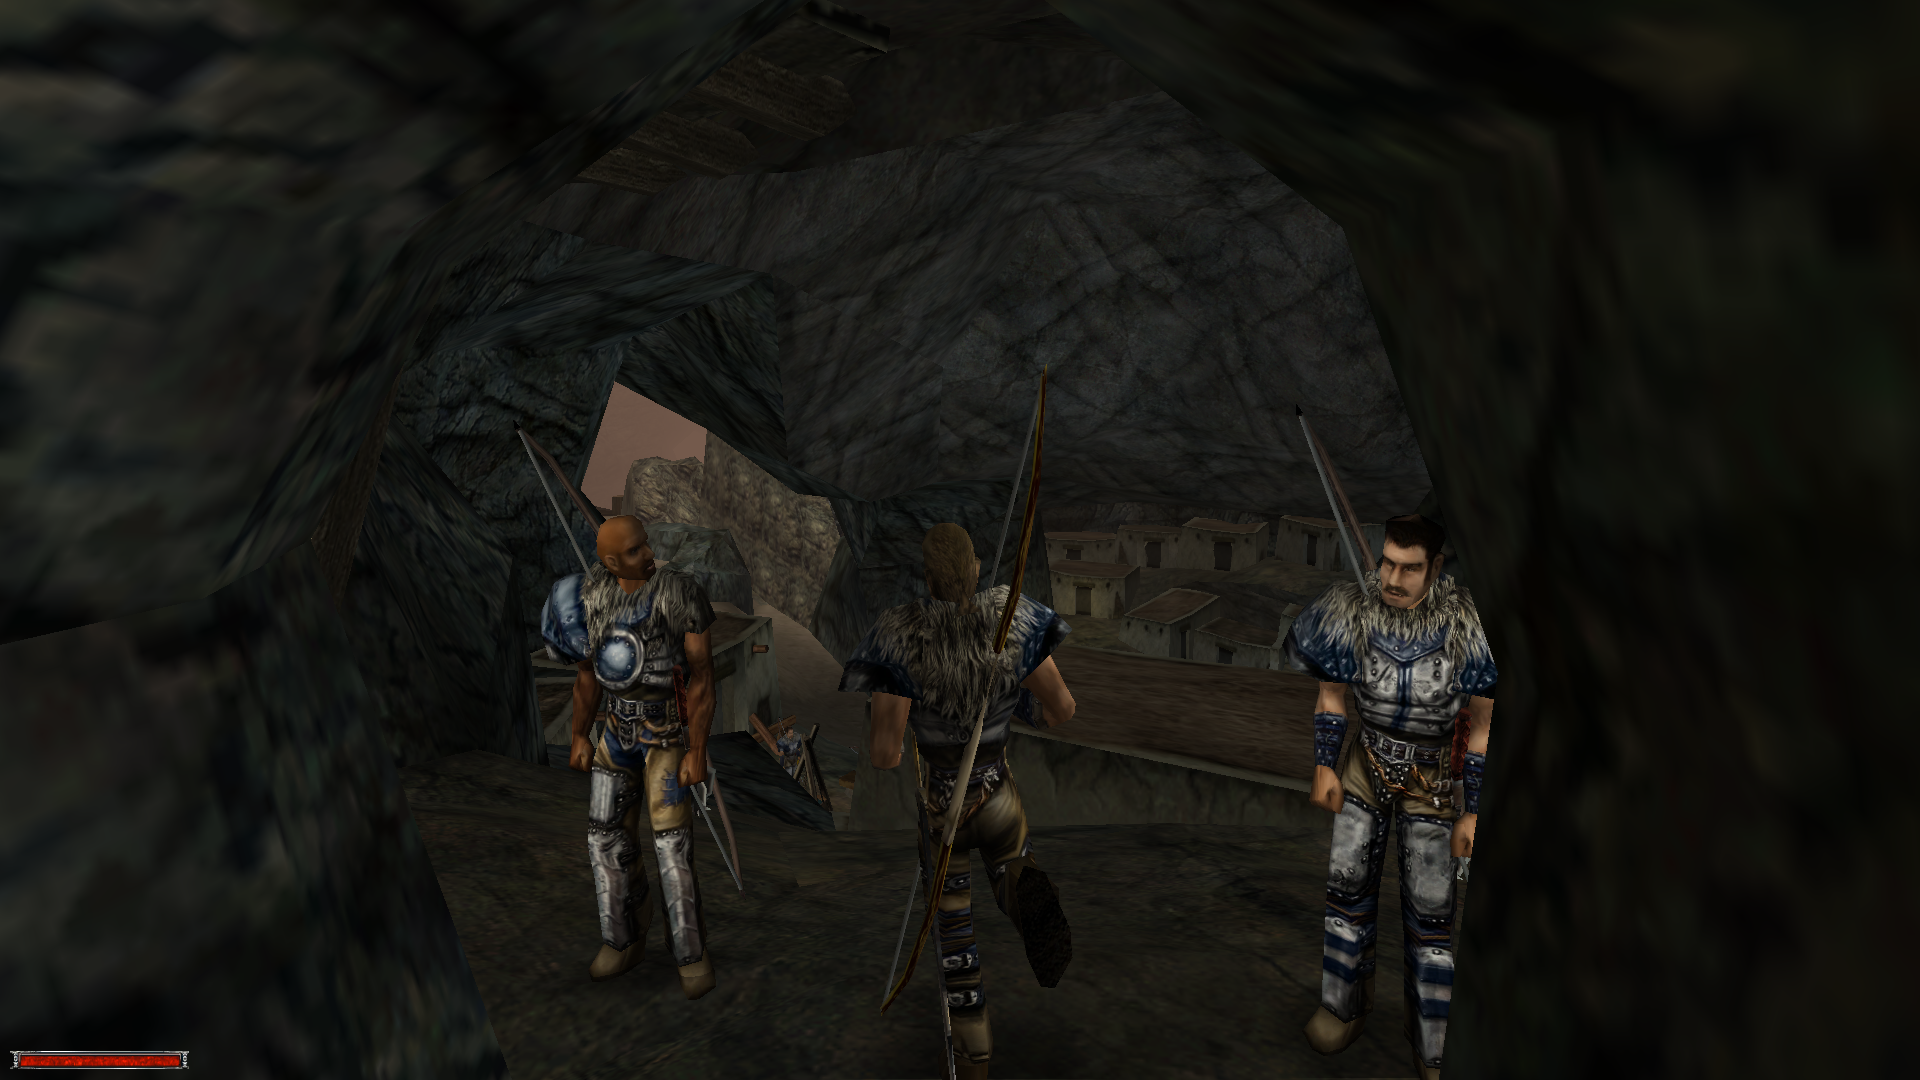
Eventually, I managed to squeeze between the huge groups of enemies and made my way in the direction of the Old Camp. After a while, I saw something I recognized. It was the gate towards “orc country” near the Old Camp, guarded by two Old Camp guards. I ran for it, and this is when the fun part happened.

I Made a Commotion in the Old Camp

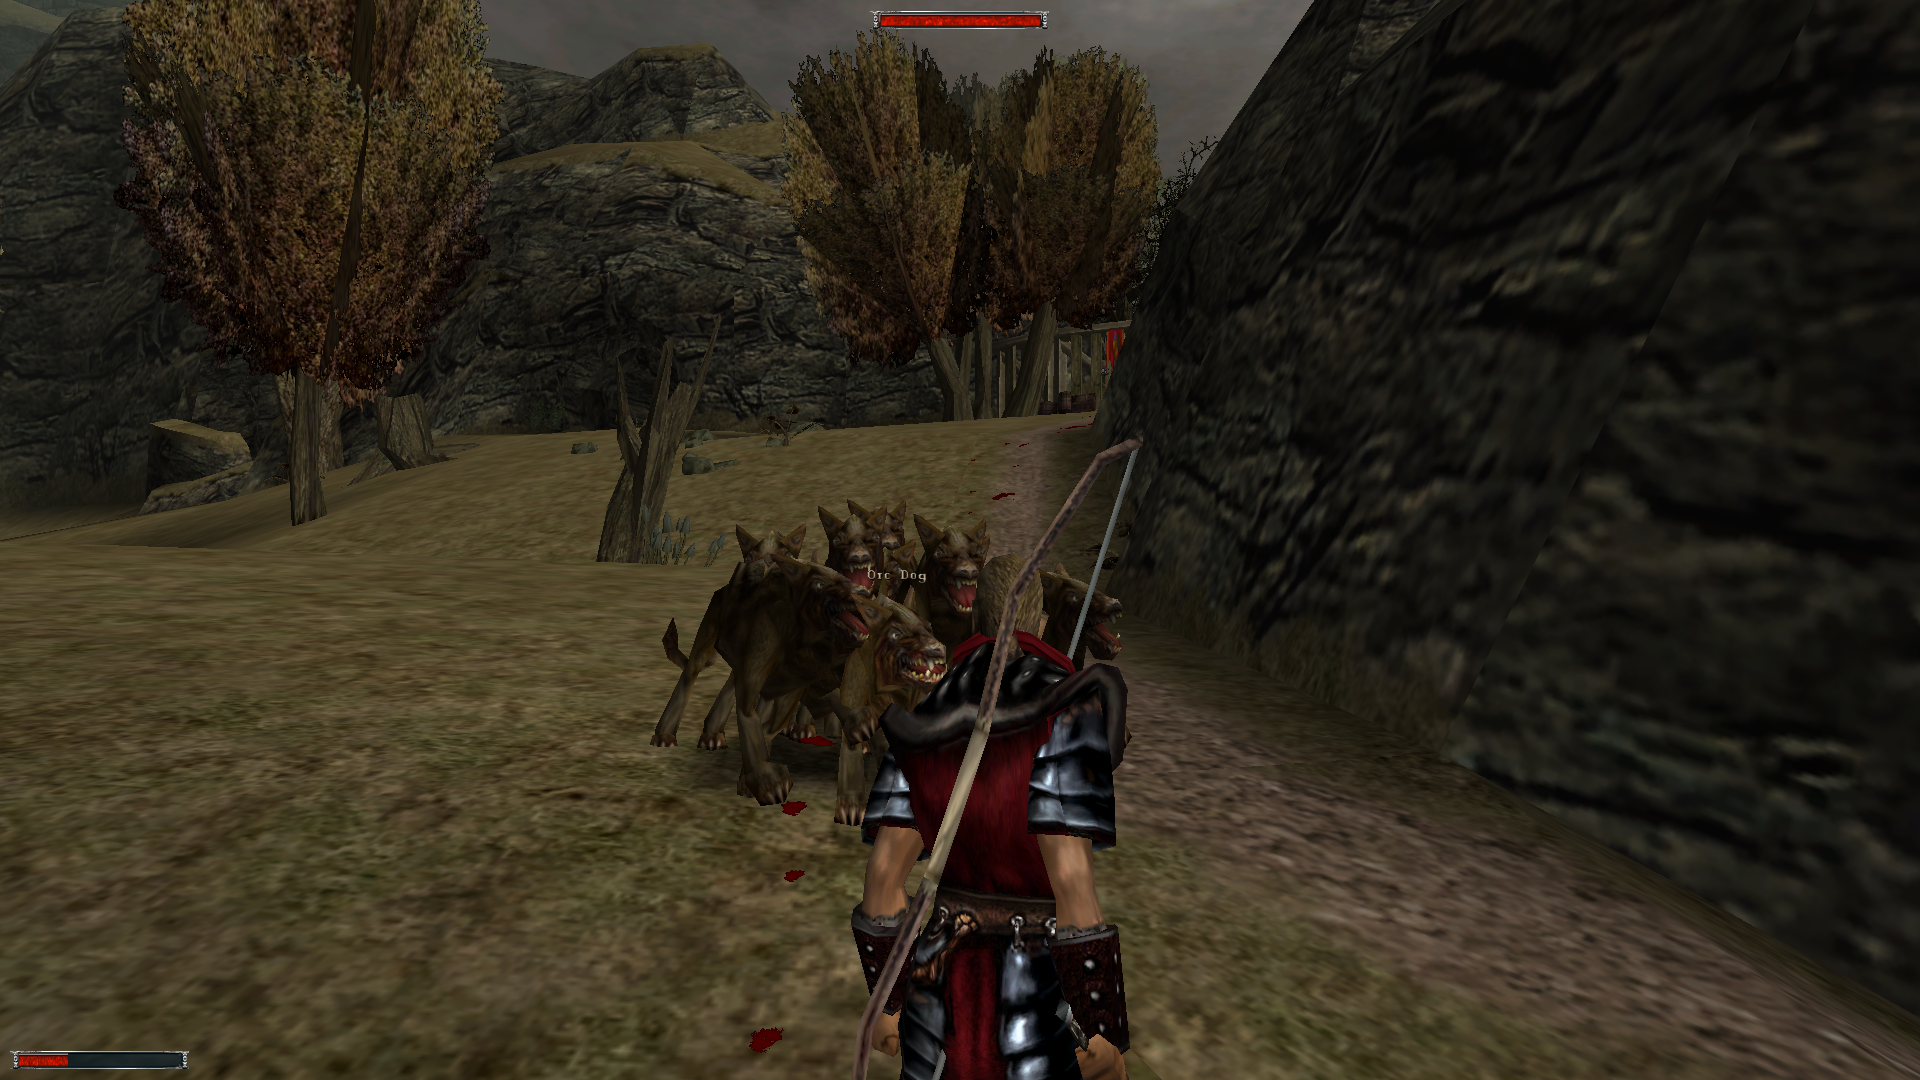
I managed to aggro a pack of orc hounds. It was a huge pack with about 15 hounds in it. I could probably kill a few of them, but there was no way I could kill the entire pack. I ran for the gate and the guards charged in, but the pack just ignored them, staying on top of me. I ended up running towards the camp and I almost reached the main gate before the pack finally gave up the chase.

Gothic - Orc Dogs

That’s a lot of puppies.

At this point, I thought “why not”, so I pulled out my bow and took a shot at one of the hounds. The entire pack aggroed again and continued the chase. I lured them all the way into the inner ring of the camp, so in a few seconds, anyone who’s anyone in the camp ended up fighting orc hounds. I probably wasted some experience by doing this, but what happened was absolutely worth it.

Gothic - Old Camp Chaos

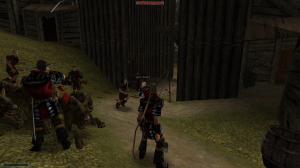
I wish I was able to capture the chaos better. It was awesome.

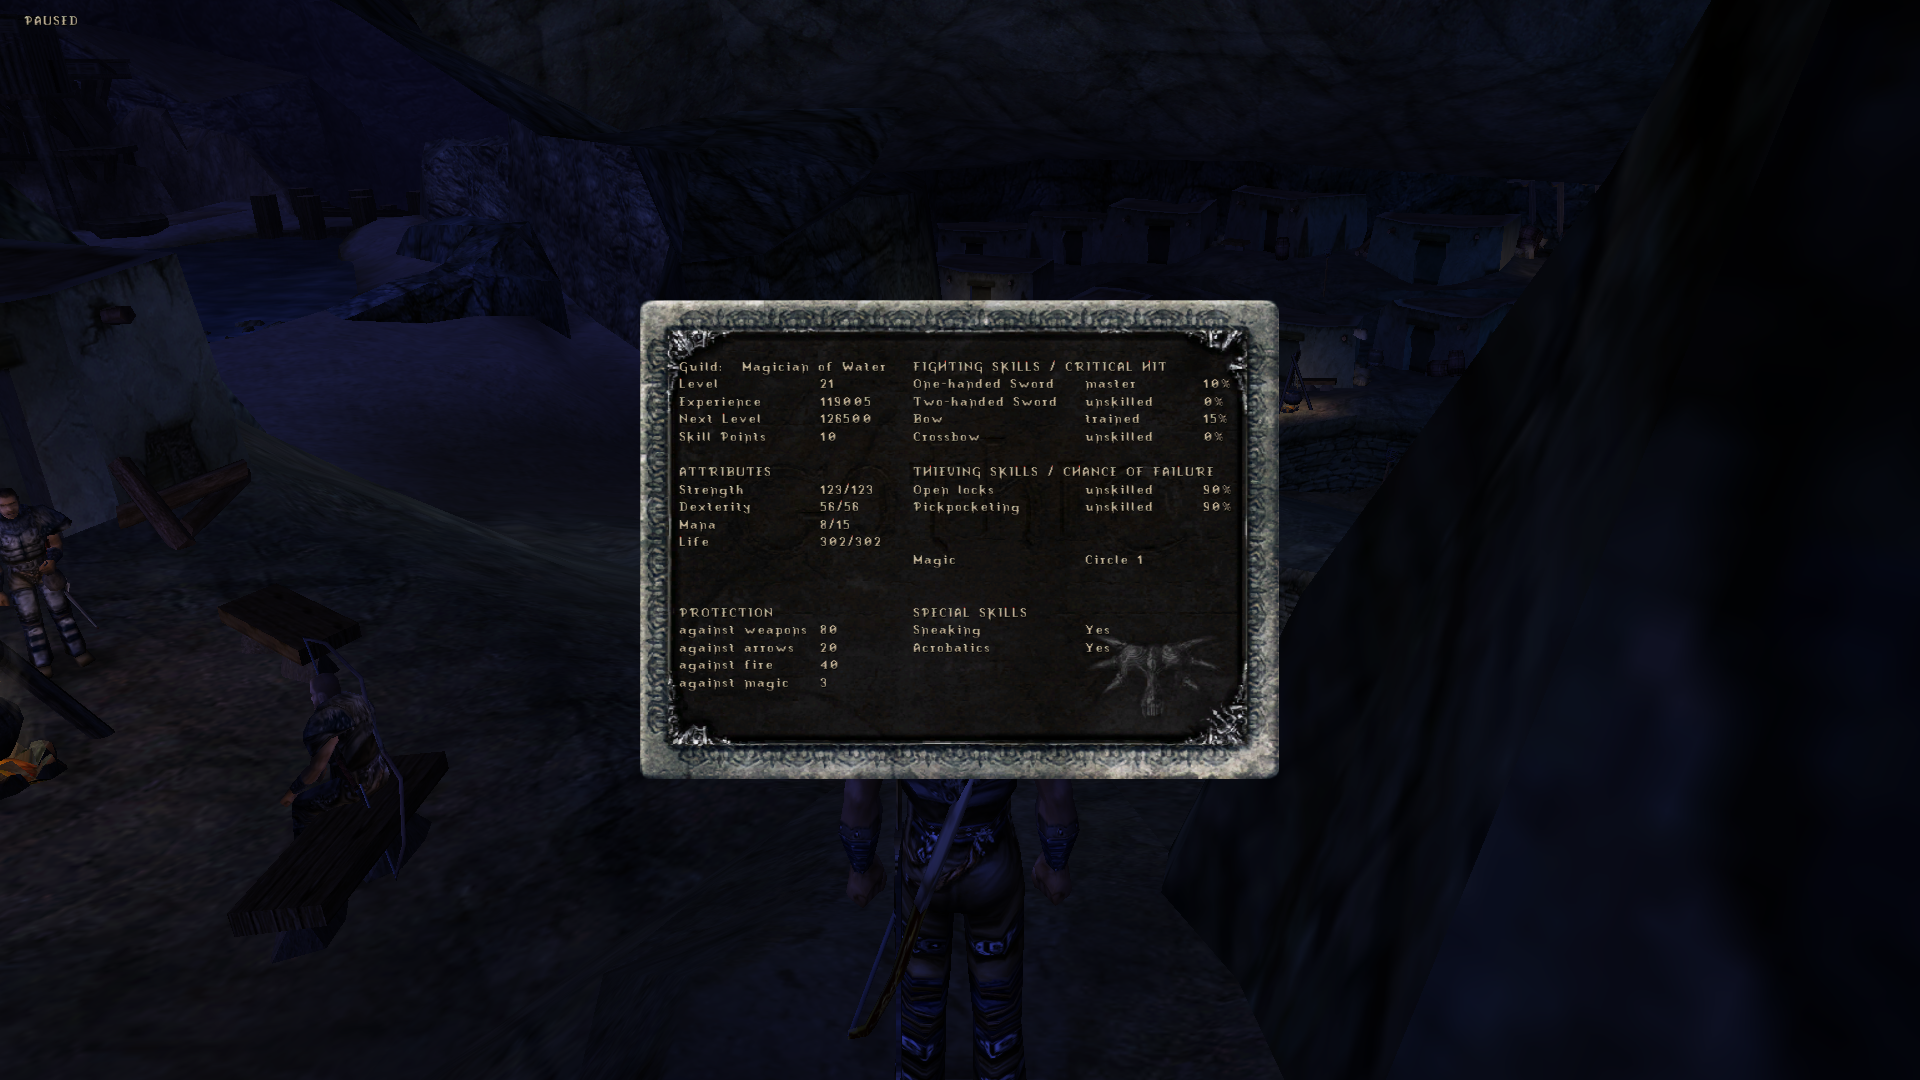
I Maxed Out My Strength

I looted and skinned the bodies and then decided to spend the 20 skill points I had. I tried to invest everything into Strength, but it turns out, 100 points is the maximum you can invest into an attribute. I love being able to max out stuff in RPGs, so this is a plus for me, but it did make me worry a bit. That Ice Golem wasn’t at all hurt by my attacks, so I’m wondering if I’ll at least get some stronger weapons later on, since I won’t be increasing my damage with pure strength any more.

Gothic - Strength Maxed

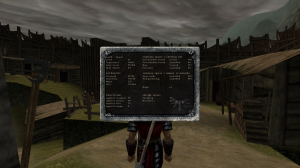
One attribute is now maxed. Next up, dexterity? I’m not sure.

In any case, I got three of the five focus stones now, so I need two more. For now, I saved my game and decided to take a break. Tomorrow, I’ll get the last two stones.


Gothic - Cover, Box Art

Yesterday in Gothic, I was told that the almanac with instructions on how to use the focus stone was lost to a gang of black goblins. Today, I asked Talos to guide me to the place where he got mugged, even though I already knew where it was.

I Recovered the Almanac from the Black Golbins

He led me to the bridge where I already cleared a small group of goblins. That was a while ago, though, so one of them respawned in the meantime. I killed it and then went inside the cave, where I was killed in seconds last time. This time, it was still quite risky, but I managed to survive long enough to heal between waves of goblins. It’s a small cave, but I must have killed at least twenty of them before I finally got some alone time. I got the almanac, as well as some random treasure and got out, taking Talos back to the Sect Camp.

Gothic - The Almanac

It’s great that you can read the almanac, but the good stuff is left to the imagination, I guess.

I Witnessed the Attempt to Awaken the Sleeper.

Cor Kalom gave me another reward and told me to go to the courtyard in the evening, where the awakening of the Sleeper will take place. I crashed a random person’s shack and rested until midnight (gotta love sneaking), before going to the temple courtyard.

Gothic - Cor Kalom

His quests are worth a lot of experience, but Cor Kalom is getting annoying.

Once there, a video started playing. Y’Berion started the ritual, there was a bunch of lights and everyone had the same vision – an Orc in a cave somewhere. Then, Y’Berion fell unconscious.  Cor Kalom was seriously annoyed by this, but he still gave me my reward. I asked for ore this time and I got 300 of it. Cor Angar, on the other hand, gave me my next mission.

Gothic - Cor Angar

Cor Angar is down to earth, reasonable and far less condescending than Cor Kalom.

He recognized the cave from the vision and from his description, I recognized it to. It’s the cave I stumbled into when I first explored the area around the Sect Camp. It’s on the hill above the large waterfall, with a giant skull as the entrance. I had Talos lead me there, even though I didn’t have to and immediately fought some orc hunters at the entrance.

I Entered the Orc Cemetery

There was a lot of orcs in the cave, which turned out to be a cemetery. There was also a lot of dead templars as well as mummified orcs (again, cemetery). I looted the templars, killed the orcs and pillaged the mummified bodies for items, mostly scrolls, potions and jewelry. Killing the orcs wasn’t the toughest part, but it was still pretty tough. Taking on more than one at a time usually proved fatal, so I used the slow, but effective tactic of luring them one at a time and killing them in the previous room.

Eventually, I got to the point where I met a Baal who survived. Of course, I forgot his name again. He decided to follow me and help me figure out what I needed to do here, but he wasn’t much help. This brings me to the toughest part – figuring out what to do.

I Solved the Puzzle of the Orc Spell Scroll

First, I found half of a scroll in one of the side caves. I gave it to the Ball and he told me it was an orc spell scroll and that I needed to find the other half. Then, I spent about twenty minutes in the room with a large amount of mummies, hoping the scroll would be there. It wasn’t, but I got a lot of valuable items, including some straight up upgrades for my rings and amulet.

Gothic - Orc Cemetery

Spoiler Alert! This guy goes crazy and tries to kill you.

However, figuring out there are hidden switches around the grave alcoves made me look for those switches in other places to, so I found one in the bottom room of the cemetery. This opened a steel gate and let me in a small room with more random treasure and the other half of the scroll. Combining the two gave me the spell scroll, but it still needed to be translated. The Ball did that part himself, as soon as I got him into the correct room, which was the one I met him in. It was a Teleport spell.

I then moved on and got into the large room where there used to be an orc warrior and a group of scouts or hunters. I used the scroll there, next to what was obviously a hidden door and the spell teleported me to the other side of it. From in there, I could open the door and let the Baal in.

A few rooms after that, I found a skeleton with an awesome sword next to it – The Sword of Death. That was about all I found, though. I equipped the sword and it turns out it was just in time. Not finding anything made the Baal go crazy and attack me. I took him down, but as usual, I didn’t kill him.

I Went Back to the Sect Camp

I returned to the Brotherhood and described what happened to Cor Angar. He was actually extremely understanding so I decided I like him. He said Cor Kalom went rogue and decided to awaken the Sleeper himself, but also asked me to get some healing herbs for Y’Berion. I already had them on me, so I just gave them to him. Unfortunately, it didn’t help and Y’Berion died. He did manage to say one thing before he was gone, though. The Sleeper was not who we think he is and we should not wake him up.

Gothic - Above the Sect Camp

Jumping into the lake seems shorter, but it’s a long swim. Walking around might actually be faster.

This makes Cor Kalom a problem, but it also gives me a new mission. Cor Angar sent me to the New Camp, to try the water mages escape plan. He also instructed me to take the focus and the almanac from Cor Kalom’s laboratory and deliver them to the mages, so I went to the lab and took both of those.

I Got an Armor Upgrade

Before I went to the New Camp, I decided to go to the Old Camp to report to Raven and spend the 20 skill points I had. I used those to increase my Strength by 15 and my Dexterity by 5 and then reported to Raven. This completed one of the quests and allowed me to buy a stronger guard armor, though I still wasn’t able to get the strongest one. In any case, I can now handle fire, weapons and arrows much better.

Gothic - Guard's Armor

More quests done means better gear for me.

I Fought at the Arena

With my new gear, I decided to finally take down the strongest arena fighter – the one from the New Camp. He didn’t want to officially fight me, so I just took him down on the spot. He fell in two or three hits and this was worth 200 experience to Scatty. Underwhelming overall, but at least it was out of the way now. Tomorrow, I’ll be going to the New Camp.


Gothic - Cover, Box Art

I Spoke to Cor Kalom and Got an “Awesome” Reward

Yesterday in Gothic, I have just delivered the first focus to Y’Berion and he asked me to give it to Cor Kalom. Today, I did just that. Cor Kalom happily accepted the focus, giving me a random, measly reward for it, but he said he needs something else to start summoning the Sleeper. I personally didn’t even realize that’s what the focus was for, but it doesn’t really matter. In any case, what he needed was minecrawler secretion, but his only source, minecrawler mandibles, isn’t pure enough. I needed to get to the Old Mine again and figure out if there’s a pure source of the secretion.

Gothic - Pure Secretion

Pure secretion then? There’s only one place I know that has any secretion.

Do Monsters Respawn in Gothic?

I made my way there, killing monsters along the way. Since I’ve already thoroughly cleansed the area of monsters, I can now confidently say that monsters do respawn in Gothic. I don’t think all of them do and it takes quite a while for this to happen, but they do respawn. I’m also not sure if it happens after a real time period has passed or after a certain amount of in-game time or in-game days have passed. In any case, if someone wants to, they can grind levels and money in Gothic. It might even be a good idea to kill everything as early as possible, to get more respawns later on. This is something I haven’t been doing, instead waiting to get the gathering skills first, so I could get more money out of my kills.

I Went to Search for the Minecrawler Nest at the Old Mine

I got to the Old Mine and spoke to some of the templars stationed there, as instructed by Cor Kalom. They told me there must be a minecrawler nest somewhere in the mine, so I naturally concluded that’s where I can find a pure sample of the secretion.

I explored the entirety of the mine, searching through abandoned shafts and hidden areas, killing the minecrawlers in there. Now that I had the Shadow Armor, the minecrawlers did very little damage to me. Considering they are worth 130 experience each, it was very rewarding to kill them, so I got two or possibly even three levels in total while in the mine.

In one of the shafts, I also found a weapon upgrade – The Stone Breaker, a one-handed mace. I’m not sure how the game mechanics work. It’s possible that a mice swings a bit slower or even that it has a shorter range than a sword, but I was definitely doing more damage with it, so I decided to keep it. In some of the other areas, I’ve found a ring or two, but nothing of importance.

In one larger area, there was a piece of machinery I couldn’t figure out what to do with. Targeting and using it started an animation of turning a lever, but then it would just stop. I spent a few minutes trying to figure it out, but then I just gave up and went further down the main shaft.

At the bottom, I finally found a closed gate with the same piece of machinery and a guard in front of it. He told me the gate was closed because minecrawlers kept getting through it, no matter how many they kill. I immediately asked him to open it, but he sent me to Ian to get permission. Ian then asked me to get a replacement gear for the machinery in front of the gate, because it broke recently. I gave him one immediately. Apparently, I picked it up at the machine in the abandoned part of the mine without even noticing.

Gothic - Light

I’m glad I had that Light scroll on me.

I went back down to the guarded gate, telling the guard Ian allowed me to open the gate now. He had one more condition – I needed to get the three templars as backup before opening the gate. Two of them agreed helping without issues and one of them wanted a healing potion before joining in, which I happily gave to him.

I Fought and Killed the Minecrawler Queen

We opened the gate and minecrawlers started pouring in from the darkness. The three templars cleared most of them and I went in, but only after casting a light spell, since the place was almost completely dark. I fought minecrawlers throughout the tunnels and at the end of it, finally found a nest with the queen inside.

Gothic - Minecrawler Queen

The queen was easy to kill. It didn’t more or touch me.

The minecrawler queen had a lot of health but it was easy to kill. It couldn’t move and it wouldn’t hit me, even if I attacked it from close range. I just swung my Stone Breaker for a while until it was dead. I got 2500 experience for it, my quest updated and after that, I picked up a few of the eggs around the queen’s body. The eggs are what Cor Kalom needed as a source of pure secretion.

I Became a Guard

I went back out of the mine and reported in to anyone who seemed in charge along the way. Ian gave me a crate of beef as a reward and Drake, the guard at the entrance, told me Thorus hear about what I did and was asking for me.

Gothic - Stone the Smith

This is my new favorite person in the Old Camp. He has the stuff!

Since the Old Camp was along the way to the Sect Camp, I stopped by and Thorus promoted me to the Guard. He sent me to stone, the blacksmith, to get my weapon and uniform. I got the first level guard armor, which was only slightly stronger than the Shadow Armor I was carrying, but it was an improvement and it was free, so I was happy about it. I also got a Guard’s Sword, but it was weaker than the Stone Breaker, so I didn’t equip it. Stone was also selling the next two levels of the guard armor, but I didn’t deserve it yet, so he wouldn’t sell to me.

I Went Back to the Sect Camp

I went back to the Brotherhood Camp and gave the eggs to Cor Kalom. I was able to choose my reward. I decided to go for the weapon, so I got another Stone Breaker. That was disappointing, but I decided to stick with my choice. I have plenty of potions and I don’t think I could have used the magical rune, which was the third choice.

I asked Cor Kalom if he could summon the Sleeper now, but apparently, one more thing is missing. He couldn’t figure out how to use the focus, so he needed an almanac with the instructions. I already had it, or to be more precise, one of his apprentices had it and was supposed to deliver it, but he got mugged by a gang of black goblins.

Gothic - Talos

No relation to the Elder Scrolls or ancient Egypt. Talos is just a novice that got mugged.

He told me where Talos, the apprentice was and he asked me to help him. Based on the description, I knew exactly which gang of black goblins it was, because I already killed a few of them, but I had to speak to Talos before I did anything about it. I went and spoke to him and he agreed to guide me to their lair. He’ll do that tomorrow.

Legend of Zelda: Link's Awakening - Cover, Box Art

I Entered the Angler’s Tunnel

It seems to me like the difficulty of Link’s Awakening isn’t on a constant increase like you would expect with your typical game. The Angler’s Tunnel, for instance, was an extremely easy dungeon. Don’t get me wrong, I did die once, but that was only because I entered it at low health and then got hit twice. Outside of that, there were no deaths.

Zelda - Link's Awakening DX - Angler's Tunnel Compass

I got the compass within the first few rooms. The stone beak was right after that and the map soon after.

This was a water dungeon, but it was no Water Temple, of which I heard the dreadful stories, but had no first-hand experience. Most of it just consisted of navigating through shallow water, avoiding enemies pushing you into deep water, going back and forth from one side of the dungeon to the other and getting keys.

Zelda - Link's Awakening DX - Fake Jump

I spent a lot of time trying to make the jump across the deep water here. I don’t think it’s doable.

The enemies were easy. I mostly had to fight Spiked Beetles and Red and Green Zols, with a bunch of Peahats, Sparks and Whisps to avoid for good measure. I also encountered a brand new enemy – the Iron Mask. This guy inspired the zombies in the Binding of Isaac. You have to hit it from behind in order to kill him, but he moves slowly, so it isn’t hard to actually get behind it.

I Fought the Cue Ball

This time, the mini-boss was appropriately placed almost exactly half-way through the dungeon. It was extremely easy to beat. The Cue Ball, as I found out it’s called, just kept charging at me around the central wall. The only thing I had to do was to keep charging away from it until I caught up a full circle and hit it from behind, by dashing into it. I think I was hit once, but that was only because I was being careless.

Zelda - Link's Awakening DX - Cue Ball

Cue Ball, the mini-boss, was ridiculously easy. I got hit only once. You just charge around the center and hit it in the back.

The Cue Ball guarded the item of the dungeon – the Flippers. The Flippers are a passive item and probably one of the most useful items in the game. I can now swim through water, which means no water surface will ever be a danger to me again. I can also press A to swim a bit faster or, even better, press B to dive, which avoids all attacks for a short time. The flippers made the extremely easy Angler’s Tunnel even easier.

Zelda - Link's Awakening DX - Flippers

Considering how easy the Angler’s Tunnel was, the item I got was amazing.

How to get the Nightmare Key in the Angler’s Tunnel

After getting these, there was a slight challenge in finding the Nightmare Key. Technically, I knew exactly where it was, but I had trouble figuring out how to get to it. After a few minutes, it dawned to me. There were two rooms in the dungeon, each with five special tiles. In one of the rooms, a glow that shifted from tile to tile indicated on which tile I needed to step on. Stepping on all of them in the correct order opened a door.

Zelda - Link's Awakening DX - Cheep-Cheep

Yaaay! More Mario enemies!

In the other room with five tiles, there was no glow, but stepping on them in the same order as in the previous room had the same effect, except this time, it revealed a hidden stairway. Getting through the stairway got me to the platform with the Nightmare Key, just a few rooms away from the boss room.

Zelda - Link's Awakening DX - Boss Room Jump

You can jump from this spot to the lower right exit and back.

Also, the room right before the boss room had a nifty shortcut. Instead of going the long way around, the Roc Feather allowed me to just jump over the chasm. It was a bit of a tricky move, but it was doable.

I Fought the Angler Fish

The boss was unique, compared to what I’ve seen up to now. It was easy, but it was unique. I had to fight the Angler Fish in a side-scrolling area below the actual boss room. I first tried being tactical and avoiding its attacks, but then I realized I could just stand in one spot and swing my sword until it was dead. I started out at full health and, even with some mistakes, I had more than half remaining when the Angler Fish died. I’m not sure if I should even count it as an actual boss.

Zelda - Link's Awakening DX - Angler Fish

Even the boss was extremely easy. Just hit and don’t stop. No strategy needed!

In any case, I got the Surf Harp, which is the fourth instrument, and I got my heart container, so I guess the game did count it as a boss. Next up, I have to go to the bay. It looks like I’m half way through the game now, or if it’s like A Link to the Past, I might be only a quarter way through. We shall see.

Legend of Zelda: Link's Awakening - Cover, Box Art

Getting the Honey

Zelda - Link's Awakening DX - Photo

I visited the Camera House, so I was now able to take photos at specific locations.

I got out of the Key Cavern and then circled back around Richard’s house to explore for a bit. I took a wrong turn and stumbled into the area with the beehive, which turned out to be very lucky, because Tarin was there, and he asked for the stick I got from the monkey. He used the stick on the beehive, so the bees chased him away and I was able to get some honey. Here’s a note for a random googler:

  • After the Key Cavern, go to the beehive and give Tarin the Monkey Stick for some Honey

The Color Dungeon

I then went back to the village to use dash on the unreachable book in the library. The book contained hints on how to enter the Color dungeon, which is a secret dungeon in the DX version of Link’s Awakening, I’m guessing. There were some numbers with some direction in the book, as well as a mention of the graveyard and finding the correct grave stone. In hindsight, I should have probably written all of this down, so I’ll have to come back later to do just that.

Zelda - Link's Awakening DX - Photo 2

VBA ate my screenshots again, so here’s a photo.

  • Color dungeon hint: Use dash to knock down book in the village library

Papahl Lost in the Hills

I decided to go north, past the Mysterious Woods again. I took a look at the egg, to hopefully get a screenshot this time, but it looks like my emulator is somehow overwriting them, so I didn’t get one this time either.

Zelda - Link's Awakening DX - Papahl

This happens a bit later, not on my first visit.

I was able to get a bit further with dash this time, so I got to a screen where I could see Papahl. I guess he finally got lost in the hills as he said he would. I couldn’t reach him, though, or, in hindsight, maybe I could, but I just didn’t realize at the time.

The “Desert”

I went back to the Savannah and with dash, found a way into a desert area filled with (currently) unkillable dragon knights. I thought this was the desert the owl told me to go to after the Key Cavern, but it turned out I was wrong. I died, so I went in a different direction from the last check point and got to the Animal Village.

The Animal Village

At the Animal Village, I was immediately told that Yarna desert was to the south, so the part I died in was not the desert at all, since it was to the north. I started exploring the village, taking notes as I went along.

  • The Animal Village and the Mabe Village are “Twin Cities”. Mabe Village is the starting village?
  • A bunny loves hearing Marin sing
  • There’s a Dream Shrine in Mabe Village. I don’t know what that means.
  • There’s a painter who made the mermaid statue by the bay.
  • There’s a writer, like the one in the north. She wants a Hibiscus flower before talking to me.
  • There’s a cave in the back of the village, but I don’t have any bombs at the moment.
  • I traded the Honey for a Pineapple with a bear chef in one of the houses.
  • A walrus is blocking the way to the Yarna desert. Marin can wake him up.

It was obvious I need to go back to Mabe Village and get Marin, so that’s exactly what I decided to do. Before that, though, I wanted to figure out what that armor knight place was.

The Armor Knight Area

I went back north and carefully navigated through the maze, dodging enemies. I found a seashell in one of the nooks and finally reached a small dungeon. There was just a boss room in there and the boss was difficult, at least at first. The only thing I could hit him with was my dash, but dashing to hard or at the wrong moment meant getting hit myself.

Zelda - Link's Awakening DX - The Knight Boss

The boss had three phases, each faster than the previous.

After many attempts, I managed to get through all three phases of the fight and finally beat it. This got me the Face Key, which I have no use for right now, and it opened the way into the back room, where there was a mural.

Zelda - Link's Awakening DX - Mural

So the island is a Dream? That’s sad.

The Mural said the whole island is just a dream, dreamt up by the Wind Fish. If I wake up the dreamer, the dream will go away. I will be able to go to, but the dream will be gone. I actually knew about this plot point from a video before, but now that I played through the game a bit and realized what a charming world it was, this made me kind of sad.

Zelda - Link's Awakening DX - Marin and Link

But what about Zelda?

I got out of the dungeon and the owl was there, saying there’s no way to be sure if what I read was true. The only one who really knows is the Wind Fish and the only way to find out was to wake it up. In any case it was time to go get Marin.

Getting Marin

Marin was at the beach, south of Mabe Village. Finding her triggered another cut scene with more charming scenery, making what I just discovered that much stronger. After a talk, Marin joined Link and I took her to the Animal Village via a nearby shortcut. She woke up the walrus and I was able to get to the desert.

Zelda - Link's Awakening DX - Marin

…chance? Maybe Link, maybe.


The Yarna Desert

The desert consisted of several screens and it wasn’t to hard too clear. The last screen contained a mini-boss who guarded the Angler’s Key. Even the boss was extremely easy, so I didn’t die at all here. All I had to do was to dodge its slow movement, hit it when I could and avoid falling through the quicksand. I can’t be completely sure, but I think I also got a seashell while I was there.

Zelda - Link's Awakening DX - Yarna Desert

This guy inspired Pin from the Binding of Isaac.

The Waterfall

The lock the Angler’s key was meant for was north of the Savannah, next to a huge waterfall. I already walked past the lock several times while exploring, so I knew exactly where to go. It was even near a warp point, so getting there was easy.

Zelda - Link's Awakening DX - Angler's Key Lock

This is where I used the Angler’s Key.

Using the key on the lock caused to waterfall to retreat, opening the way to the Angler’s Tunnel, the next dungeon. I could get there from the lock, though. I had to go several screens west, then north, through a cave and finally to the place where I’ve seen Papahl in the hills.

As I said before, I wasn’t sure if I could reach him, but now I definitely could. The water that blocked the way was actually shallow, so I could walk through it. It’s possible that using the key made the water shallow, but it’s also possible it was like that to begin with and I just didn’t notice.

Saving Papahl in the Hills

In any case, I got to Papahl and talked to him. He was hungry, so I gave him the Pineapple, getting a Hibiscus flower in return. I already know who to give that to, but right now, it was time to get into the dungeon. Here’s a note first:

  • Give Pineapple to Papahl in the Hills, in exchange for the Hibiscus flower.

To get to the Angler’s Tunnel entrance, I had to go to the screen directly north of it and then jump down. This got me right in front of the dungeon. There were also stairs next to the entrance, which lead to a one-way cave back down to the main area, next to the Angler’s Key lock.

I got into the dungeon and did a “Save & Quit”. That was it for now.

Legend of Zelda: Link's Awakening - Cover, Box Art

Key Cavern, the third dungeon of Link’s Awakening, was definitely a big jump in difficulty compared to the first two. I started dying on a regular basis here, mostly because some of the enemies started doing larger amounts of damage, compared to the half hearts I was losing up to now.

Zelda - Link's Awakening DX  - Bomb Enemies

These Bomb Enemies are annoying. Once hit, they bounce around the room and explode.

Even so, I somehow managed to get both the map and the compass, though I only got the compass when I already explored most of the dungeon. The focus of the dungeon was getting four keys in order to gain access to the boss area. The boss area was a separate area of the dungeon, connected with the main area by a side scrolling part, hidden behind a total of four lock blocks. Basically, it was all about getting keys. I needed to get one key to enter a room with another key, etc., until I got into a series of rooms where I could get more than key at a time.

Mini-Boss: Dodongo Snakes

Zelda - Link's Awakening DX  - Dodongo Snakes

It’s easy to waste bombs in the Dodongo Snakes battle, but if you waste more than two, you lose.

The mini-boss was a pair of worms that swallow bombs, so that was the only way to kill them. The difficulty there was that I could only carry ten bombs at a time, and I needed 8 in total to kill both of them. They love to change movement directions, so it was easy to waste a bomb. After several attempts, I managed to do it with one bomb left. This got me one more key and I was finally able to enter the room with the item of the dungeon – the Pegasus Boots.

Item: Pegasus Boots

The Pegasus Boots allow link to dash, which allows him to kill some enemies more easily, break through some objects, such as those green crystal pillars, and when combined with the Rock Feather, jump greater distances. The last ability was the crucial to get the Nightmare Key and eventually, get to the boss room.

Zelda - Link's Awakening DX  - Pegasus Boots

Pegasus Boots were key in getting the last key!

Boss: Slime Eyes

The Key Cavern boss was a giant blob with an eye in the middle. It was actually easy, compared to the rest of the dungeon and the Bottle Grotto’s boss. In the first phase, I had to dash into it until I managed to split it in two. On each hit, Link gets knocked back, so the difficult part was staying on top of the boss and dashing into him before he recovered.

Zelda - Link's Awakening DX  - Slime Eyes

The Slime Eyes were actually easy, considering how hard the dungeon was.

Once the first phase was over, I just had to kill each of the two halves. The key here was not to spam-attack both of them, because then both would jump into the air, jump back down, stun Link and then damage him. Focusing on one at a time on my second attempt made the second phase extremely easy and the fight was one.

Zelda - Link's Awakening DX  - Switch Room

This room is easy to clear, it’s close to some stairs, and it contains a heart or two. Great for healing!

I got another heart container and another instrument – a Bell. Now, it was time to explore the world with my new dashing ability. I already have a couple of locations in mind. The Key Cavern is done for.


Gothic - Cover, Box Art

I bought the (Heavy) Shadow Armor

I started out at the Old Camp when I loaded up Gothic today, so I decided to just go ahead and give 1200 ore to Diego for an armor upgrade. Thus, the Shadow Armor replaced my Shadow Dress and further increased my protection. For some reason, the game calls it “Heavy Shadow Armor” in the dialog menu, but not in the inventory. I was also sitting on ten unspent skill points, but I decided to save those for the next level and then spend 20 skill points for the second level sword fighting skill.

Gothic - Heavy Shadow Armor

The shadow armor was a definite upgrade and I have nothing to spend the money on anyway.

I Tried Out My New Gear

My primary mission was to go to the Sect Camp and figure out what they’re up to, but before I did that, I decided to try my luck and test my new equipment on some stronger monsters. As it turns out, this was well worth it.

I can now kill wolves and lizards with ease and in two hits. Blood flies and anything below that falls in a single hit. I also tried killing a lurker and I can quite easily do it, though there might be some danger if I tackle more than one at a time. The strategy here is similar to the one I had with the lizards before I got the armor upgrade. I need to hit the lurker once, then block one of his attacks and immediately hit it again.

I tried snappers to, but they still do quite a bit of damage. Even though I knew better, I also saved my game and tried attacking a shadow beast. As expected, I still can’t even scratch it. Its health bar literally does not move when I hit it.

I Did Some Questing in the New Camp

I decided to go to the New Camp and take care of that lurker that’s been doing damage to the dam. It turns out that one was slightly stronger than the regular lurkers, but since it was alone, I had no trouble killing it. On the way there, I also tried my luck with a gang of black goblins. I can kill them quickly, but their AI causes them to surround me, so it’s tough fighting them in big packs.

Gothic - Lefty

Lefty was a thug who forced me to deliver water to the peasants. Now I’m stronger than Lefty.

While I was at the new camp, I took care of a guy I was told took a hut for himself without asking anyone. The mercenaries didn’t like that so the reward for taking care of him was that I was allowed to use the shack for myself. I also cleared that drug den below the camp, but I didn’t find anything worthwhile in there.

I Got Killed by the Undead

On the way back, I took a turn into an area I didn’t explore yet. The first thing I saw there was a monster that looked like a chained snapper, called a biter. I killed it and got 120 XP for it, but I can’t help thinking it was part of some quest. It definitely looked unique.

Gothic - Biter

I may have killed someone’s pet.

A short distance to the biter, there was also a shrine with a crypt below it. I charged into it and about ten seconds later, I was reloading my game. The crypt had several skeletons and a zombie in it, so I was taken care of like a newbie.

Gothic - Undead Crypt

Don’t mind me. I entered the wrong house.

Doing all of that got me an extra level so, with twenty skill points, I went back to the Old Camp to learn the second level one handed weapon skill. I can now swing my sword even faster and can even do a circular attack, though I didn’t quite figure out how to do it yet.

I Spoke to Y’Berion

I made my way to the Brotherhood, killing monsters I missed during my previous visits. Once there, I was told by Lester that Y’Berion wants to see me, which meant I was finally allowed into the temple.  I immediately went to him and got next mission. I also got to Chapter 2! Yup, I was thinking I’m getting close to the end and it turns out I’ve only completed the first chapter of the game. I guess Gothic is longer than I thought, which makes sense, considering there’s plenty of enemies I have no chance against yet.

Gothic - Y'Berion

What they do with women within the barrier is “uncomfortable” but it’s realistic.

My mission was to acquire one of the five focus stones. The focus stones are artifacts used to create the barrier and Y’Berion knows where one of them is. He sent a novice to get it, but the novice didn’t report back yet, so now he’s sending me. By the way, Y’Berion’s accent is not what I expected.

I Went and Got the First Focus

In any case, he gave me a map that I needed to follow to get to the focus stone, so that’s exactly what I did, killing more monsters along the way, mostly wolves, scavengers and blood flies. The missing novice was right where the focus was supposed to be. It turns out, the novice went a bit cuckoo, claiming the Sleeper spoke to him and told him to keep the focus to himself. He attacked me, so I defended myself and took him down. I looted him and took the focus, but I didn’t kill him, so he was able to run away.

Gothic - Nyras the Novice

Nyras has gone bananas, so I had to take him down, temporarily at least.

Side Note: Fighting NPCs in Gothic

The above might need some explanation. You see, when you fight NPCs in Gothic, defeating them only knocks them unconscious. You then get a short chance to loot their body and take their weapons, but after that, they get back up. That is, they get back up, unless you decide to attack one more time while they’re down. In that case, you actually do a killing blow and that’s it for the NPC.

I took the focus and brought it back to Y’Berion, which got my more experience and another level. I also got an Amulet of Fire Protection as a reward and was told to take the focus to Cor Kalom, the alchemist. That’s what I’ll be doing next time.

I Discovered New Things

One more thing, though. I encountered three new monsters for the first time. There was some sort of beast at the mountains close to the Brotherhood camp I can’t remember the name off. It’s killable, but it does a lot of damage, so I didn’t bother. There’s also a pack of orc hounds in the woods between the Sect Camp and the location of the first focus. Those are probably easier to kill, but since it’s a pack, they aren’t worth the trouble for now.

Gothic - Shipwreck

I’m very interested in that ship, but the fire lizards are too strong.

There’s also a beach close to the focus, with a shipwreck and some fire lizards. They do far too much damage to be worth the trouble right now, and I’m not even sure how to block them. Maybe my new Amulet of Fire Protection will help, but I didn’t get a chance to try it yet.