With my mission complete, it was time to focus on the tasks of killing emperor Hawthorne and finding a way to leave the caves. For this, I had to go to the Abyss, to Spire. I already had the Onyx Scepter, but I still needed the Silver Circlet and I remembered the mayor of Spire has a circlet she treasures greatly. I talked to some shady guy there who had a beef with the mayor, and he told me how to get the circlet.
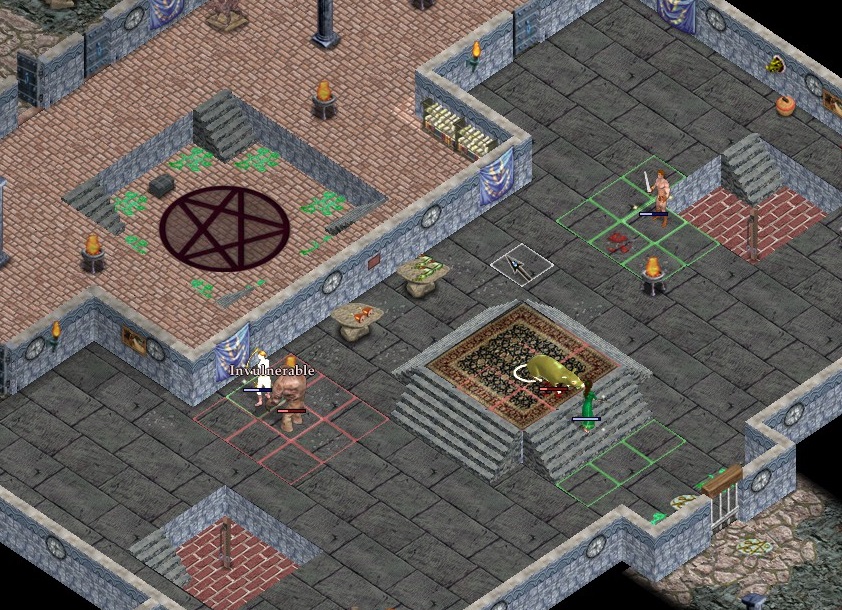
I took great pleasure in killing Sulfras, though I reloaded the game after I won.
With both the circlet and the sceptre, I returned to Sulfras. As promised before, I decided to try and kill him first. He was much, much tougher than Pyrog, but as he died, he whispered something, making me think he was important later somehow, so I decided to reload my game. I took a screenshot with me killing him anyway, just so it’s official. I gave him the sceptre and the circlet, and the way was open for me.
After a series of long passages, I’ve finally reached some sort of facility filled with strange looking giant creatures. Room after room, I was faced with different physical and mental challenges, but eventually, I’ve reached the end of it and then I saw it. Grass! Light! The Sun! I’ve found an exit to the surface. I’ve spent a few hours wandering around and exploring, but then I returned. My job was not yet done. The emperor is still alive. The way out is here now, and it won’t go away anytime soon.
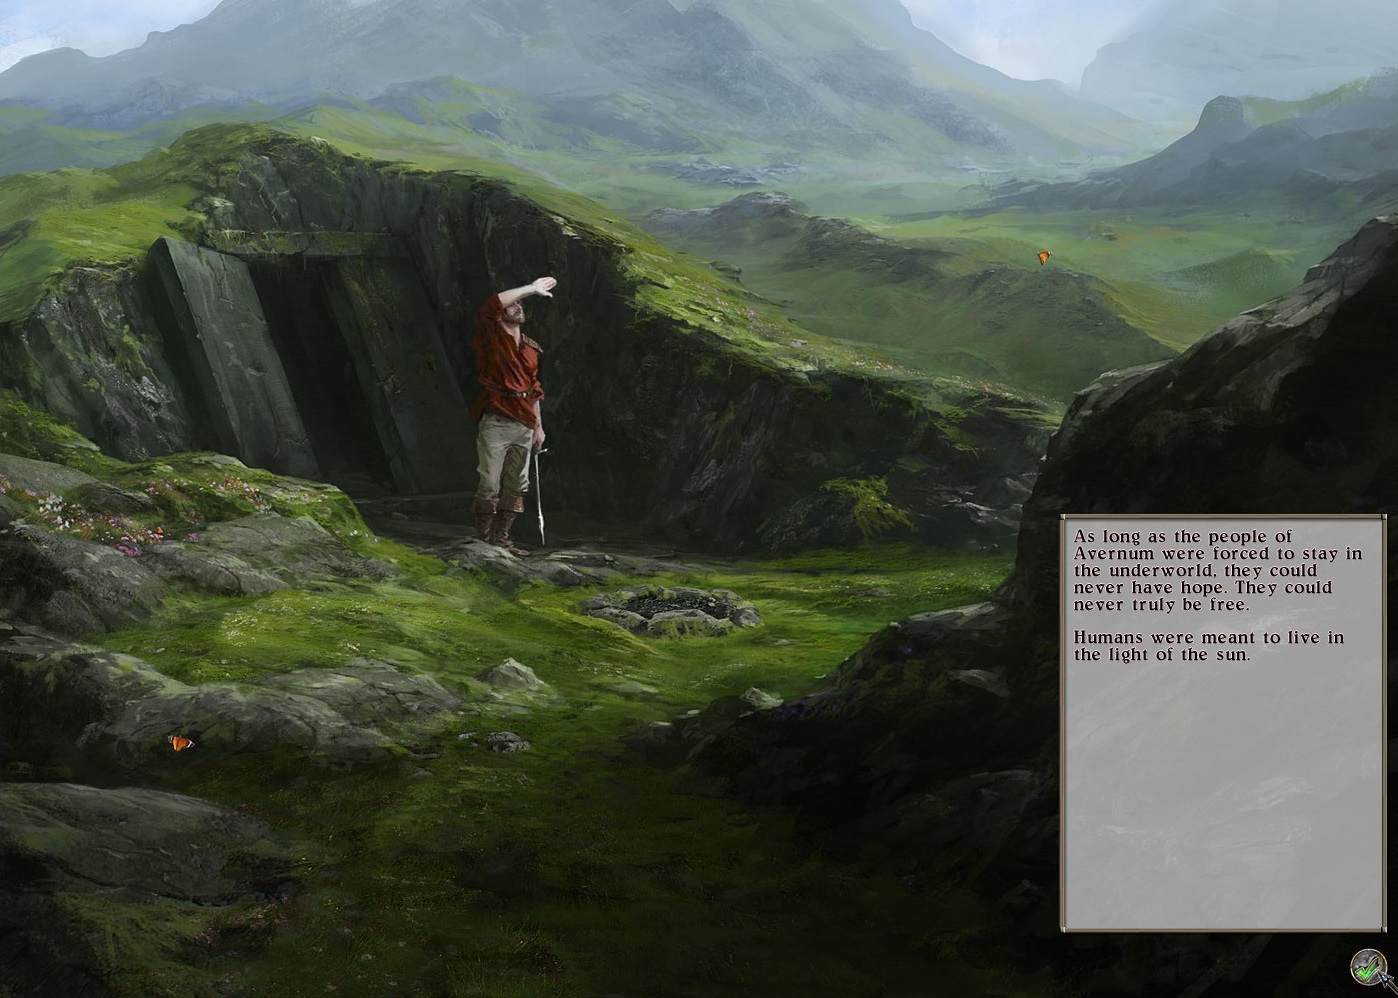
This scene of finding the exit is by far my favorite illustration in Avernum: Escape From the Pit.
I returned to Erika and told her of my discovery. Now it was time to kill Hawthorne. To do this, I needed to find Aydin, so I returned to the northern waters. I kept thinking about that imperial tower with the trap, so I decided to go back there. Upon some exploration, I realized it was possible to get through the trap by drinking from a magical pond nearby. As it turns out, it wasn’t an imperial tower at all. It belonged to Aydin. As it turns out, he was an imperial mage, but got exiled. Even worse, the Empire want’s him dead, so they are constantly sending assassins after him. This is why he wants to help me kill Hawthorne.
Apparently, there is an imperial fort with a teleportation augmenter in the area. Using the right rituals, and with the help of a mage casting the spell, it could be possible for me to teleport anywhere, including Hawthorne’s chambers. The problem is, the augmenter is guarded by two towers. One of them was warded by the dragon Koth, though he might not have issues with removing the word, now that I’ve returned his scroll. The other contains a magical trap which requires a Royal Seal of the Empire to disable. There was a seal that came with the First Expedition, so Rone might know something about that.
Koth was nearby, so I went to visit him immediately. He was more than willing to teach me the ritual which removes his wards, after what I did for him. With that out of the way, I returned to Erika to update her on the matters. She told me that, apart from the Royal Seal, I would still need four out of five magical brooches belonging to the First Expedition. They are required to recalibrate the augmenter, in order for me to be sent close to Hawthorne upon use. Luckily, I already found four of those on my travels. However, it would be optimal to get all of them, so that’s what I’m going to do. According to Erika’s notes, the last one should be in Pyrog’s lair, so I must have missed it somehow.
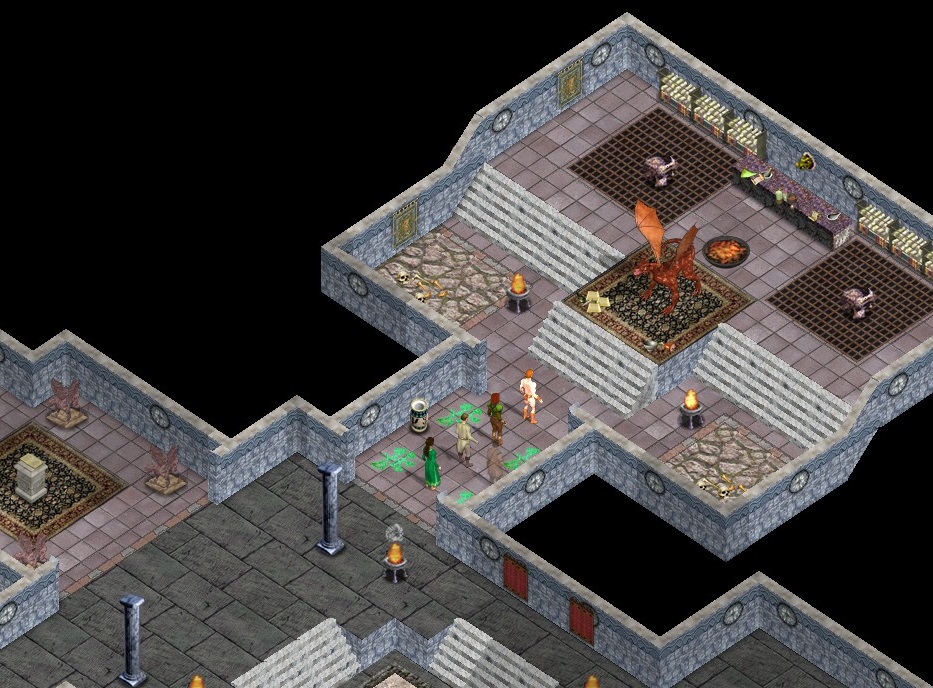
I like Pyrog far more than Sulfras
I went to the castle to speak to Rone. He told me the First Expedition seal should be in Akhronath, the shattered fort west of the Tower of Magi. Patrick already told me how to access the back chambers of the fort as a token of gratitude for helping his wife, so I went there directly. I soon found the seal in one of the back rooms, guarded by a host of demons. With the seal in my possession, all I needed were the two brooches. I returned to Pyrog’s lair and soon realized I missed a hidden switch on my previous visit. It revealed a room where the brooch was kept, guarded by a bound haakai demon. With this, I had everything I needed to complete my mission. I wasn’t ready just yet, though. I still had to decide what to do with the Freehold of Kyass.
I decided to let them be. True, resources are limited. True, unity would be preferable. True, they Kyass might have secret intentions, but the fact remains – the Freeholds has done absolutely nothing wrong yet. Instead of eradicating them, I helped them with their various recruitment tasks and then left them to themselves. There was just one last thing for me to do. I went to the Lost Bahssikava colony and descended to the depths, to find their lost expedition. I soon found most of them dead, but their warrior was still alive. He said their singing stone was lost and the way to it was barred by a lock. I’ve soon found what he was talking about and figured out the lock requires 6 triangular objects. The first three, I already had, while the last three were on an altar nearby. After getting those, and fighting some undead guardians, I’ve found the gate to the depths the Slithzerikai were banished from. It was still locked, and a voice said they have yet to redeem themselves. With the key in my hands, I opened the passage to the singing stone and brought it back to the colony.
It was now time to kill Hawthorne.


