I love how each dungeon has a peculiarity attached to it. The Skull Woods dungeon had a different way of navigating through it.
Basically, there was no main entrance. Instead, it had several different entrances, as well as holes you can fall through to access different areas. The navigation was still relatively linear, though. I fell down one hole, which got me access to an exit, which got me access to another hole, and so on. Eventually, I got to the map, as well as the compass, and finally, I got the boss key.
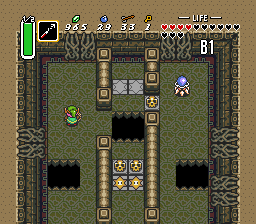
Lots of switches and pits in Skull Woods
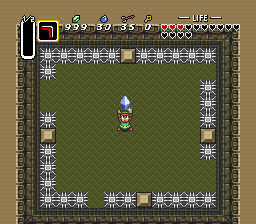
The boss was a moth, so it was also weak to fire. It was moving fast, however, so I ran out of magic mid-battle. All in all, it took around seven or eight hits with the rod, as well as a couple of hits with the master sword to kill it.This unlocked an awesome new item – the fire rod. The toughest enemies in the dungeon were mummies and these would now go down in one hit of the fire rod, at the cost of a tiny bit of magic. Getting the rod also gave me an ability to burn the obstacle keeping me from the boss area.
Crystal #3
In any case, I killed the boss, got another heart container and another crystal. The fifth dungeon is supposed to be in the middle of the Outcast Village.The thing I keep forgetting is to use all of my items. I probably would have done better against the boss, had I used the protective staff and just stick to my sword for offense. I just keep forgetting to use all the awesome items the game gives you, which is making my life a lot harder.


