Minor Exploration
In my previous posting, I said I was going back to the Silenced Cathedral because I remembered there being an obstacle I can get through with my new force projectile power, so that’s exactly what I did. I got all the way to the proper area, which I found at random, because I couldn’t exactly remember where it was.
NOTE: Silenced Cathedral – Secret Area
In case anyone needs this information later, you need to get to the first huge floor fan in the area and then, instead of floating upwards from it, go through the passage at the bottom.
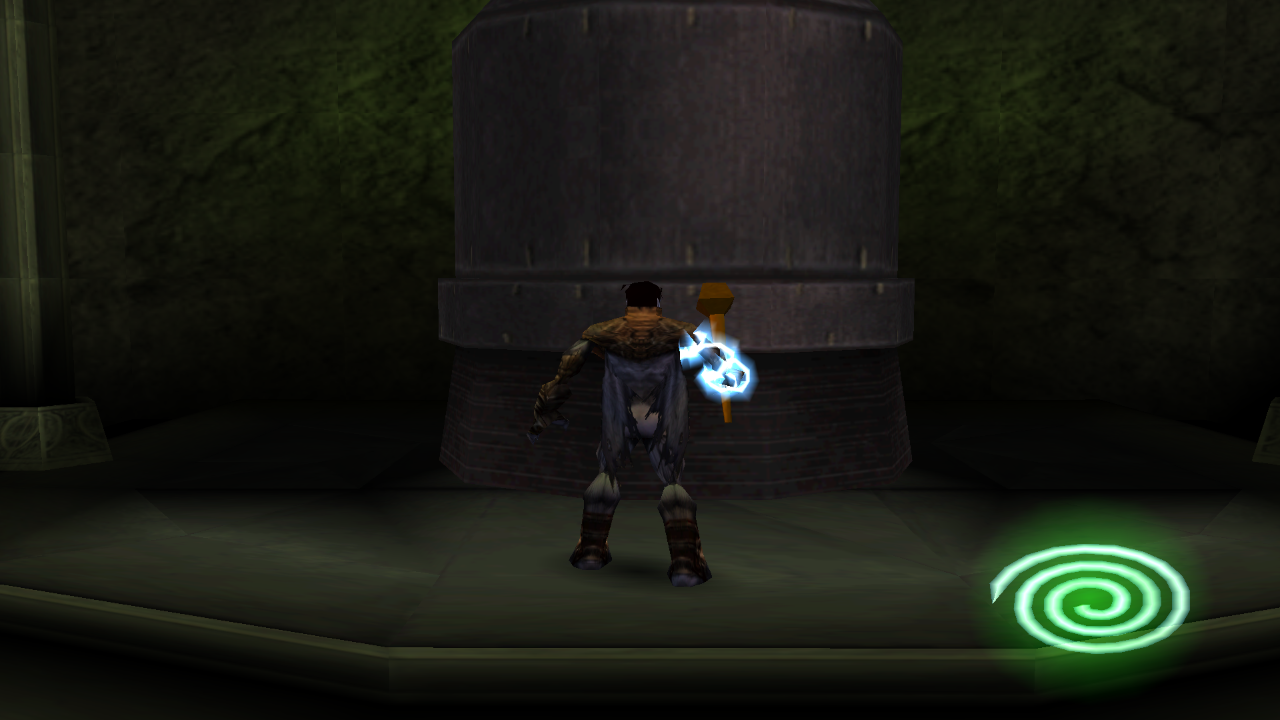
I forgot to take a screenshot of the destroyable door, so here’s a screen of me hitting the bell.
In any case, I found the place, but whatever I did, I just couldn’t hit the target with my force projectile. You can’t jump and shoot and the auto targeting just wouldn’t lock on to it. I’ll admit, I got a bit desperate, but eventually, I figured it out.
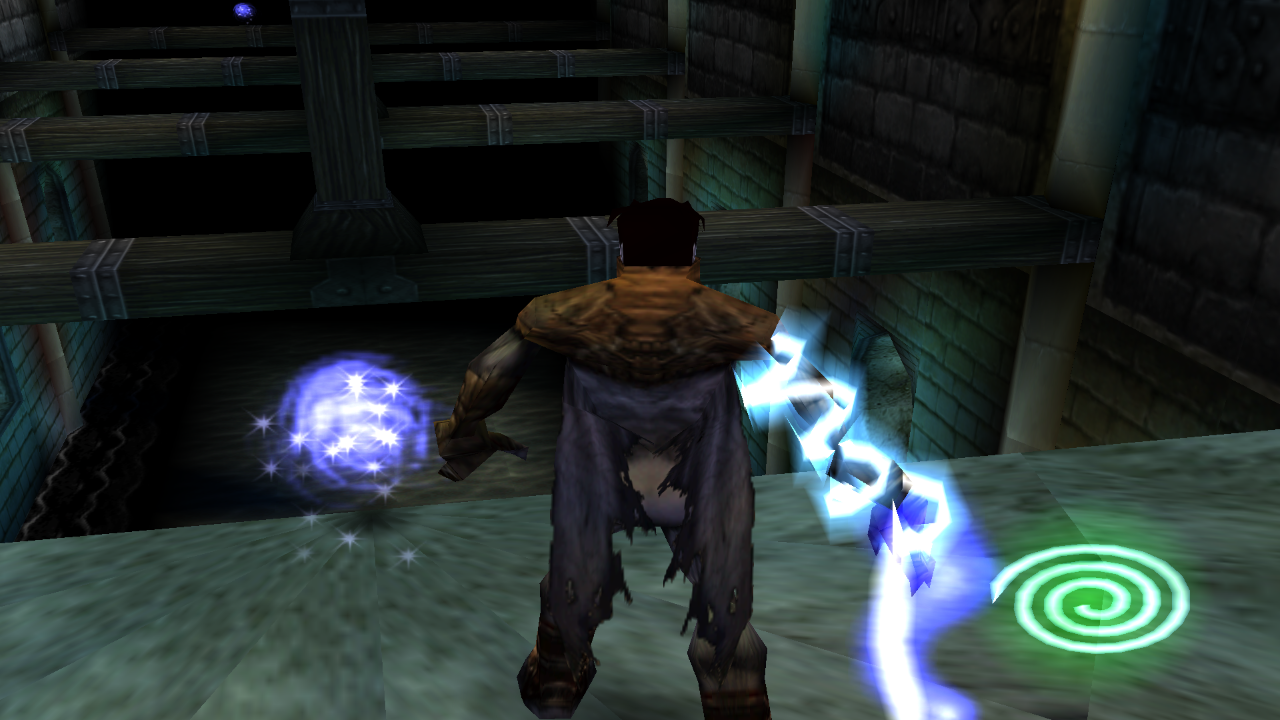
You can manually target and look around in Soul Reaver
I know, it’s probably ridiculous that I haven’t figured it out, because it’s the one feature I really wanted, but yes, you can actually do it. If you hold down both of the camera rotate buttons, you can move the camera around with the arrow buttons. If you’re also charging the force projectile (or preparing to throw a weapon), then you’re also able to target your shot.
My main gripe with the game up until now was that I wasn’t able to look around to see where to go next. I guess that issue is gone now!
The Sound Glyph
The area behind the now destroyed gate was another puzzle with a glyph at the end of it. I had to take some sort of drumstick from a wall in one part of the huge room, jump across tall pillars to a bell with the drumstick. The issue was that I had to switch between the material and spectral realm in order to jump from one pillar to the other, so I also had to throw the drumstick towards the bell first, since I can’t carry anything in the spiritual realm.
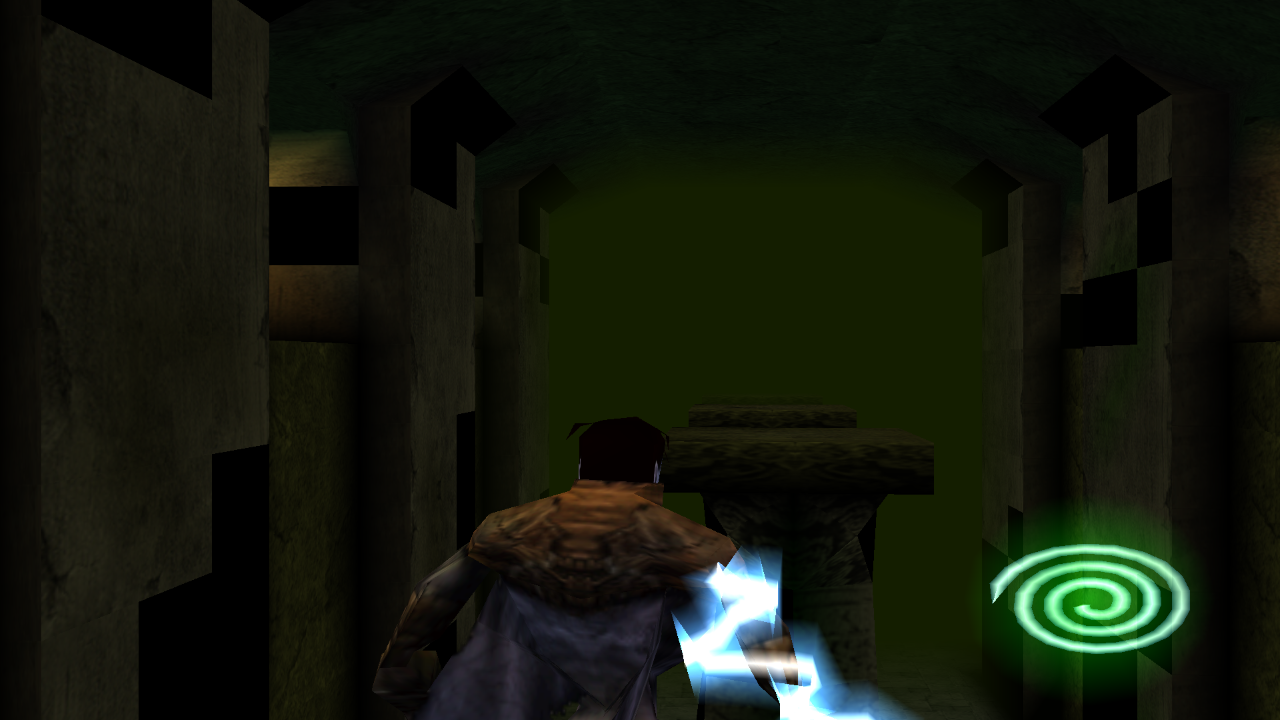
Switching realms here causes the pillars to move, but you need to throw the drumstick across first.
From what I can tell, the sound glyph stuns nearby enemies. It’s about as useful as the other glyphs I collected up to this point – not very much. Still, I’m sure it can be convenient when I’m surrounded by a bunch of enemies.
The Drowned Abbey
Once a sanctuary against the vampire menace, this abbey has been drowned by the deluge spilling from this wounded land. Your brother Rahab and his brood, devastated even by the feeble rays of Nosgoth’s sun, overcame their vulnerability to water and retreated from the surface. Now they haunt these ruins, and glide in the darkness of its stagnant depths.
[soundcloud url=”http://api.soundcloud.com/tracks/82457430″ params=”” width=” 100%” height=”166″ iframe=”true” /]
It took me a while to figure out how to get to the Drowned Abbey. The answer was back in the Tomb of the Serafan, hidden behind a switch in the boss room. When I killed Morlock, I thought that switch was what opened the gate and the way back out of the Tomb. It turns out, the gate opened by itself and the switch wasn’t really a switch. It was a block which I had to hit it with the force projectile more than once in order to push it out of the way and open a new passage.

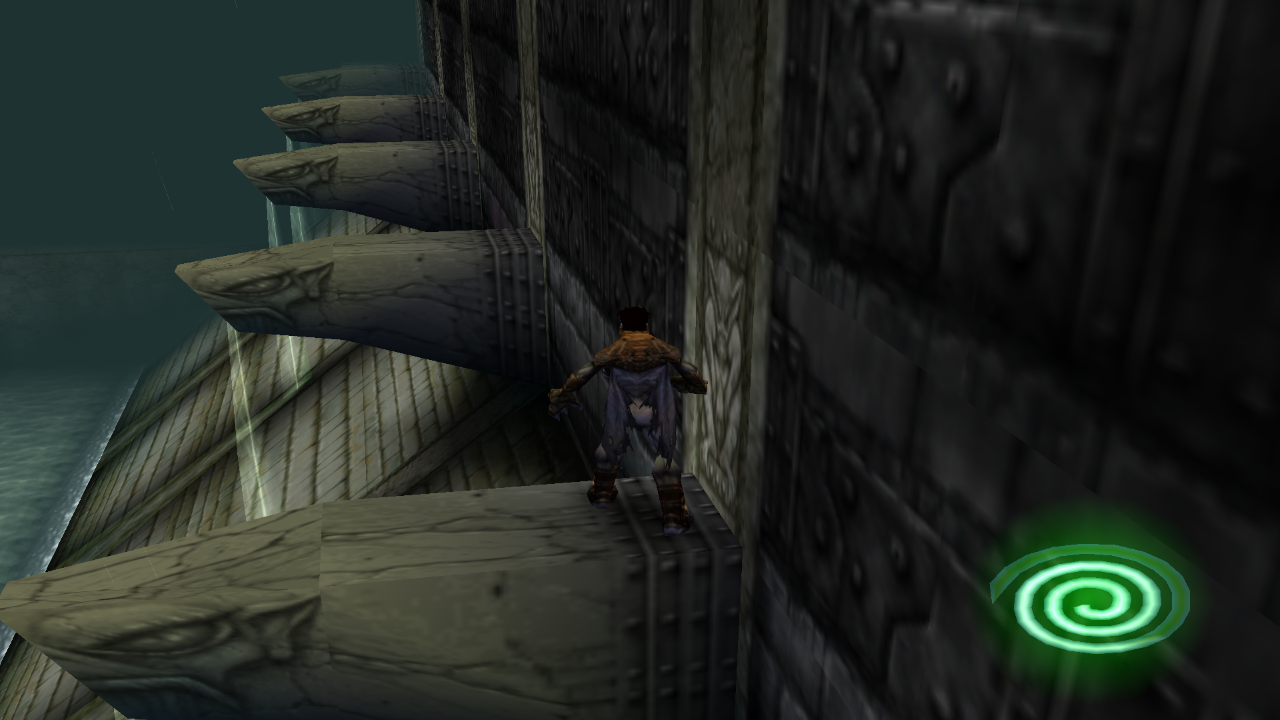
A hint: The Ship changes when switching realms.
The Drowned Abbey was, naturally, completely covered in water. For an ex-vampire who still has issues with liquids, this was a problem. It also meant that this would be probably the most annoying area of the game.
First you need to jump across these…
Basically, getting through the abbey involved lots of platforming sections where a single mistake would cause you to “switch” to the spectral realm, go back and start over. The first thing I did wrong was that I went through a passage that lead me through some bars in the spectral realm. The problem was that the bars didn’t have flat ground on the other side, so I couldn’t get back through them, and it turned out, they led me right back to the start of the area, so I had to go through the entirety of it twice.
… and then across these, all in one, flawless attempt.
The second problem was the second platforming area, where I had to get through the physical realm and feast leap over a set of beams positioned over water. After that set of beams, there was also a set of stone platforms positioned over a slippery roof which, again, would send me into water. Each of those one its own was hard enough, but I had to do it both without any mistakes, or I would have to go right back to the start. I’m not the person that usually swears, but at this point, I really, really wanted to. Soul Reaver is not a platforming game.
How to Kill Rahab
Eventually, I somehow got through it and finally reached Rahab. The challenge of the Drowned Abbey was definitely not the end boss. Compared to what I just went through, Rahab was easy, though still slightly annoying.
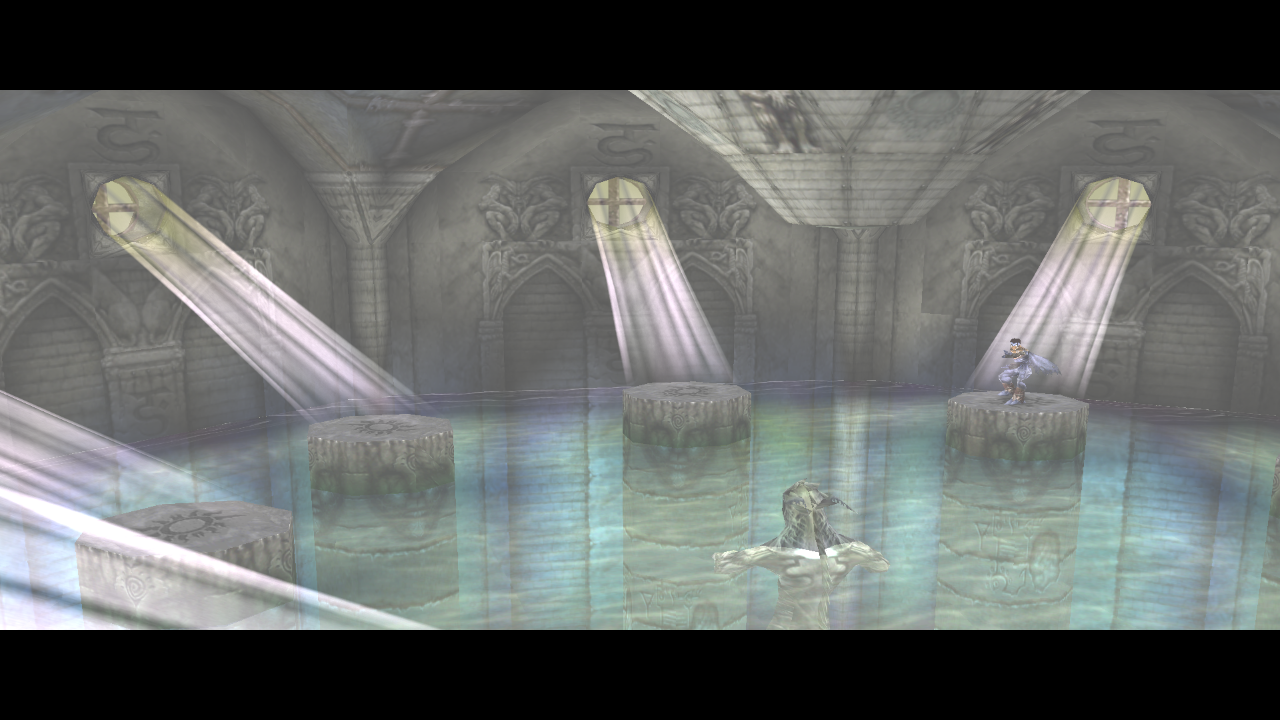
Lights on! You don’t really fight Rahab. You just hit “switches”.
The area he was in was circular, with a bunch of platforms positioned evenly throughout it. I had to jump from platform to platform, avoiding Rahab’s shots and keep firing my force projectiles at windows along the walls. Once all the walls were destroyed, the light destroyed Rahab. The annoying part was that getting hit by Rahab would usually throw me into the water, which would mean more annoying platforming to get to the top and back into the material realm.
Killing Rahab got me another very useful ability. Water wouldn’t hurt me anymore and I could now swim in the physical realm.
More Exploration
Of course, this meant I was now able to explore even further and get more upgrades. The first thing I did was to go back to the entrance of the Silenced Cathedral, where I’ve already seen a health upgrade I couldn’t reach before. Now, I could do it by swimming on the left side of the Silenced Cathedral moat.
While I was there, I also explored the right side of the moat, now knowing where it would lead me.
The Sun Glyph
The right side of the moat took me to a huge area with a bunch of Morlock enemies and giant machinery. The whole region, which is probably a more fitting name than “area”, was one huge puzzle, which eventually led to a room with the Sun Glyph, the most powerful glyph of the game.
I had to solve some block puzzles involving pipes, hit a bunch of switches to activate a lighthouse and then enter the room with the glyph and finally switch to the spectral realm at the right moment to pick it up.
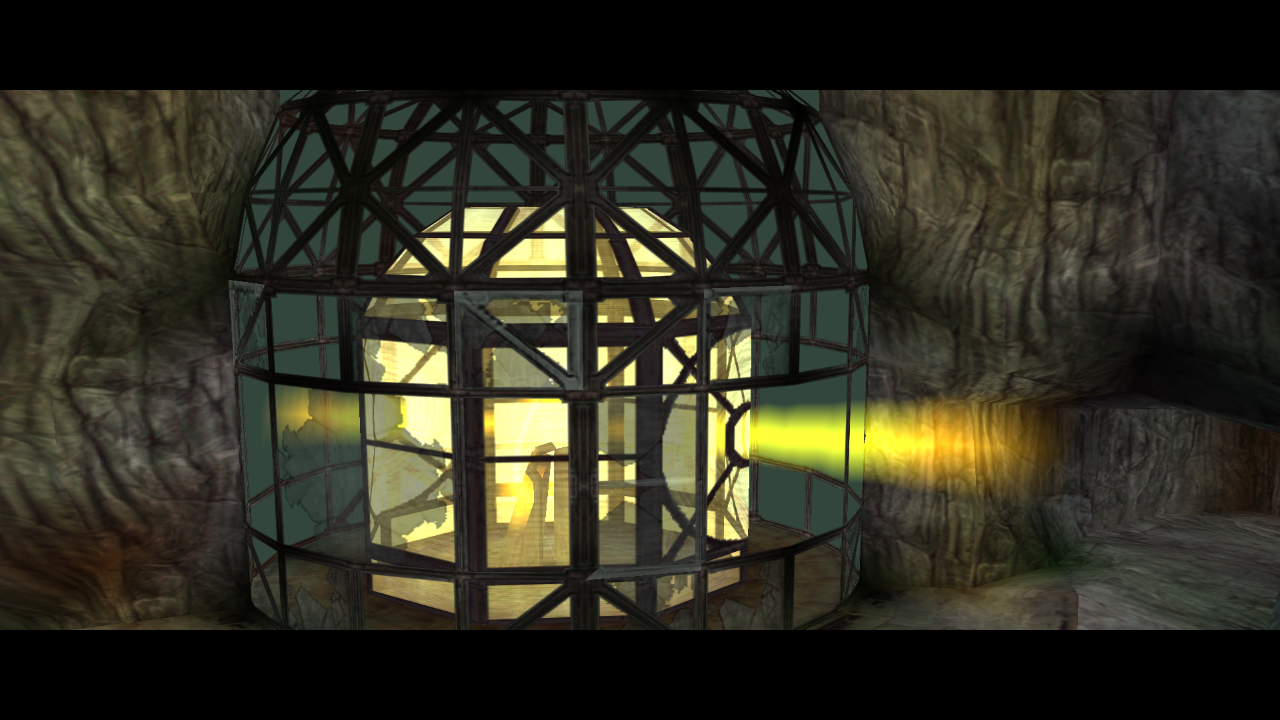
Once you activate the beacon, the Sun Glyph is almost yours.
I think it was worth it, though. First of all, this means I probably cleared the hardest puzzle in the game without knowing it. Secondly, the sun glyph is extremely strong. It outright destroys most enemies around me when I use it. It costs a good chunk of my mana, but by now, I have plenty to use it twice or possibly even trice.
In any case, this is where I ended my game. Next time, I’ll probably do some more exploring, since there’s bound to be items I missed. I know for sure there are two glyphs I can still find, as well as some health upgrades.


